Do you love fruit snacks but want a healthier option? I’ve got you covered! In this guide, I’ll show you how to make homemade fruit snacks that are tasty and easy to whip up. With fresh fruits, natural sweeteners, and simple steps, you can create a treat the whole family will enjoy. Let’s dive into this fun and healthy cooking adventure!
Ingredients
Fresh Fruits
To start making your homemade fruit snacks, choose fresh fruits you love. I like to mix berries, mango, and apples. You can use:
– 2 cups mixed fruit (like strawberries, mangoes, and apples, chopped)
– 1 cup 100% fruit juice (orange, apple, or grape)
This mix brings great flavor and color to your snacks. Fresh fruits will help you make tasty treats that everyone will enjoy.
Sweeteners Options
Sweeteners can enhance the taste of your fruit snacks. Depending on your fruit’s natural sweetness, you can add:
– 2 tablespoons honey (or)
– 2 tablespoons maple syrup (optional)
Adjust the amount based on how sweet your fruits are. I often taste the fruit puree and add sweetener as needed. This way, you control how sweet your snacks will be.
Gelatin or Agar-Agar
To make your fruit snacks chewy and fun, you need a gelling agent. You can use:
– 3 tablespoons gelatin powder (or)
– 3 tablespoons agar-agar for a vegetarian option
Gelatin gives a classic texture, while agar-agar works well for plant-based diets. Choose based on your needs and preferences. This base is key to achieving the perfect fruit snack consistency.
Step-by-Step Instructions
Preparation of Fruit Puree
Start by gathering your fruits. I love using strawberries, mangoes, and apples. Chop them into small pieces for easy blending. Place the chopped fruit into a blender. Pour in your chosen fruit juice. Blend until it turns into a smooth puree. Taste the puree. If you want it sweeter, add honey or maple syrup. Blend again to mix.
Blooming and Dissolving Gelatin
Next, take a small saucepan and add 1/4 cup of fruit juice. Sprinkle the gelatin over the juice and let it sit. This step is called blooming. Wait for about 5 minutes. After that, gently heat the mixture on low heat. Stir it until the gelatin fully dissolves. Make sure it does not boil.
Molding and Setting the Mixture
Once the gelatin is ready, pour in the fruit puree. Stir well to combine everything. Add lemon juice and a pinch of salt for extra flavor. Remove the saucepan from heat. Carefully pour the mixture into silicone molds or a lined baking dish. Allow it to sit at room temperature for about 30 minutes. Then, transfer it to the refrigerator. Chill for at least 2 hours until it sets completely. When set, pop the fruit snacks out of the molds or cut them into squares. Enjoy your fruity bliss chews!
Tips & Tricks
Achieving the Perfect Texture
To get the best texture, use ripe fruit. Ripe fruit has more natural juice. Blend your fruit until smooth. This helps create a nice chew. If you want a firmer snack, add a bit more gelatin. Just sprinkle it in while mixing. You can also try using agar-agar for a vegan option. It gives a great texture too.
Sweetness Adjustments
Taste your fruit puree before adding sweeteners. Some fruits are sweeter than others. If you want it sweeter, add honey or maple syrup. Start with just a little, then blend. You can always add more if needed. Keep in mind, the sweetness can change after chilling. So, taste again after it sets.
Presentation Ideas
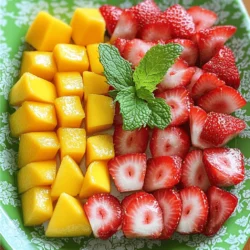
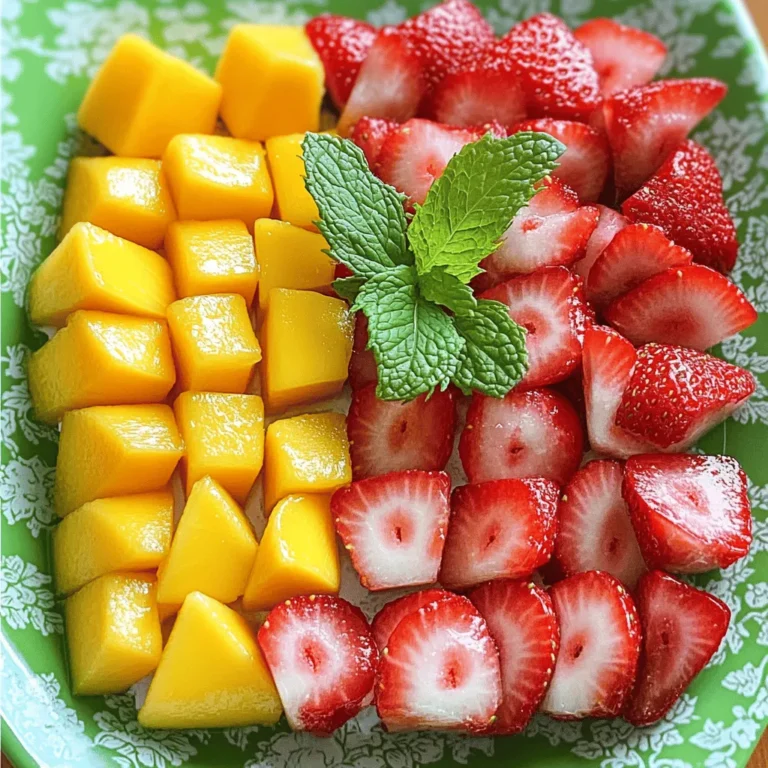
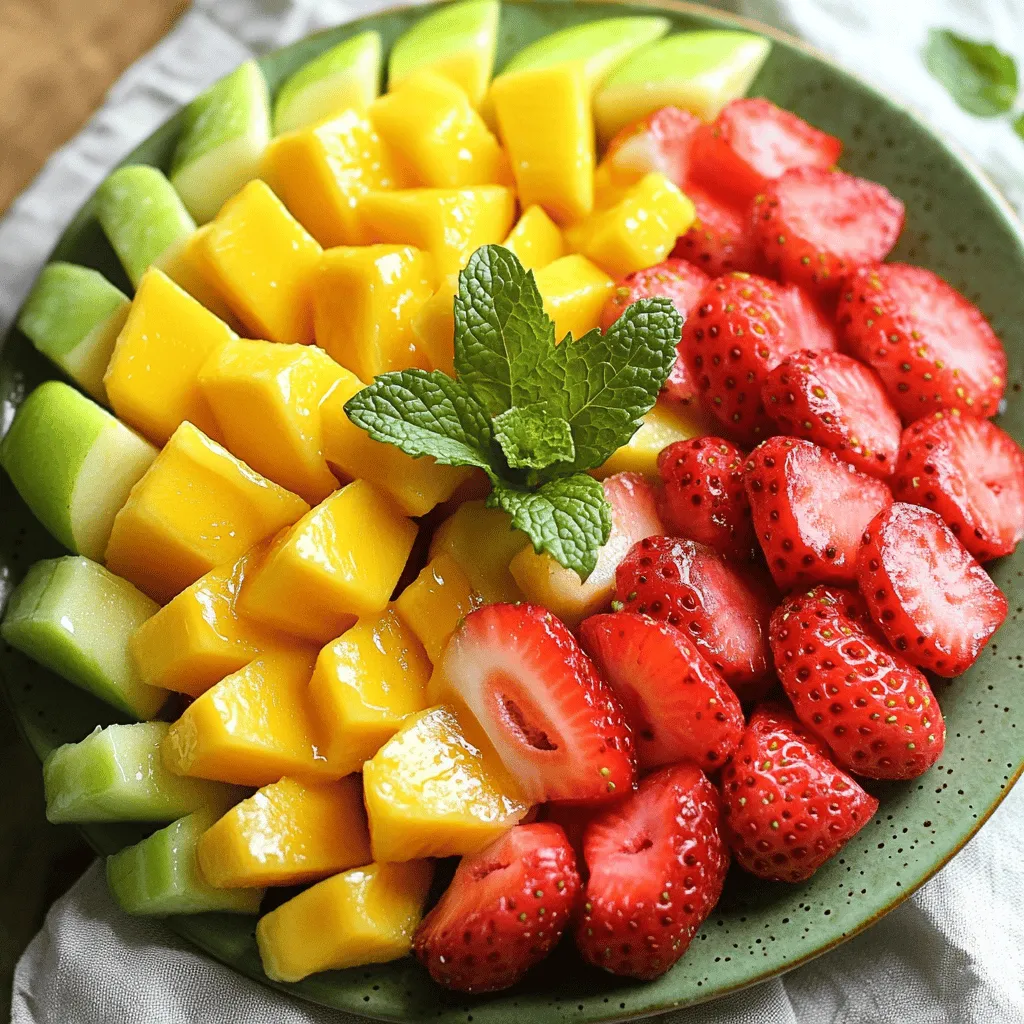
Make your fruit snacks look fun! Use bright molds in fun shapes. Arrange them on a colorful plate. You can add fresh mint leaves for a nice touch. This makes them look pretty and fresh. If you cut them into squares, stack them high for a fun display. Enjoy them at parties or in lunchboxes!
Variations
Using Different Fruit Combinations
You can mix different fruits to create unique flavors. Try berries like blueberries and raspberries. Apples and peaches also work well together. For a tropical twist, mix mangoes and pineapples. Always choose ripe fruit for the best taste. You want the fruit to be sweet and juicy. If you use tart fruit, adjust the sweetener to balance the flavor.
Alternative Sweeteners
You can substitute honey or maple syrup with other sweeteners. Agave syrup is a good choice and adds a nice taste. Stevia is another option if you want to cut sugar. Each sweetener has a different flavor, so taste as you go. Start with a small amount, then add more if needed. It’s all about finding the right sweetness for your palate.
Vegan-Friendly Options
For a vegan option, use agar-agar instead of gelatin. Agar-agar is made from seaweed and is a great plant-based thickener. Make sure to follow the package instructions for the best results. You can also skip honey and use maple syrup or agave. This way, everyone can enjoy these tasty treats. With these tips, you can make homemade fruit snacks that fit any diet.
Storage Info
Best Storage Practices
To keep your homemade fruit snacks fresh, store them in an airtight container. This helps to lock in flavor and moisture. You can use glass jars or plastic containers. Place a layer of parchment paper between layers if stacking them. This keeps them from sticking together.
Shelf Life of Homemade Snacks
Homemade fruit snacks can last up to one week in the fridge. Their freshness depends on the ingredients you use. If you notice any changes in smell or texture, it’s best to discard them. Always check for signs of spoilage before enjoying your snacks.
Freezing Instructions
If you want to enjoy your fruit snacks later, freezing is a great option. Place the snacks in a single layer on a baking sheet. Freeze them for about one hour. After that, transfer them to a freezer bag. Remove as much air as possible before sealing. They can last up to three months in the freezer. When you’re ready to eat them, just thaw in the fridge overnight. Enjoy your fruity bliss from the freezer!
FAQs
How long do homemade fruit snacks last?
Homemade fruit snacks can last up to one week. Store them in an airtight container. Keep them in the fridge to maintain freshness. If you want them to last longer, freeze them. They can stay good in the freezer for up to three months.
Can I use frozen fruits for this recipe?
Yes, you can use frozen fruits in this recipe. Just thaw them before blending. This makes it easy to enjoy fruit snacks any time of the year. Frozen fruits can still give you great flavor and texture.
What are the health benefits of homemade fruit snacks?
Homemade fruit snacks are healthier than store-bought ones. You control the ingredients and sugar levels. They are rich in vitamins, fiber, and antioxidants. Plus, they contain no artificial flavors or colors. This makes them a smart choice for kids and adults alike.
In this blog post, we explored how to make delicious homemade fruit snacks. We covered key ingredients like fresh fruits, sweeteners, and gelatin options. I shared step-by-step instructions for preparing puree, blooming gelatin, and setting the mixture. You gained tips for the perfect texture and fun presentation ideas.
Homemade fruit snacks are flexible, with variations to suit different tastes and diets. Store them well for lasting freshness. Making these snacks is easy and rewarding. Enjoy healthier treats made just for you!