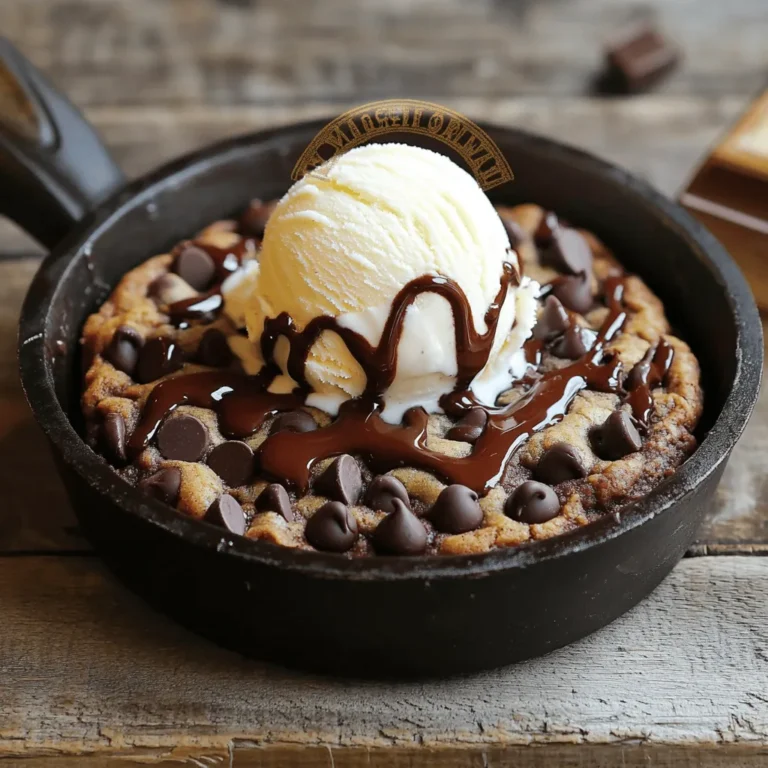
If you crave a warm, gooey dessert, you’re in the right place! This Chocolate Chip Cookie Skillet recipe is easy to make and perfect for sharing. It’s a crowd-pleaser with its soft center and crispy edges. Whether you’re a novice or a pro in the kitchen, this recipe will guide you step-by-step. Let’s dive into the ingredients and get started on this mouthwatering treat!
Ingredients
List of Ingredients
To make this chocolate chip cookie skillet, you need:
– 1 cup unsalted butter, softened
– 1 cup packed brown sugar
– 1/2 cup granulated sugar
– 1 teaspoon vanilla extract
– 2 large eggs
– 2 1/4 cups all-purpose flour
– 1 teaspoon baking soda
– 1/2 teaspoon salt
– 1 1/2 cups semi-sweet chocolate chips
– 1/2 cup chopped nuts (optional)
These ingredients come together to create a warm and gooey treat.
Ingredient Substitutions
You can swap some ingredients if you have dietary needs or preferences:
– Use coconut oil instead of butter for a dairy-free option.
– Replace brown sugar with coconut sugar for a lower glycemic index.
– Use gluten-free flour in place of all-purpose flour for a gluten-free version.
– If you do not have eggs, try using 1/4 cup unsweetened applesauce per egg.
– Dark chocolate chips can replace semi-sweet chips for a richer flavor.
These substitutions can still give you a tasty dessert.
Recommended Brands
For the best results, I recommend these brands:
– Butter: Kerrygold for a rich, creamy flavor.
– Chocolate Chips: Ghirardelli or Nestlé for quality and taste.
– Flour: King Arthur Flour for consistent results.
– Vanilla Extract: Nielsen-Massey for pure, real flavor.
Choosing trusted brands can make your dessert even better.
Step-by-Step Instructions
Preparation Steps
1. Preheat your oven to 350°F (175°C). Grease a 10-inch cast iron skillet.
2. In a large bowl, cream together 1 cup of softened butter, 1 cup of brown sugar, and 1/2 cup of granulated sugar. Mix until light and fluffy.
3. Add 1 teaspoon of vanilla extract and 2 large eggs to the butter mix. Stir well until everything is mixed.
4. In another bowl, whisk together 2 1/4 cups of all-purpose flour, 1 teaspoon of baking soda, and 1/2 teaspoon of salt. This is your dry mix.
5. Gradually add the dry mix to the wet mix. Stir until just combined. Do not overmix!
6. Fold in 1 1/2 cups of semi-sweet chocolate chips and 1/2 cup of chopped nuts, if you want.
Baking Instructions
7. Spoon the cookie dough into the prepared skillet. Spread it evenly to cover the bottom.
8. Bake in the preheated oven for 25-30 minutes. Look for golden edges and a soft center.
Cooling and Serving Tips
9. Remove the skillet from the oven and let it cool for a few minutes.
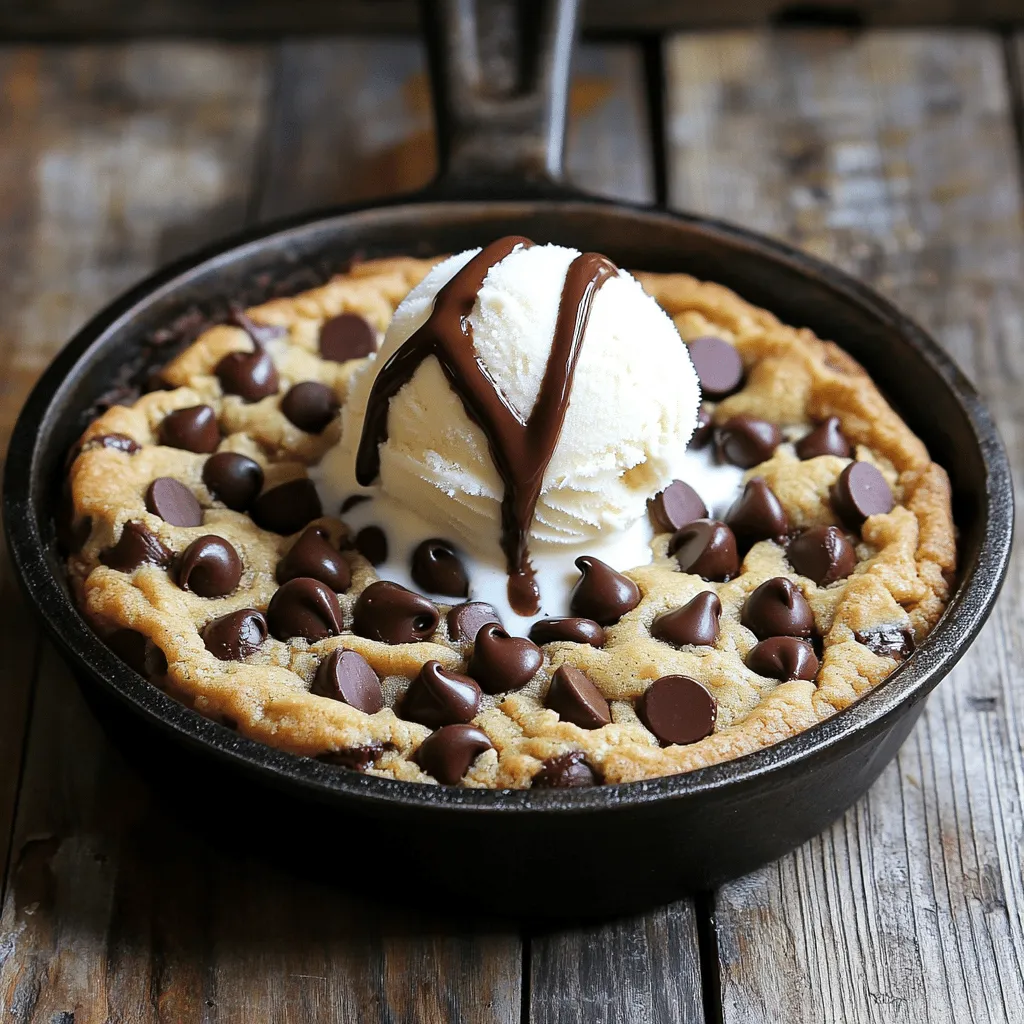
10. Serve warm, right from the skillet. Top with a scoop of vanilla ice cream and drizzle with chocolate sauce. Enjoy this delicious dessert with friends or family!
Tips & Tricks
How to Achieve the Perfect Texture
To get the best texture in your chocolate chip cookie skillet, focus on the butter. Use softened, unsalted butter. This helps create a creamy base. Make sure to cream it well with the sugars until it’s light. This adds air to your dough, making it fluffy. Don’t overmix after adding the flour. Mix just until combined. This keeps your cookie soft and chewy. Bake until the edges are golden but the center is still soft. This will create a nice contrast in textures.
Common Mistakes to Avoid
One common mistake is not measuring the flour correctly. Too much flour can make the cookie dry. Use a spoon to scoop the flour into your measuring cup. Don’t pack it down. Another mistake is baking too long. Every oven is different. Start checking your cookie skillet a few minutes early. If you see golden edges and a slightly soft center, it’s ready. Lastly, don’t skip the resting time. Letting it cool for a few minutes helps set the texture.
Serving Suggestions
Serve your chocolate chip cookie skillet warm for the best taste. Top it with a scoop of vanilla ice cream. The heat from the cookie melts the ice cream, creating a perfect blend. You can also drizzle some chocolate sauce over the top. Add chopped nuts for extra crunch if you like. For a fun twist, try adding fresh berries on the side. These add a burst of flavor and color to your plate.
Variations
Different Types of Chocolate to Use
You can change the chocolate chips in your skillet cookie. Try dark chocolate for a rich taste. Milk chocolate offers a sweet, creamy flavor. You may even mix different types for a fun twist. White chocolate adds a nice contrast too. Each type will give your cookie a new look and taste.
Nut Alternatives
If you want to add nuts, there are many choices. Walnuts bring a nice crunch and flavor. Pecans add a buttery taste. If you prefer no nuts, skip them altogether. You could also use seeds like sunflower or pumpkin seeds. These give a similar crunch without the nutty flavor.
Additional Toppings and Mix-Ins
Consider adding toppings for extra joy. Sprinkling sea salt on top can enhance the flavors. You might try adding caramel sauce for sweetness. A scoop of ice cream makes it a treat. For fun, mix in candy pieces like M&Ms or toffee bits. Each topping makes your cookie skillet even more special.
Storage Info
How to Store Leftovers
To keep your chocolate chip cookie skillet fresh, let it cool first. Once cool, cover the skillet tightly with plastic wrap or aluminum foil. You can also transfer leftovers to an airtight container. Store it at room temperature if you plan to eat it within two days. If you want to keep it longer, place it in the fridge for up to a week.
Reheating Instructions
When you are ready to enjoy your leftover cookie skillet, preheat your oven to 350°F (175°C). Place the skillet in the oven for about 10 minutes. This warms the cookie and helps it regain its soft texture. You can also use the microwave. Just heat a slice for about 20-30 seconds. Be careful not to overheat it, or it may become tough.
Freezing Tips
If you want to save some cookie skillet for later, freezing is a great option. First, let the skillet cool completely. Then, cut the cookie into slices. Wrap each slice tightly in plastic wrap, then place them in a freezer-safe bag or container. You can freeze it for up to three months. When ready to eat, thaw in the fridge overnight and reheat as needed.
FAQs
Can I make this cookie skillet ahead of time?
Yes, you can prepare the cookie dough in advance. Mix it up and store it in the fridge for up to 24 hours. When you’re ready to bake, just spread the dough in the skillet and bake as usual. This makes it easy to serve fresh, warm cookies right when you want them.
How do I know when the cookie is done baking?
Check the edges of the cookie. They should be golden brown. The center might look a bit soft, and that’s okay. It will firm up as it cools. A toothpick inserted in the center should come out with a few moist crumbs.
Can I use a different skillet type?
Yes, you can use any oven-safe skillet. A cast iron skillet works best for even cooking. If you don’t have one, a metal or ceramic skillet will also work. Just make sure it can handle the oven heat.
This article explored the key ingredients, step-by-step instructions, and expert tips for making a cookie skillet. I shared ingredient substitutions and brand recommendations to help you enjoy the best flavor. You now know how to achieve the perfect texture and avoid common mistakes. With variations and storage info, you can customize your recipe and enjoy leftovers. Follow these guidelines to create a delightful treat that suits your taste. Enjoy baking your cookie skillet!

