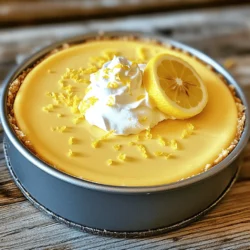
Looking for a dessert that dazzles without the fuss? You’re in the right place! This No-Bake Lemon Cheesecake is a light, bright treat that’s simple to make and perfect for any occasion. With refreshing lemon flavor and a creamy texture, it’s sure to wow your friends and family. Let me guide you through the easy steps to create this tempting dessert delight. Your taste buds will thank you!
Ingredients
Key Ingredients for No-Bake Lemon Cheesecake
To make a delightful no-bake lemon cheesecake, you need these ingredients:
– 1 ½ cups graham cracker crumbs
– ½ cup unsalted butter, melted
– 1 tablespoon sugar
– 2 cups cream cheese, softened
– 1 cup powdered sugar
– 1/3 cup fresh lemon juice
– Zest of 1 lemon
– 1 teaspoon vanilla extract
– 1 cup heavy whipping cream
These key ingredients create a creamy texture and bright flavor. The graham cracker crumbs form a tasty crust. The cream cheese gives the cheesecake its rich base. Fresh lemon juice and zest add a refreshing zing that makes each bite special.
Optional Garnishes and Toppings
You can enhance your cheesecake with these fun toppings:
– Whipped cream dollops
– Extra lemon zest
– Thin lemon slices
– Fresh berries
These garnishes add color and extra flavor. They also make your dessert look more appealing. Feel free to get creative with your toppings!
Tools and Equipment Needed
To prepare your no-bake lemon cheesecake, gather these tools:
– Mixing bowls
– Electric mixer
– Spatula
– 9-inch springform pan
– Plastic wrap
Having the right tools makes the process smooth and easy. The springform pan is key for easy removal. You’ll love how simple it is to whip up this dessert!
Step-by-Step Instructions
Preparing the No-Bake Crust
First, gather these ingredients:
– 1 ½ cups graham cracker crumbs
– ½ cup unsalted butter, melted
– 1 tablespoon sugar
In a mixing bowl, combine the graham cracker crumbs, melted butter, and sugar. Stir until the crumbs feel like wet sand. This mixture should hold together when pressed. Next, take a 9-inch springform pan and press the crumb mix into the bottom. Make it even and compact. Chill the crust in the refrigerator for about 30 minutes. This helps it firm up nicely.
Making the Lemon Cream Cheese Filling
Now, let’s create the creamy filling. You’ll need:
– 2 cups cream cheese, softened
– 1 cup powdered sugar
– 1/3 cup fresh lemon juice
– Zest of 1 lemon
– 1 teaspoon vanilla extract
– 1 cup heavy whipping cream
In a large bowl, beat the softened cream cheese with an electric mixer. Make it smooth and creamy. Gradually add the powdered sugar, mixing well each time. This keeps the filling sweet without lumps. Then, pour in the fresh lemon juice, lemon zest, and vanilla extract. Beat again until it’s fluffy and smooth.
Now, in a separate bowl, whip the heavy cream until stiff peaks form. Gently fold this whipped cream into the lemon mixture. Be careful; you don’t want to lose that airiness. This step makes your cheesecake light and airy.
Setting and Serving the Cheesecake
After making the filling, remove the chilled crust. Pour the lemon filling over it and smooth the top with a spatula. Cover the cheesecake tightly with plastic wrap. Chill it in the refrigerator for at least 4 hours. For the best results, leave it overnight.
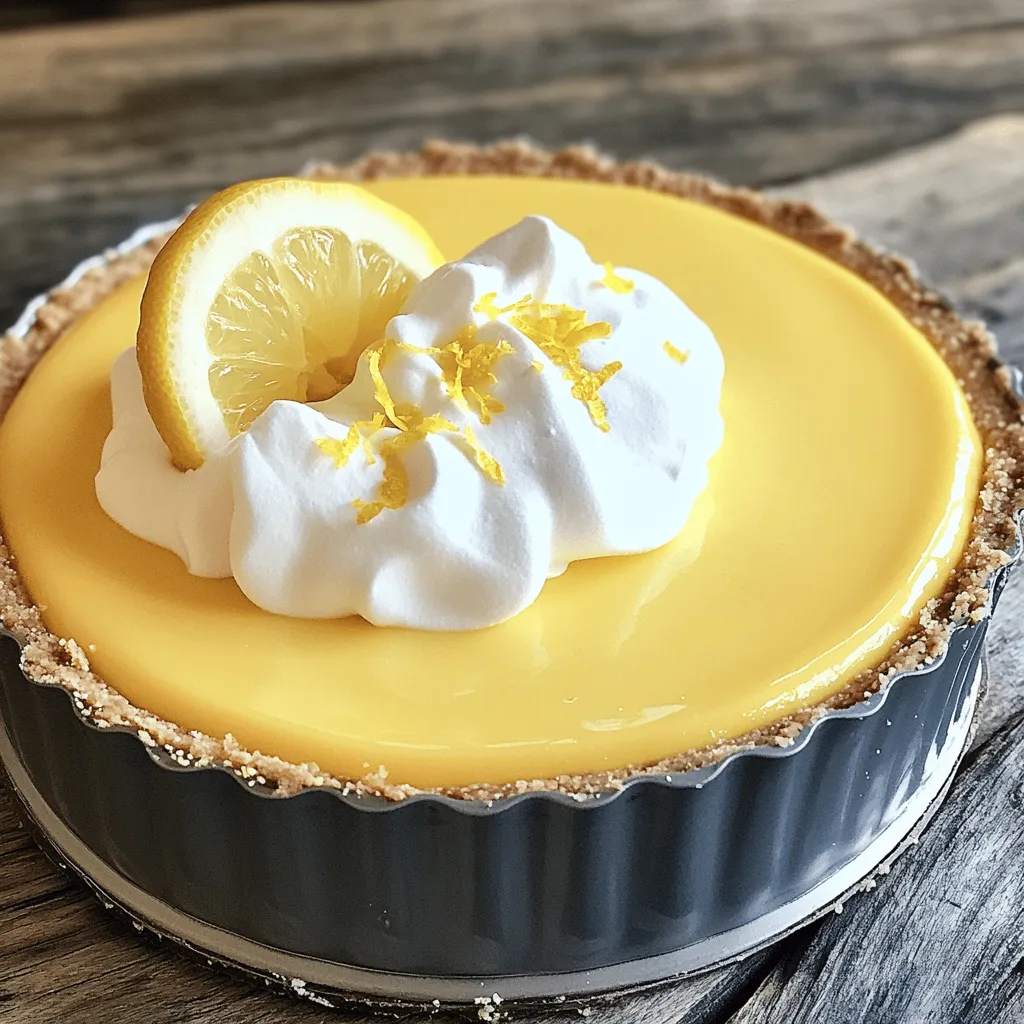
When it’s set, carefully remove the sides of the springform pan. Slice your cheesecake and serve it cold. For a lovely touch, add a dollop of whipped cream, a sprinkle of lemon zest, and a slice of fresh lemon on each piece.Enjoy!
Tips & Tricks
How to Achieve the Best Texture
To get the best texture for your no-bake lemon cheesecake, make sure your cream cheese is very soft. Take it out of the fridge an hour before you start. This warmth helps it blend smoothly. When you fold in the whipped cream, do it gently. This keeps the air in and makes your cheesecake light and fluffy.
Common Mistakes to Avoid
One big mistake is not chilling the crust long enough. If it’s not cold, the filling won’t set well. Another common error is overmixing the cream cheese. This can make your cheesecake dense. Lastly, don’t skip the lemon zest. It adds a pop of flavor that brightens the whole dessert.
Presentation Tips for Serving
Presentation is key for any dessert. After slicing your cheesecake, add a dollop of whipped cream to each piece. This makes it look fancy and inviting. Sprinkle some lemon zest on top for color. A slice of fresh lemon on the plate adds a cheerful touch. For a fun twist, serve it with fresh berries on the side.
Variations
Different Flavor Ideas for Your Cheesecake
You can change up the flavor of your cheesecake easily. Try adding fruit! Fresh strawberries or blueberries mix really well. For a tropical twist, use lime juice instead of lemon. You might also love using orange zest for a bright, new flavor. Mix in some chocolate or caramel for a richer taste. You can even swirl in raspberry puree for a fun look!
Substitutions for Ingredients
If you’re missing an ingredient, don’t worry. You can use any cookie crumbs for the crust. Vanilla wafers or digestive biscuits work great. For cream cheese, try mascarpone or ricotta cheese. If you want a lighter version, use Greek yogurt instead. You can swap heavy cream for coconut cream for a dairy-free option.
Serving Suggestions for Special Occasions
This cheesecake shines at any event. For birthdays, add colorful sprinkles on top. At summer barbecues, serve with fresh berries and mint leaves. For holidays, top with whipped cream and a dusting of graham crumbs. You can create individual cups for easy serving. Just layer the crust and filling in small jars. Everyone will love this fun treat!
Storage Info
How to Properly Store Your No-Bake Lemon Cheesecake
To keep your no-bake lemon cheesecake fresh, store it in the fridge. Use an airtight container or cover it tightly with plastic wrap. This helps prevent the cheesecake from drying out or absorbing other smells. Place it on a flat surface to avoid any damage. Refrigerate it for up to five days.
Freezing Instructions
You can also freeze your cheesecake for longer storage. First, make sure it is fully set. Slice the cheesecake into pieces. Wrap each slice in plastic wrap, then place them in a freezer-safe bag. This keeps the cheesecake fresh for up to three months. When ready to enjoy, thaw it in the fridge overnight.
Shelf Life and Safety Tips
The shelf life of your no-bake lemon cheesecake is about five days in the fridge. Always check for any off smells or changes in texture before eating. If you see any signs of spoilage, it’s best to discard it. For frozen cheesecake, use it within three months for the best taste and texture. Enjoy this refreshing treat safely!
FAQs
How do I know when my cheesecake is set?
You can tell your cheesecake is set when it feels firm to the touch. After chilling, the edges will be slightly firmer than the center. The center should jiggle a bit, like Jell-O. If it appears too soft, let it chill longer. Ideally, chill it overnight for the best results. This ensures a creamy texture that melts in your mouth.
Can I use fresh lemon juice or bottled juice?
You can use both fresh and bottled lemon juice. However, fresh lemon juice offers a stronger flavor. Fresh lemons add brightness and zest to your cheesecake. Bottled juice works well if fresh lemons aren’t available. Just choose a quality brand for the best taste.
Is it necessary to use a springform pan?
Using a springform pan is not necessary, but it helps. This pan allows easy removal of the cheesecake. If you don’t have one, use a regular pie dish. Just be careful when slicing and serving from a standard pan.
How can I make a gluten-free version?
To make a gluten-free no-bake lemon cheesecake, swap the graham crackers. Look for gluten-free graham cracker crumbs or use crushed nuts. Almonds or pecans can create a tasty crust. Just ensure all ingredients are labeled gluten-free for safety.
This no-bake lemon cheesecake is simple and fun to make. We covered key ingredients, step-by-step instructions, and helpful tips. Remember to avoid common mistakes and choose your toppings wisely. Feel free to try different flavors or make it gluten-free. Proper storage helps keep your cheesecake fresh longer. Enjoy your creation at any special event. Now, you have all the tools to impress friends and family with your delicious dessert. Happy baking!