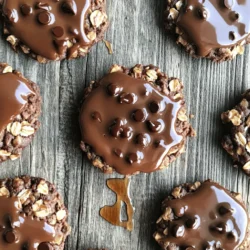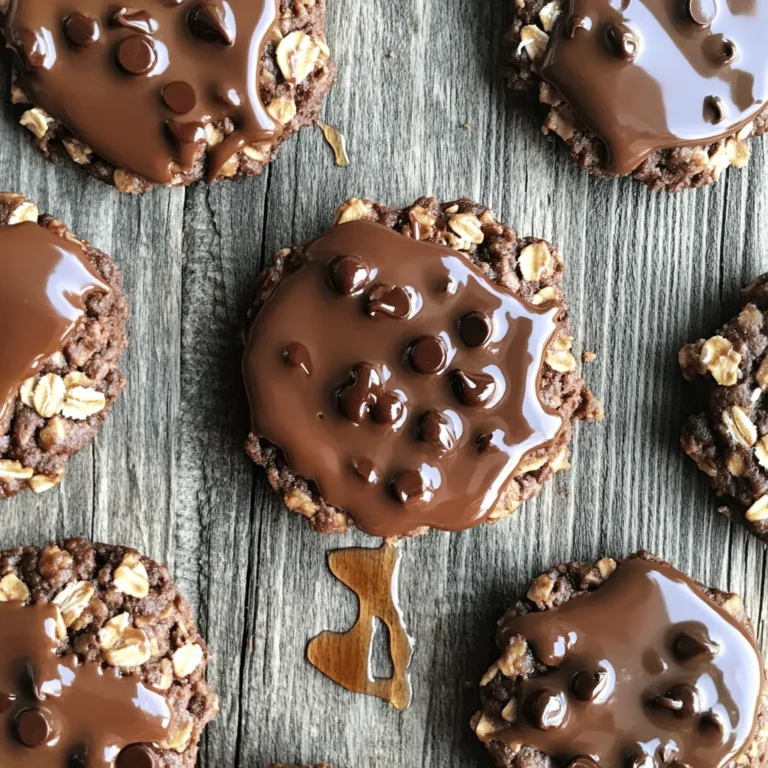
Are you craving something sweet but want to skip the oven? I’ve got you covered with easy No Bake Chocolate Oatmeal Cookies. These simple treats use rolled oats, creamy peanut butter, and maple syrup. Perfect for any occasion, these cookies are quick to make and delicious to eat. Let’s explore how to create this tasty snack that everyone will love—no baking needed!
Ingredients
Essential Ingredients
– 1 cup rolled oats
– 1/2 cup creamy peanut butter
– 1/2 cup maple syrup
– 1/4 cup unsweetened cocoa powder
– 1/4 cup coconut oil, melted
– 1 teaspoon vanilla extract
– 1/4 teaspoon salt
These ingredients form the heart of your no-bake chocolate oatmeal cookies. Rolled oats give the cookies their chewy texture. Creamy peanut butter adds richness and flavor. Maple syrup sweetens the mix naturally. Unsweetened cocoa powder brings a deep chocolate taste. Coconut oil helps bind everything together and adds healthy fats. Vanilla extract lifts the flavors. A pinch of salt balances the sweetness.
Optional Ingredients
– 1/2 cup chocolate chips
– 1/4 cup shredded coconut
While the essential ingredients create a great cookie, optional ingredients can elevate the experience. Chocolate chips add extra sweetness and gooeyness. Shredded coconut enhances the texture and gives a tropical twist. You can mix and match these based on your taste.
Equipment Needed
– Medium saucepan
– Mixing bowl
– Parchment paper
To make these cookies, you need a few simple tools. A medium saucepan helps melt and mix your ingredients smoothly. A mixing bowl is essential for combining dry and wet components. Parchment paper makes cookie placement easy and helps with cleanup. With this equipment, you’re ready to create delicious treats.
Step-by-Step Instructions
Preparing the Chocolate Mixture
In a medium saucepan, combine the maple syrup, melted coconut oil, cocoa powder, and creamy peanut butter. Heat the mixture over low heat. Stir continuously until it becomes smooth. This should take about five minutes. The goal is to blend all the ingredients well, creating a rich chocolate base.
Mixing Dry Ingredients
While the chocolate mixture heats, grab a large mixing bowl. Add the rolled oats, optional chocolate chips, and shredded coconut. Mix these dry ingredients together well. This step is key to ensuring a balanced flavor in each cookie.
Forming the Cookies
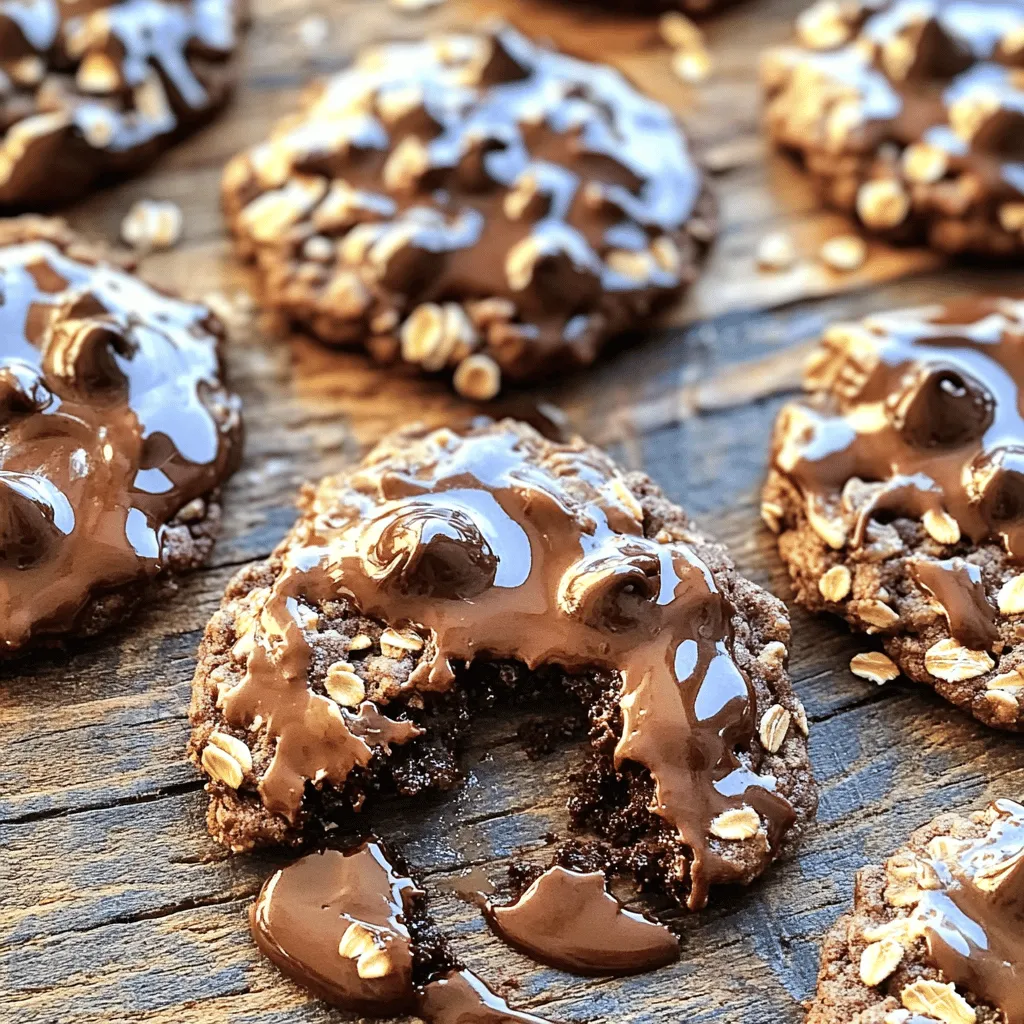
Now, pour the warm chocolate mixture over the dry ingredients in your bowl. Stir until everything is well coated. Using a spoon or cookie scoop, drop spoonfuls of the mixture onto a parchment-lined baking sheet. Flatten each scoop slightly to form cookie shapes. Finally, refrigerate the cookies for at least 30 minutes. This helps them set and firm up nicely. Enjoy your delicious cookies!
Tips & Tricks
Achieving the Right Consistency
To get the right consistency for your no-bake cookies, ensure your mixture is thick but not too dry. If it feels too dry, add a splash of coconut oil or maple syrup. This will help bring it together nicely. You want the mixture to stick together well when you scoop it.
Check for stickiness by pressing a spoon into the mix. If it holds its shape, you’re good to go. If it crumbles, add a bit more peanut butter or syrup. This simple test helps you find the perfect texture.
Enhancing Flavor
You can easily enhance the flavor of these cookies. Consider adding a pinch of cinnamon or a dash of nutmeg for warmth. A splash of almond or coconut extract can also bring a nice touch.
If you want a nut-free option, swap peanut butter for sunbutter or soy nut butter. These alternatives work well and add a unique flavor. You can also try using almond butter for a different taste twist.
Presentation Ideas
To make these cookies extra special, drizzle some melted chocolate on top. Just melt a bit of chocolate and use a fork to create a fun design. It adds a nice touch and makes them look fancy.
For serving, place the cookies on a colorful plate or in a fun basket. You can even stack them up for a beautiful display. These simple ideas make your cookies not just tasty but also a joy to share with friends and family.
Variations
Nut-Free Option
If you need a nut-free choice, consider using sunbutter or cashew butter. Sunbutter is made from sunflower seeds and tastes great in these cookies. It gives a nice creamy texture without nuts. Cashew butter is another good option. It is smooth and has a mild flavor that blends well.
Vegan Option
To make these cookies vegan, check all your ingredients. You can easily switch to maple syrup as your sweetener. Make sure your chocolate chips are dairy-free too. Brands like Enjoy Life offer great vegan chocolate chips. Using coconut oil and dark cocoa powder ensures your cookies remain vegan-friendly. This way, everyone can enjoy these tasty treats!
Healthier Versions
You can make healthier versions of these cookies by reducing sweeteners. Try cutting the maple syrup by a quarter cup. You can also add protein powder to boost the nutrition. A scoop of vanilla or chocolate protein powder blends well into the mixture. This adds a protein punch without changing the flavor much. Plus, it makes for a more filling snack!
Storage Info
How to Store Cookies
To keep your no-bake chocolate oatmeal cookies fresh, use an airtight container. A glass jar works great, as does a plastic container with a tight seal. Make sure the cookies are cool before you store them. This prevents moisture from forming inside. If you live in a warm area, refrigeration helps. Place the cookies in the fridge to keep them firm and tasty.
Shelf Life
You should eat these cookies within a week for the best taste. After that, they might lose some flavor and texture. Signs of spoilage include a change in smell or a sticky feel. If they look dry or hard, it’s best to toss them out. Always trust your senses when checking for freshness.
Freezing Options
Freezing your cookies is a smart way to extend their life. To freeze, place the cookies in a single layer on a baking sheet. Once frozen, transfer them to a freezer bag or container. Be sure to remove as much air as possible. For thawing, take them out of the freezer and leave them at room temperature for about 30 minutes. You can also heat them in the microwave for a few seconds. Enjoy your no-bake chocolate oatmeal cookies any time!
FAQs
Can I use quick oats instead of rolled oats?
Yes, you can use quick oats. Quick oats cook faster and have a finer texture. This can make your cookies softer and less chewy. Rolled oats give a heartier bite and a nice chew. If you like a chewier cookie, stick with rolled oats. If you want a softer cookie, quick oats work well.
What can I use instead of maple syrup?
If you don’t have maple syrup, use honey or agave syrup. Both will add sweetness just like maple syrup. You can also try brown sugar mixed with a bit of water. This mix can mimic syrup’s sweetness. Each alternative will slightly change the flavor, but they all work great in cookies.
How can I customize the flavor of no-bake cookies?
You can add many different flavors to your cookies. Try adding spices like cinnamon or nutmeg for warmth. You can also use different extracts, like almond or coconut. For mix-ins, consider chopped nuts, dried fruit, or seeds. Each option will change the taste and texture, making it your own.
Are no-bake chocolate oatmeal cookies healthy?
These cookies can be a healthy treat! They use oats, which are high in fiber. The peanut butter offers protein and healthy fats. The cocoa powder provides antioxidants. However, watch the added sweeteners. You can adjust the amount of maple syrup to lower the sugar content. Overall, they are a tasty and nutritious snack.
This guide covers how to make tasty no-bake chocolate oatmeal cookies. You learned about key ingredients like rolled oats, peanut butter, and maple syrup. We discussed easy steps to mix, form, and chill your cookies. You also found tips for flavor and storage.
In the end, these cookies are simple to customize and fun to make. Enjoy testing your flavors and sharing with friends! Happy cooking!