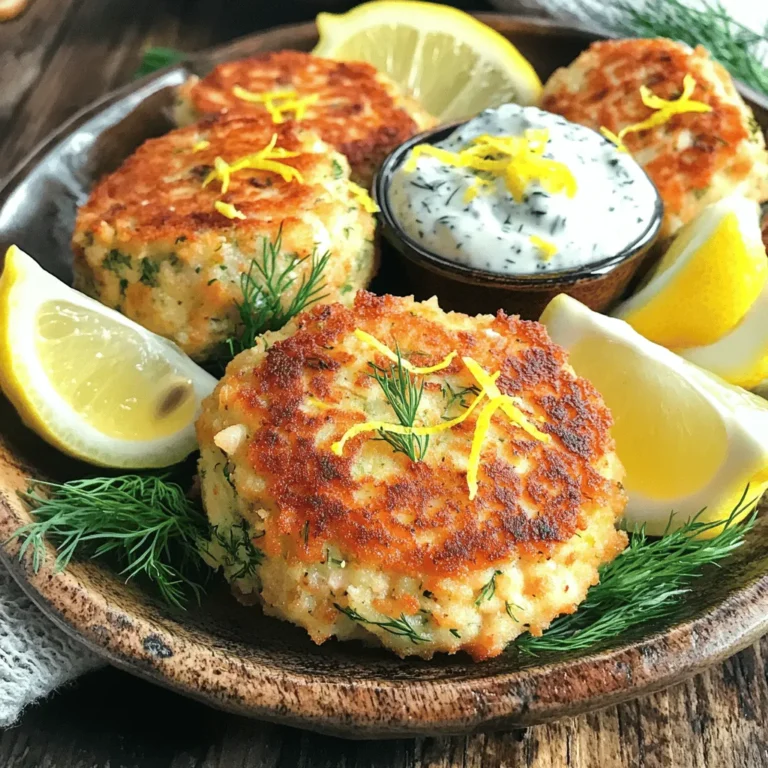
Do you want a dish that’s easy, tasty, and healthy? Look no further! My Lemon Dill Salmon Cakes are a delightful choice for any meal. Using fresh ingredients and quick steps, these cakes offer a burst of flavor. Plus, they are simple to make and perfect for your family. Let’s dive into this recipe that keeps me coming back for more. You won’t want to miss this!
Ingredients
Complete list of ingredients
To make Lemon Dill Salmon Cakes, you need the following:
– 1 can (14.75 oz) wild-caught salmon, drained and flaked
– 1/2 cup breadcrumbs (preferably panko for extra crunch)
– 1 large egg, beaten
– 2 tablespoons fresh dill, chopped
– 1 tablespoon lemon zest
– 2 tablespoons lemon juice
– 1 green onion, finely chopped
– 1/4 teaspoon garlic powder
– 1/4 teaspoon black pepper
– 1/2 teaspoon salt
– 2 tablespoons olive oil (for frying)
Importance of using fresh versus canned salmon
Using fresh salmon gives a vibrant taste, but canned salmon is great too. Canned salmon is easy, quick, and still tasty. It’s also packed with nutrients. Look for wild-caught salmon if possible. This type offers better flavor and health benefits.
Alternatives to traditional ingredients
If you need gluten-free options, use gluten-free breadcrumbs. They work well and still keep the cakes crispy. You can also use crushed crackers instead of breadcrumbs. This gives a different texture but is still delicious. For a lighter option, try baking instead of frying. Just add a bit of olive oil to help with crispiness.
Step-by-Step Instructions
Preparing the salmon cake mixture
To start, grab a large mixing bowl. Open your can of wild-caught salmon and drain it well. Flake the salmon with a fork. Add in 1/2 cup of breadcrumbs. I like to use panko for extra crunch. Next, crack one large egg into the bowl and beat it lightly. This helps bind the mixture. Then, add 2 tablespoons of fresh dill, 1 tablespoon of lemon zest, and 2 tablespoons of lemon juice. Don’t forget the 1 finely chopped green onion, 1/4 teaspoon of garlic powder, 1/4 teaspoon of black pepper, and 1/2 teaspoon of salt.
Mix everything together until it’s well combined. If your mixture feels dry, add a little more lemon juice. If it’s too wet, toss in more breadcrumbs. You want a nice, moldable texture.
Shaping the patties effectively
Now, it’s time to shape the mixture into patties. Take a handful of the mixture and form it into a ball. Then, press it down gently to make a patty that is about 2-3 inches wide. Make sure the patties hold their shape. If they crumble, try adding more egg or breadcrumbs. Place the shaped patties on a plate as you go. This step is key for easy cooking later.
Cooking tips for achieving the perfect crispiness
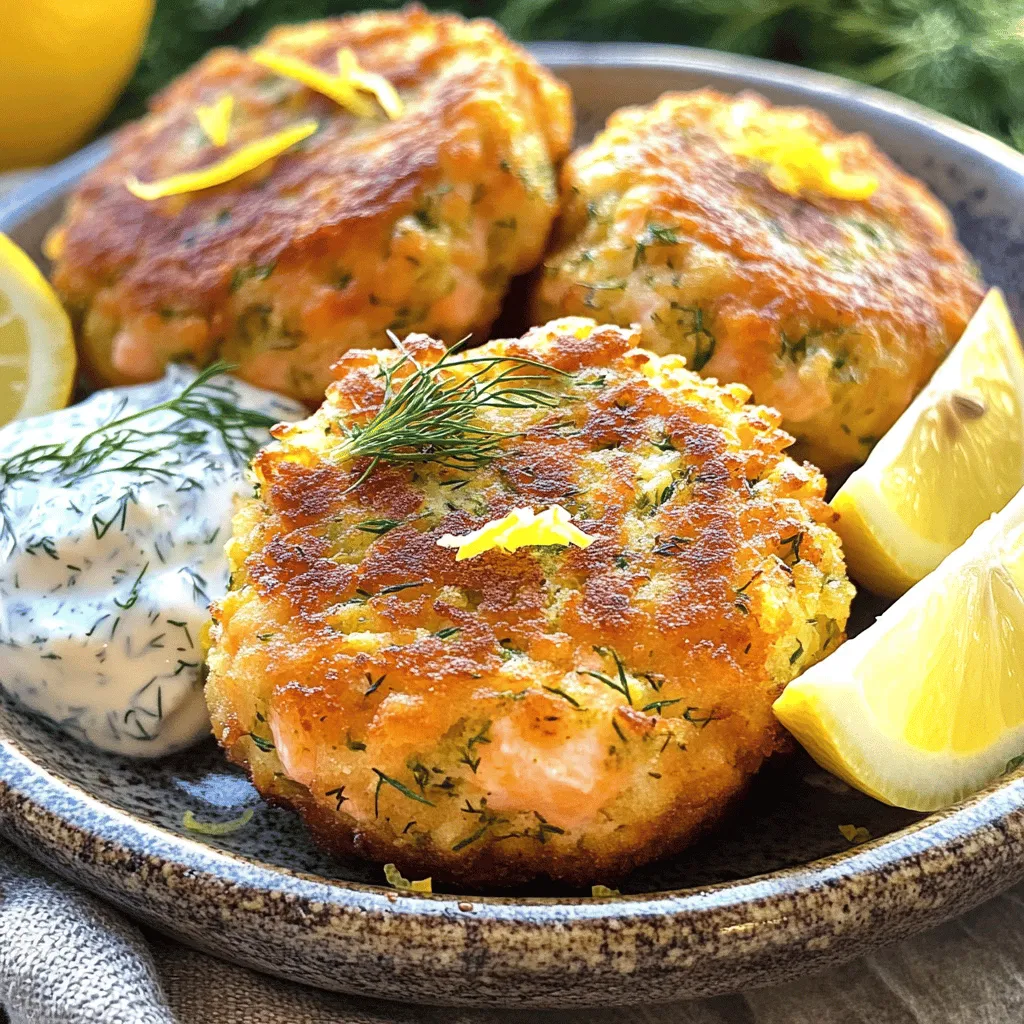
Heat 2 tablespoons of olive oil in a large skillet over medium heat. You want the oil hot but not smoking. Once ready, carefully place the salmon cakes in the skillet. Work in batches if needed, giving them space. Cook each patty for about 4-5 minutes. You want them golden brown and crispy on each side. After cooking, remove them from the skillet and set them on a paper towel. This helps soak up any extra oil. Enjoy your crispy salmon cakes warm, with some lemon wedges on the side.
Tips & Tricks
How to tell when the salmon cakes are done
You can tell when the salmon cakes are done by looking for a golden brown color. Each side should be crispy and firm to the touch. If you press gently, the cakes should bounce back a bit. The internal temperature should reach 145°F for safe eating. Trust your eyes and touch; they will guide you!
Common mistakes to avoid
One common mistake is not draining the salmon well. If you skip this step, the mixture can become too wet. This makes it hard to form patties. Another mistake is flipping the cakes too soon. Let them cook undisturbed for 4-5 minutes to form a nice crust. Finally, don’t skip the breadcrumbs, as they add crunch.
Recommended tools for making the process easier
Using a large mixing bowl makes combining ingredients easy. A spatula or spoon helps mix things well. A frying pan with a non-stick surface is great for cooking. If you want uniform patties, use a measuring cup or a mold. Lastly, a thermometer can help you check the doneness of your salmon cakes.
Variations
Adding vegetables for extra nutrition
You can easily boost your Lemon Dill Salmon Cakes by adding veggies. Try mixing in finely chopped bell peppers, carrots, or zucchini. These add color and crunch. Plus, they increase the nutrition in your meal. Aim for about half a cup of veggies. Make sure to chop them small. This way, they blend well into the salmon mixture.
Flavor variations
If you want to change the flavor, try using different herbs or spices. Fresh parsley or cilantro can add a new twist. You might also like to add some capers for a briny kick. For a spicy touch, try adding a pinch of cayenne pepper or paprika. Just remember to adjust the salt if you add salty ingredients like capers.
Baking versus frying: what you need to know
Baking is a great option if you want a lighter dish. Preheat your oven to 375°F. Place the salmon cakes on a lined baking sheet. Bake for about 15-20 minutes until they are golden. Frying gives a crispy texture that many enjoy. Use medium heat and flip them carefully to avoid breaking. Both methods yield tasty results, so choose what suits your taste best!
Storage Info
How to store leftover salmon cakes
To store leftover salmon cakes, place them in an airtight container. Make sure they cool down first. Layer parchment paper between the cakes to prevent sticking. Store them in the fridge for up to three days. This keeps them fresh and tasty.
Reheating tips to maintain texture and flavor
To reheat your salmon cakes, use a skillet. Heat it over medium heat and add a small amount of oil. Place the cakes in the skillet for about three to four minutes on each side. This method helps keep them crispy. You can also use an oven. Preheat it to 350°F (175°C) and bake the cakes for about 10 minutes. This way, they warm up evenly without losing texture.
Freezing instructions for meal prep
You can freeze salmon cakes for later meals. First, shape the patties but do not cook them. Place the uncooked cakes in a single layer on a baking sheet. Freeze them for about an hour until firm. Then, transfer them to a freezer bag. Squeeze out the air and seal it well. They can stay frozen for up to three months. When you’re ready to eat, cook them straight from the freezer. Just add a few extra minutes to the cooking time. This makes meal prep easy and convenient.
FAQs
Can I use fresh salmon instead of canned?
Yes, you can use fresh salmon. Just cook it first, then flake it. Fresh salmon gives a nice flavor. It will also make your cakes taste more rich. Just make sure to remove any bones before mixing it.
What sides pair well with Lemon Dill Salmon Cakes?
Several sides go great with these salmon cakes. Here are a few ideas:
– A simple green salad with light dressing
– Roasted vegetables like asparagus or carrots
– Crispy potato wedges or sweet potato fries
– Steamed rice or quinoa for a filling meal
These sides make a colorful plate and balance the flavor of the cakes.
How to make the dish dairy-free or vegetarian?
To make this dish dairy-free, skip any dairy sauces. Use a dairy-free yogurt for serving. For a vegetarian option, try using chickpeas or mashed beans instead of salmon. You can season them with the same herbs and spices for tasty cakes.
This post covered how to create delicious salmon cakes. We explored the ingredients, from fresh versus canned salmon to gluten-free options. I walked you through the steps to prepare and cook them perfectly. You learned tips for cooking and storing leftovers, plus variations to try.
Salmon cakes are versatile and tasty. With these methods and insights, you can enjoy them again and again. Happy cooking!

