
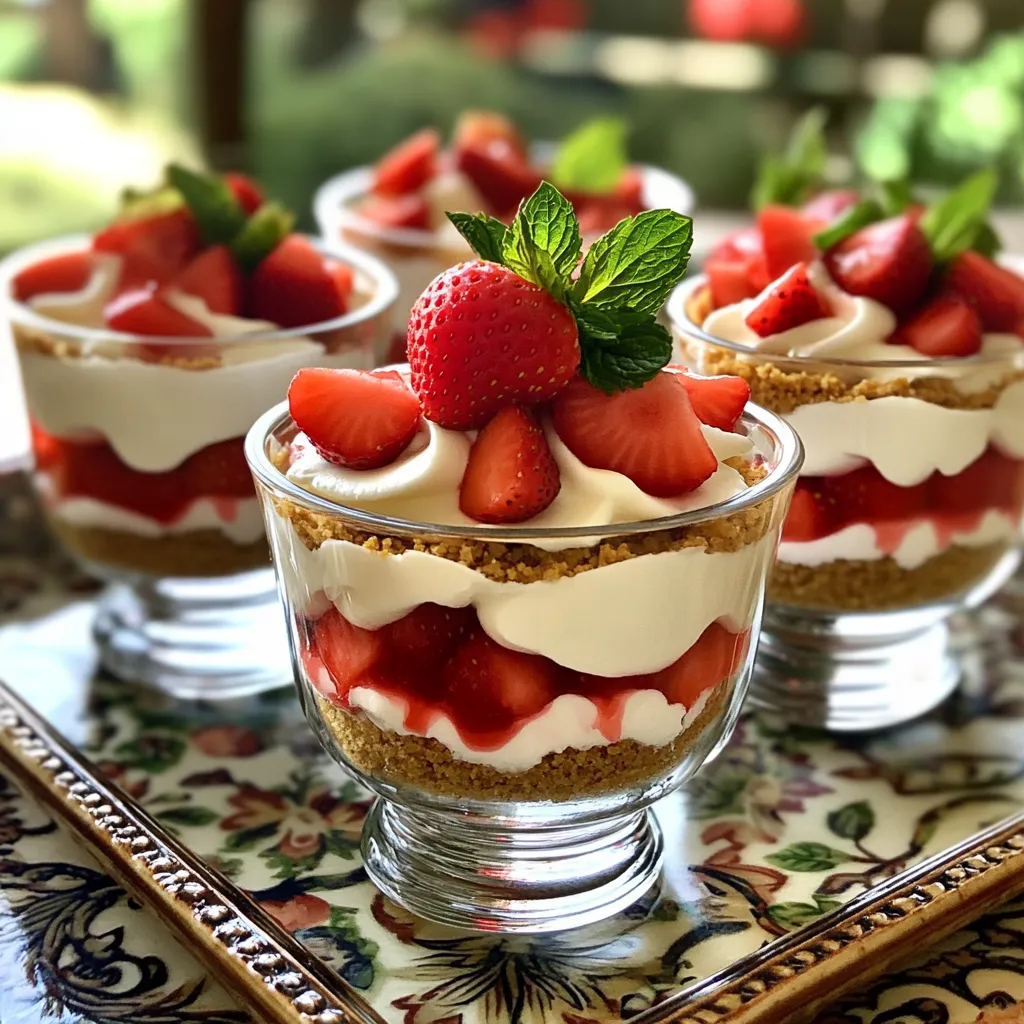
If you’re looking for a sweet treat that’s easy to make, you’re in the right place! These No-Bake Strawberry Cheesecake Cups are quick to whip up and perfect for any gathering. With a creamy filling and fresh strawberries, each cup is a delightful blend of flavors. I’ll guide you step-by-step so you can impress your friends and family without the hassle of baking. Let’s get started!
Ingredients
List of Necessary Ingredients
– 1 cup crushed graham crackers
– 4 tablespoons unsalted butter, melted
– 1 (8 oz) package cream cheese, softened
– 1/2 cup powdered sugar
– 1 teaspoon vanilla extract
– 1 cup whipped cream
– 1 cup fresh strawberries, diced
– Fresh whole strawberries for garnish
– Mint leaves for garnish (optional)
To make No-Bake Strawberry Cheesecake Cups, you need simple and fresh ingredients. First, the graham crackers form a crumbly base. You crush these crackers finely. Mix them with melted butter until it looks like wet sand. This mix will hold your cups together.
Next, cream cheese is key for the cheesecake filling. Make sure it is soft. This helps it mix smoothly. Add powdered sugar for sweetness and a hint of vanilla for flavor. These three ingredients create a rich, creamy blend.
Whipped cream adds lightness. You can use store-bought or homemade. Gently fold it into the cream cheese mixture. This keeps your filling fluffy and airy.
Don’t forget the strawberries! They add freshness and flavor. Diced strawberries sit between layers of creamy filling. You can also use whole strawberries to decorate the tops. Mint leaves bring a pop of color, too.
Gather all these items, and you’re ready to create a delightful dessert that everyone will love!
Step-by-Step Instructions
Preparing the Crust
To make the crust, start by mixing the crushed graham crackers and melted butter in a small bowl. Stir until it looks like wet sand. This ensures it will hold together well. Next, take about two tablespoons of this mixture and spoon it into the bottom of each cup. Press it down gently with your fingers or the back of a spoon. You want a firm base for your cheesecake.
Making the Cheesecake Filling
Now, let’s move on to the filling. In a medium bowl, beat the softened cream cheese until it is nice and smooth. Make sure there are no lumps for a creamy texture. Add in the powdered sugar and vanilla extract. Mix again until everything is well blended. Next, gently fold in the whipped cream. This step adds air and makes the filling light and fluffy. Be careful not to stir too hard, as you don’t want to lose that fluffiness.
Assembling the Cups
Assembling the cups is the fun part! Start by layering the cream cheese mixture over the crust in each cup. Fill them about halfway. Next, add a layer of diced strawberries on top of the cream cheese. This adds a fresh, fruity flavor. Then, top with the rest of the cream cheese mixture, filling the cups almost to the top. Finish with more diced strawberries on top. For a nice touch, garnish each cup with a whole strawberry and a mint leaf if you like. Finally, cover the cups and place them in the fridge for at least two hours. This will help the flavors meld and the cheesecake to set perfectly.
Tips & Tricks
Perfecting the Cheesecake Texture
Using room temperature ingredients is key. This helps the cream cheese mix smoothly. If your cream cheese is cold, it could be lumpy. Take it out of the fridge for about 30 minutes before you start.
When you fold in the whipped cream, do it gently. This keeps the mixture light and fluffy. Use a spatula and lift the cream from the bottom to the top. Don’t stir too hard; you don’t want to deflate the air.
Presentation Suggestions
For serving, get creative! Use clear cups so guests can see the layers. You can also use small mason jars for a rustic look. Place them on a pretty tray to make a nice display.
Garnishing makes a big difference. Top each cup with a whole strawberry for color. Adding a mint leaf gives a fresh touch. You can also sprinkle some crushed graham crackers on top for extra crunch.
Variations
Flavor Swaps
You can easily change the fruit in these cheesecake cups. Try blueberries or raspberries for a new taste. Just swap the strawberries for your favorite fruit. You can also add layers of chocolate or caramel. Melted chocolate drizzled on top adds a rich touch. A layer of caramel gives a sweet twist that kids will love.
Adjusting for Dietary Preferences
If you need a gluten-free option, look for gluten-free graham crackers. Many stores sell these, and they work well in this recipe. For vegan options, use dairy-free cream cheese and whipped cream. Coconut cream is a great substitute for whipped cream. These swaps keep the taste tasty and creamy while meeting dietary needs.
Storage Info
Best Practices for Refrigeration
You can store your no-bake strawberry cheesecake cups in the fridge for up to three days. It’s best to keep them covered. This helps keep the cups fresh and prevents them from absorbing other flavors in the fridge. Use plastic wrap or an airtight container for the best results.
Freezing Options
Yes, you can freeze cheesecake cups! They freeze well for up to a month. To do this, place the cups in a freezer-safe container. Make sure to leave some space at the top, as they may expand. When you’re ready to enjoy them, let the cups thaw in the fridge overnight. This helps maintain the creamy texture. Avoid thawing them at room temperature, as this can make them too soft. Serve them chilled for the best taste.
FAQs
How long do No-Bake Strawberry Cheesecake Cups take to set?
These cups need at least 2 hours in the fridge to set. This time allows the flavors to blend and the cheesecake to firm up. If you can wait longer, they taste even better after chilling overnight.
Can I use low-fat cream cheese for the recipe?
Yes, you can use low-fat cream cheese. It will change the taste and texture a bit. The cheesecake may not be as rich and creamy, but it will still be tasty. If you want a lighter dish, this is a good option.
What can I use instead of whipped cream?
You can use Greek yogurt as a lighter option. It will still give a creamy texture. Another choice is to blend silken tofu for a dairy-free version. Both alternatives keep your cheesecake light and enjoyable.
You now know how to make no-bake strawberry cheesecake cups. We covered the needed ingredients, easy steps, and helpful tips. Remember to use room temperature items for the best texture. You can swap fruits or adjust for different diets, too. Store these delicious cups in the fridge or even freeze them for later. With these ideas, you’ll impress friends with your tasty treats. Enjoy your dessert-making journey!

