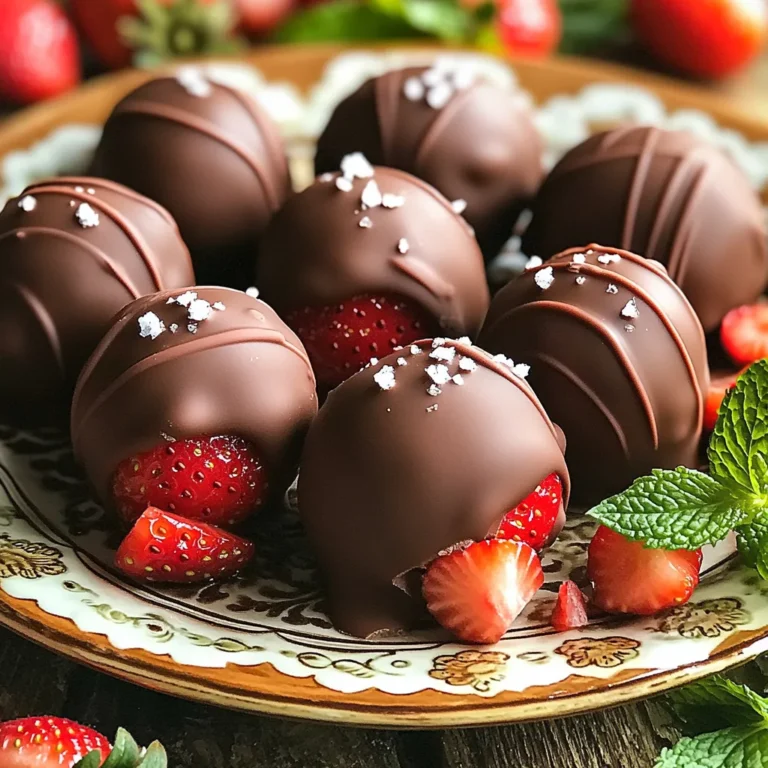
Get ready to indulge in a sweet treat that requires no baking—just pure delight! In this post, I’ll show you how to make No-Bake Chocolate Covered Strawberry Truffles. With fresh strawberries, cream cheese, and chocolate, these truffles are easy to prepare and perfect for any occasion. Whether you’re a dessert lover or just want to impress your friends, follow along for tips, tricks, and delicious variations!
Ingredients
Fresh Ingredients
– 1 cup fresh strawberries, hulled and chopped
– 1 cup cream cheese, softened
– 1 tablespoon coconut oil (optional)
Fresh strawberries are the star of this recipe. They add a sweet and fruity flavor. Choose ripe, juicy strawberries for the best taste. Cream cheese gives the truffles a rich, creamy texture. If you want a smoother chocolate coating, use coconut oil. It helps the chocolate melt better.
Dry Ingredients
– 1 cup graham cracker crumbs
– 1 cup powdered sugar
Graham cracker crumbs provide a nice crunch and flavor. They help bind the truffles together. Powdered sugar adds sweetness and helps create a smooth mixture. Mix these dry ingredients well before adding the wet ones. This ensures an even taste in every bite.
Chocolate Coating
– 1 cup semi-sweet chocolate chips
– Sea salt for garnish
For the chocolate coating, semi-sweet chocolate chips work best. They melt smoothly and create a rich layer. Adding a sprinkle of sea salt on top brings out the chocolate flavor. It gives a nice contrast to the sweetness of the truffles.
Step-by-Step Instructions
Preparing the Strawberry Mixture
To make the base, start by combining the fresh strawberries with graham cracker crumbs, cream cheese, powdered sugar, and vanilla extract in a medium mixing bowl. Use a spatula or spoon to mix these ingredients well. You want a thick, sticky dough. If you like a smoother texture, a hand mixer works great. Just mix until everything is blended and creamy.
Forming the Truffles
Now, take the strawberry mixture and use your hands to form small balls, about one inch wide. This is where the fun begins! Place each ball on a parchment-lined baking sheet. Make sure they are spaced out. You do not want them to stick together. Once you shape them, it’s time to freeze. Place the baking sheet in the freezer for about 30 minutes. This step helps the truffles hold their shape when you coat them in chocolate.
Chocolate Coating Process
While the truffles freeze, prepare the chocolate coating. In a microwave-safe bowl, melt the semi-sweet chocolate chips and coconut oil, if you use it. Heat in 30-second bursts. Stir between each round until the chocolate is fully melted and smooth.
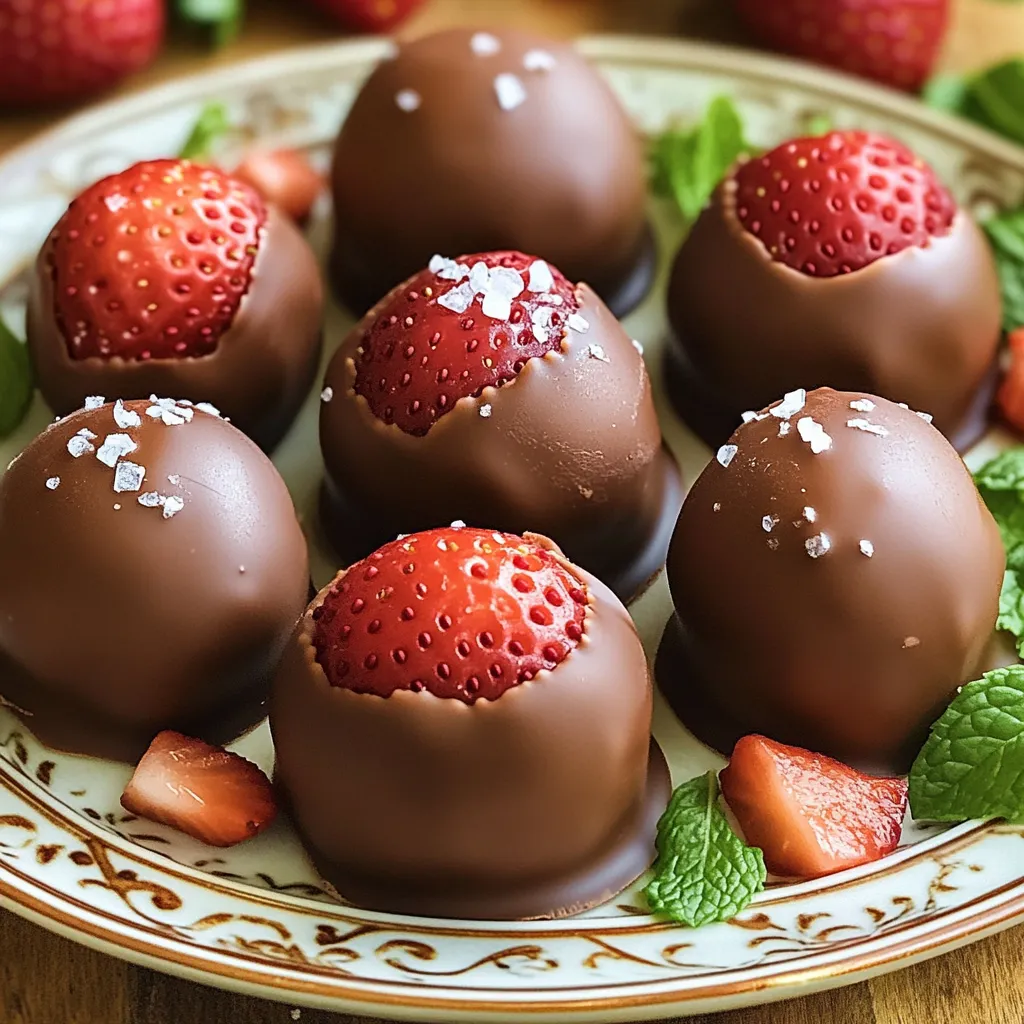
Once your truffles are firm, take them out of the freezer. Dip each truffle into the melted chocolate, making sure to coat it completely. Use a fork to lift them out and tap gently to remove excess chocolate. Place the chocolate-covered truffles back on the parchment-lined baking sheet. While the chocolate is still wet, add a sprinkle of sea salt on top of each one. This adds a nice flavor kick!
Finally, refrigerate the truffles until the chocolate sets, which takes about 15 to 20 minutes. Enjoy the process and look forward to the delicious treat you just made!
Tips & Tricks
Perfecting the Truffle Texture
Using a hand mixer helps create a smooth truffle mix. It blends the strawberries and cream cheese well. If you prefer, you can mix by hand, but it may take longer.
Freezing time is key. After shaping your truffles, freeze them for 30 minutes. This step firms them up, making them easier to coat in chocolate. If you skip this, they may lose their shape.
Chocolate Coating Tips
To achieve the right consistency, melt your chocolate chips carefully. Use a microwave in 30-second bursts. Stir between each burst to avoid burning. If you want a smooth finish, add coconut oil. It helps thin the chocolate and gives it a nice sheen.
Prevent the chocolate from hardening too quickly by working fast. Dip each truffle and let excess chocolate drip off. If the chocolate cools too much, it will not coat well.
Presentation Techniques
Serving your truffles can be fun and creative. Place them on a decorative plate for a pop of color. You can also use a small box for a gift.
Garnish with chopped strawberries or mint leaves. This adds a fresh touch and makes your truffles look fancy. A sprinkle of sea salt on top enhances the flavor and adds visual appeal.
Variations
Flavor Variations
You can change the fruit for new tastes. Try using raspberries or blueberries instead of strawberries. Each fruit gives a unique flavor and feel. You can also add fun flavors like mint or orange zest. A splash of mint extract or a sprinkle of zest can really wake up the taste!
Chocolate Alternatives
Feel free to switch up the chocolate choice. White chocolate gives a sweet twist, while dark chocolate adds a rich touch. If you want a vegan option, use dairy-free chocolate. There are many brands out there that melt just right!
Crust and Garnish Variations
Want to jazz up your truffles? You can roll them in crushed nuts. Almonds or hazelnuts add a nice crunch. You can also sprinkle on toppings like coconut flakes or more crushed nuts. These toppings not only add flavor but make the truffles look fancy too!
Storage Info
Refrigeration
To store your truffles in the fridge, place them in an airtight container. This helps keep them fresh. Line the container with parchment paper to avoid sticking. You can also use a glass jar with a lid. Keep them away from strong smells. They will stay fresh for several days this way.
Freezing Instructions
Yes, you can freeze chocolate truffles! To do this, place them in a single layer on a baking sheet. Freeze them for about an hour. Once firm, transfer them to a freezer-safe bag. Remove as much air as possible before sealing. For thawing, leave them in the fridge overnight. This helps them stay soft and tasty.
Shelf Life
These truffles last about one week in the fridge. If you freeze them, they can last up to three months. Signs of spoilage include an off smell or discoloration. If they look or smell strange, toss them out. Enjoy your truffles while fresh for the best taste!
FAQs
Can I use frozen strawberries?
Yes, you can use frozen strawberries, but the texture will change. Frozen strawberries are softer and have more water than fresh ones. This can make your truffles a bit mushy. If you choose frozen, thaw them first and drain excess liquid. Fresh strawberries give a firmer bite and better flavor.
How do I make my chocolate coating shiny?
To get a shiny chocolate coating, use a few simple tricks. First, add a bit of coconut oil to your melted chocolate. This helps it shine. Second, make sure to melt the chocolate slowly and gently. Heat it in short bursts, stirring often. This keeps the chocolate smooth and glossy.
What is the best way to serve No-Bake Chocolate Covered Strawberry Truffles?
You can serve these truffles in many fun ways. For parties, place them on a pretty plate. You can also use small boxes as gifts. Add some chopped strawberries or mint leaves for a nice touch. They look great and taste even better!
Making No-Bake Chocolate Covered Strawberry Truffles is fun and simple. You learned how to combine fresh and dry ingredients, coat them in rich chocolate, and explore tasty variations. Remember, practice makes perfect, especially when shaping and coating. Store your truffles properly to enjoy them longer. These treats are great for sharing or gifting. Trust me; you’ll impress everyone with these delicious delights. Enjoy your truffle-making journey!

