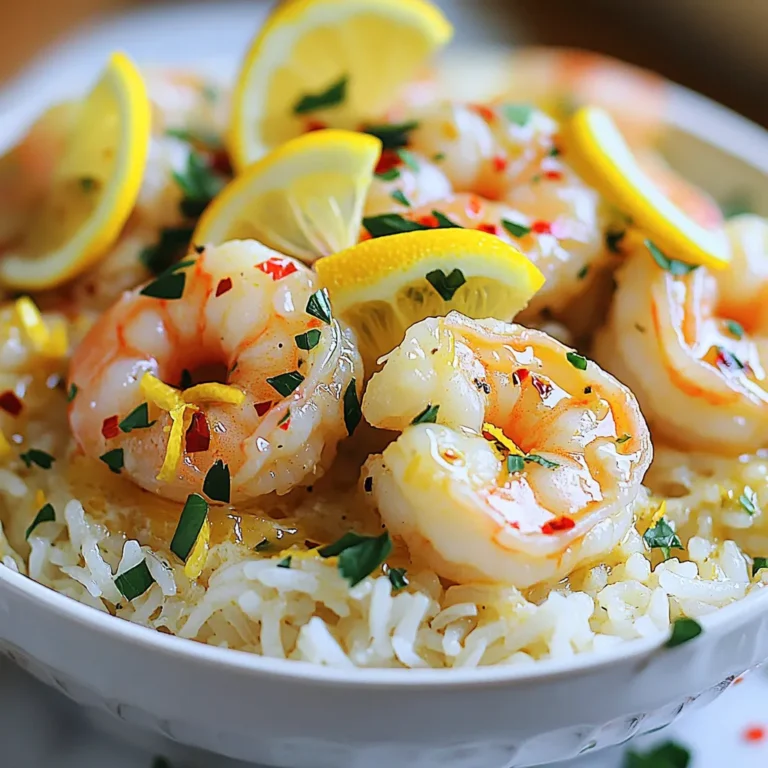
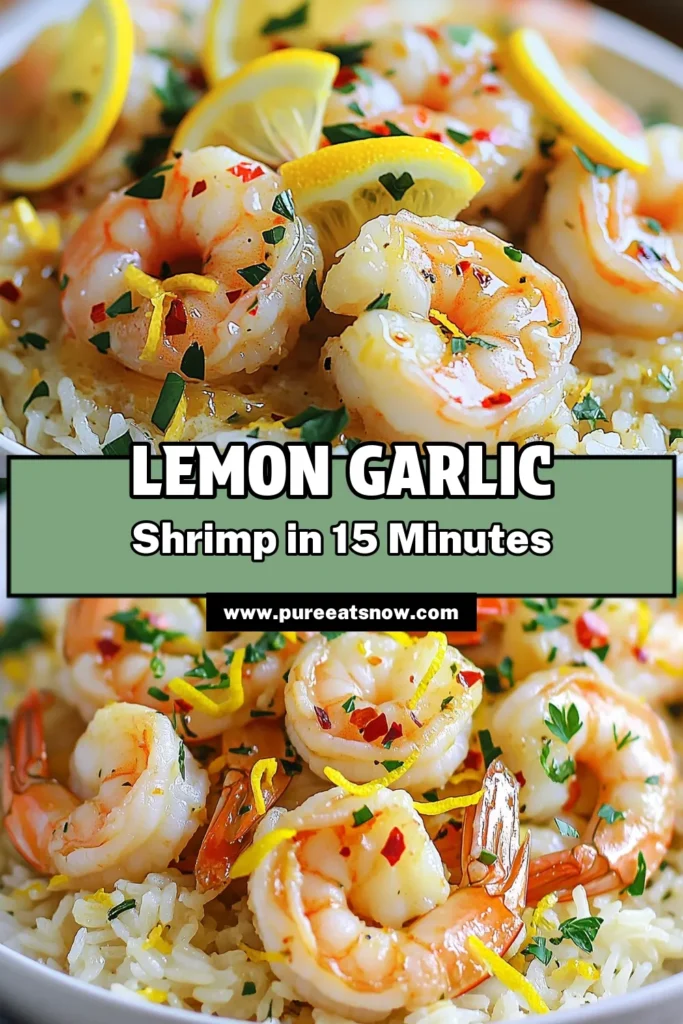
If you crave a dish that’s quick, tasty, and packed with flavor, you’re in for a treat! This Instant Pot Lemon Garlic Butter Shrimp brings a savory delight to your table in no time. With just a handful of ingredients, you can whip up a meal that impresses everyone. Ready to dive into a recipe that’s simple yet satisfying? Let’s get cooking and discover just how easy it is!
Ingredients
List of Ingredients
– 1 pound large shrimp, peeled and deveined
– 4 tablespoons unsalted butter
– 4 cloves garlic, minced
– 1 teaspoon paprika
– Zest and juice of 1 large lemon
– 1 teaspoon salt
– 1/2 teaspoon black pepper
– 1/4 teaspoon red pepper flakes (optional for heat)
– 1/2 cup chicken or vegetable broth
– Fresh parsley, chopped (for garnish)
Key Ingredients Explained
The star of this dish is the shrimp. Large, fresh shrimp cook quickly and soak up flavors well. Peel and devein them for the best taste and texture.
Butter brings rich flavor. It melts and mixes with garlic, making a base for the sauce. This sauce will coat your shrimp and make each bite heavenly.
Garlic adds a strong, savory taste with a hint of sweetness when cooked. Use fresh garlic for the best results.
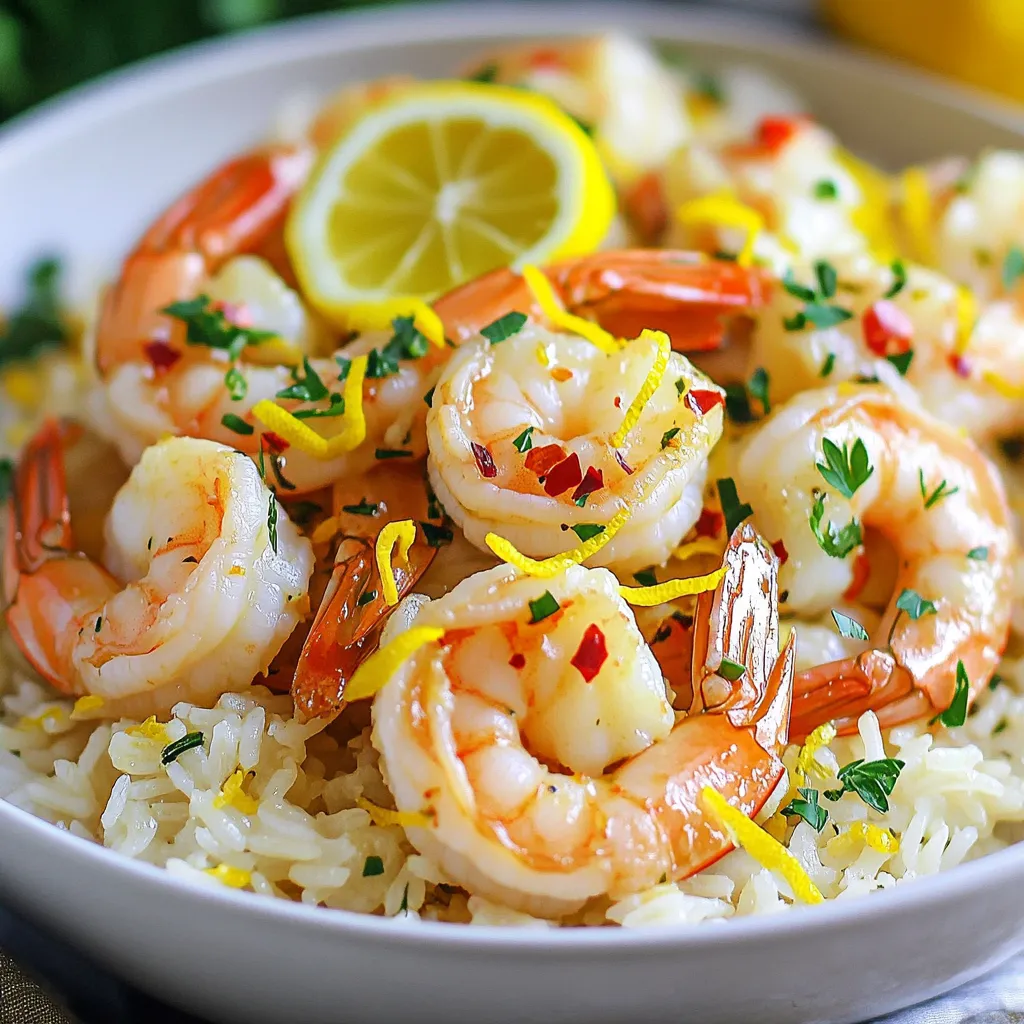
Lemon zest and juice brighten the dish. The zest gives a fragrant aroma, while the juice adds a tangy kick.
Paprika adds color and a mild, smoky flavor. It enhances the overall taste without being too spicy.
Possible Substitutes
If you can’t find large shrimp, use medium shrimp instead. They will still taste great.
For butter, you can use olive oil for a lighter option. It still adds flavor without the creaminess.
If you want a vegan version, use mushrooms instead of shrimp. They absorb the flavors well and provide a nice texture.
For chicken or vegetable broth, you can use water with a pinch of salt. This will work in a pinch but may lack some depth.
Red pepper flakes are optional. If you don’t want heat, skip them. If you want more, try cayenne pepper.
Step-by-Step Instructions
Preparing the Garlic Butter Base
First, I turn on the Instant Pot and select the ‘Sauté’ mode. I add 4 tablespoons of unsalted butter and let it melt. Once the butter is melted, I add 4 cloves of minced garlic. I stir the garlic for about one minute until it smells great. I must be careful not to burn it. The garlic will add a wonderful flavor to the dish.
Seasoning the Shrimp
Next, I grab a bowl and add 1 pound of large shrimp, peeled and deveined. I sprinkle in 1 teaspoon of paprika, 1 teaspoon of salt, 1/2 teaspoon of black pepper, and 1/4 teaspoon of red pepper flakes if I want some heat. I toss the shrimp until each piece is evenly coated with the spices. This step makes the shrimp super tasty.
Cooking Process in the Instant Pot
Now, I cancel the ‘Sauté’ mode. I add the seasoned shrimp to the pot. Then, I pour in the zest and juice of 1 large lemon. I also add 1/2 cup of chicken or vegetable broth. I stir everything together to mix well. Next, I close the lid and make sure the valve is on ‘Sealing.’ I select ‘Pressure Cook’ and set the timer for just 2 minutes.
Once the timer goes off, I carefully switch the valve to ‘Venting’ for a quick release. I watch out for the steam as I do this. After I open the pot, I give everything a gentle stir. If needed, I adjust the seasoning with more salt or lemon juice. Finally, I garnish with fresh parsley before serving. Enjoy this quick and tasty meal!
Tips & Tricks
Best Practices for Cooking Shrimp
When cooking shrimp, freshness is key. Always choose shrimp that smell like the ocean. Look for a firm texture and a translucent color. Avoid shrimp that appear dull or have a strong fishy smell.
– Peeling and Deveining: Use fresh shrimp, peeled and deveined. This saves time and gives you a clean dish.
– Cooking Time: Shrimp cook fast. In the Instant Pot, just two minutes is perfect. Overcooking makes shrimp tough.
Enhancing Flavor and Texture
To boost flavor, use fresh garlic and lemon. They add brightness to your dish. Don’t skip the zest; it packs a punch.
– Butter: Use unsalted butter for better control over salt levels. It enriches the sauce.
– Spices: Paprika adds depth. You can also add herbs like thyme or dill for extra flavor.
Common Mistakes to Avoid
Many cooks make the same mistakes with shrimp. Here are a few to watch out for:
– Overcrowding the Pot: If you add too many shrimp, they won’t cook evenly. Cook in batches if needed.
– Not Seasoning: Shrimp need seasoning. Toss them well in spices before cooking.
– Ignoring Quick Release: After cooking, use quick release to keep shrimp tender. Letting them sit can make them chewy.
By following these tips, you will create a dish that’s bursting with flavor and perfectly cooked shrimp every time.
Variations
Alternative Cooking Methods
You can make Lemon Garlic Butter Shrimp in many ways. If you don’t have an Instant Pot, try a skillet. Heat butter and garlic over medium heat. Add the shrimp and cook for about three minutes on each side. You can also grill the shrimp for a smoky flavor. Just toss them in the marinade and skewer them for easy grilling.
Ingredient Swaps for Dietary Preferences
If you’re looking for swaps, I have some great ideas. Use olive oil instead of butter for a dairy-free meal. You can also swap shrimp for chicken or tofu if you prefer. For a gluten-free option, make sure your broth is gluten-free. You can also add vegetables like bell peppers or zucchini for extra nutrition.
Flavor Additions to Experiment With
Don’t be afraid to get creative with flavors. Try adding a splash of white wine for depth. You could also mix in some fresh herbs like basil or dill. If you want a spicy kick, increase the red pepper flakes. For a hint of sweetness, add a teaspoon of honey or maple syrup. Each tweak can bring new life to this dish!
Storage Info
How to Store Leftovers
Storing leftover shrimp is easy. First, let the shrimp cool down. Next, transfer them to an airtight container. This helps keep the shrimp fresh. Make sure to add any leftover sauce too. Store the container in the fridge. It can last for up to three days. For best taste, eat it sooner.
Reheating Instructions
Reheating shrimp can be tricky. You want to avoid overcooking. For best results, use the microwave. Place the shrimp in a microwave-safe dish. Cover it with a damp paper towel. Heat in short bursts. Start with 30 seconds, then check. If needed, heat for another 30 seconds. Stir between heating sessions. This will keep the shrimp moist.
Freezing Tips for Long-Term Storage
Freezing shrimp is a great option for long-term storage. Start by letting the shrimp cool completely. Then, place them in a freezer-safe bag. Remove as much air as you can before sealing. Label the bag with the date. The shrimp can last for up to three months in the freezer. To use frozen shrimp, thaw them in the fridge overnight. This keeps the texture nice when you cook them again.
FAQs
Can I use frozen shrimp?
Yes, you can use frozen shrimp. Just make sure to thaw them first. Place the shrimp in cold water for about 15 minutes. Drain them well before seasoning. Using frozen shrimp may add a minute to the cooking time, but your dish will still turn out great.
How to tell if shrimp are cooked?
Shrimp are cooked when they turn pink and opaque. They curl into a C shape as they cook. If they curl into an O shape, they may be overcooked. Each shrimp should be firm to the touch. Keep an eye on them to avoid rubbery texture.
What to serve with Lemon Garlic Butter Shrimp?
I love serving this dish over fluffy rice. It soaks up the tasty sauce. Crusty bread works well too, perfect for dipping. A fresh salad or steamed veggies can add a nice touch. Lemon wedges and chopped parsley make great garnishes.
We covered the key ingredients and substitutes to create delicious Lemon Garlic Butter Shrimp. You learned step-by-step instructions, from making the garlic butter to cooking the shrimp in an Instant Pot. I shared tips for best practices, common mistakes, and variations to keep things fresh. Finally, I detailed storage methods and answered your FAQs. Enjoy cooking and feel free to experiment with flavors. Your shrimp dishes will shine, and I hope you savor every bite!

