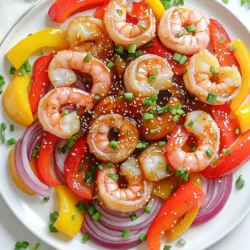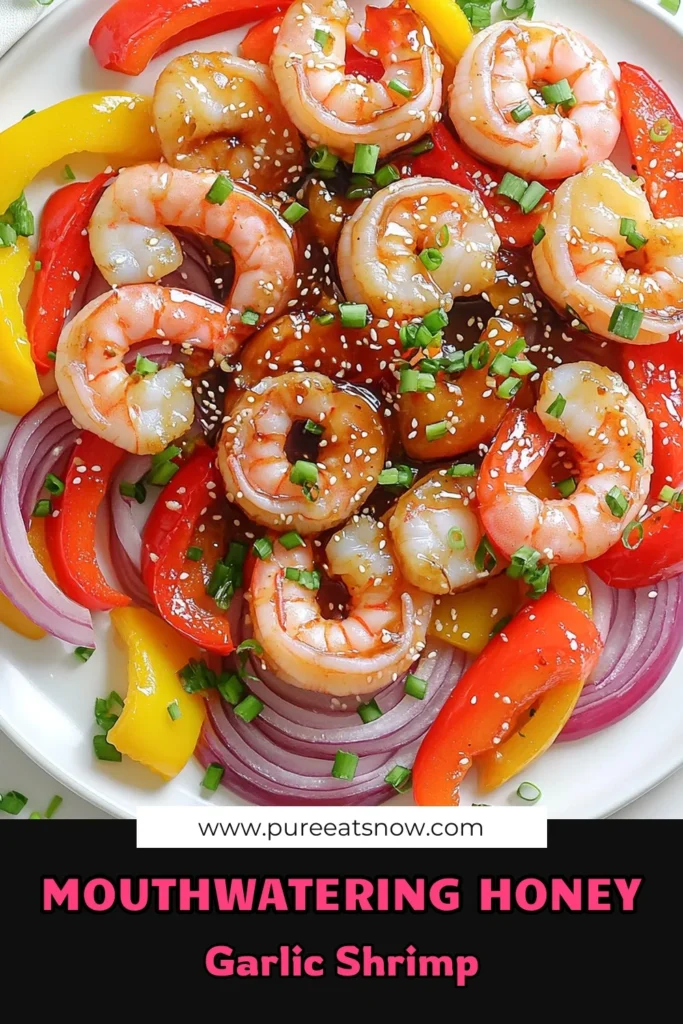
Welcome to a taste of the ocean! In this post, I’ll show you how to make Sheet-Pan Honey Garlic Shrimp & Peppers. This dish is quick, easy, and packed with flavor. With just a few fresh ingredients, you’ll have dinner ready in no time. Say goodbye to long prep times and hello to a tasty meal that’s perfect for any weeknight. Let’s dive into this delicious recipe!
Ingredients
List of Essential Ingredients
– 1 lb large shrimp, peeled and deveined
– 2 bell peppers (red and yellow), sliced
– 1 medium red onion, sliced
– 4 cloves garlic, minced
– 1/4 cup honey
– 3 tablespoons soy sauce (low-sodium)
– 2 tablespoons olive oil
– 1 teaspoon fresh ginger, grated
– 1/2 teaspoon red pepper flakes (adjust for spice)
– Salt and pepper to taste
– Chopped green onions and sesame seeds for garnish
This dish starts with fresh ingredients. You want large shrimp, easy to find at the store. Look for shrimp that are firm and smell clean. Next, bell peppers add color. I like using red and yellow for a sweet taste.
Use a medium red onion for a mild flavor. Garlic brings a strong aroma. Four cloves minced will make your kitchen smell amazing. Honey is key for sweetness. It balances the salty soy sauce. You can use low-sodium soy sauce to keep it light. Olive oil adds richness.
Fresh ginger gives a warm kick. Red pepper flakes add heat, but feel free to adjust it. Salt and pepper enhance all the flavors. Finally, for garnish, you can use chopped green onions and sesame seeds. They add a nice crunch.
With these ingredients, you set the stage for a simple and tasty meal.
Step-by-Step Instructions
Preparation Steps
1. First, preheat your oven to 400°F (200°C). This sets the perfect heat for cooking.
2. Next, line a large baking sheet with parchment paper. This helps with easy cleanup and prevents sticking.
Mixing the Sauce
1. In a medium bowl, whisk together the honey, soy sauce, minced garlic, olive oil, grated ginger, red pepper flakes, and a pinch of salt and pepper. This sauce gives the shrimp and veggies a sweet and savory taste.
Combining Shrimp & Vegetables
1. In a large bowl, combine the shrimp, sliced bell peppers, and sliced red onion.
2. Pour the honey garlic sauce over the shrimp and veggies. Toss everything until it’s nicely coated. This step makes sure every bite is full of flavor.
3. Spread the shrimp and vegetable mixture in a single layer on the prepared baking sheet. Make sure they have space to cook evenly.
Baking Process
1. Bake in the preheated oven for 15-20 minutes. The shrimp should turn pink and the veggies should be tender.
2. Stir the mixture halfway through cooking. This helps everything roast evenly.
Enjoy the delightful aroma as it fills your kitchen!
Tips & Tricks
Cooking Tips
How to choose fresh shrimp
Look for shrimp that smell clean, like the ocean. Fresh shrimp should have a firm texture. The shells should be shiny and moist, not dry or discolored. If the shrimp are sold with heads, they should be bright and clear. Choose large shrimp for the best bite.
Optimal baking tips for even cooking
Spread shrimp and veggies in a single layer on the baking sheet. This helps everything cook evenly. Stir halfway through to ensure all pieces get nice and roasted. Bake at 400°F for 15-20 minutes until shrimp turns pink.
Flavor Enhancements
Suggestions for spice adjustment
If you like more heat, add extra red pepper flakes. You can also try a dash of cayenne for a kick. For milder flavor, reduce the red pepper flakes or leave them out. Adjust to your taste.
Garlic and ginger benefits
Garlic adds flavor and can boost your immune system. Ginger brings warmth and aids digestion. Both add depth to the dish and make it more exciting. Their bright flavors balance the sweetness of honey nicely.
Serving Suggestions
Complementary side dishes
Serve with jasmine rice or quinoa for a complete meal. Steamed broccoli or green beans pair well too. You can also add a fresh salad for crunch and color.
Presentation tips
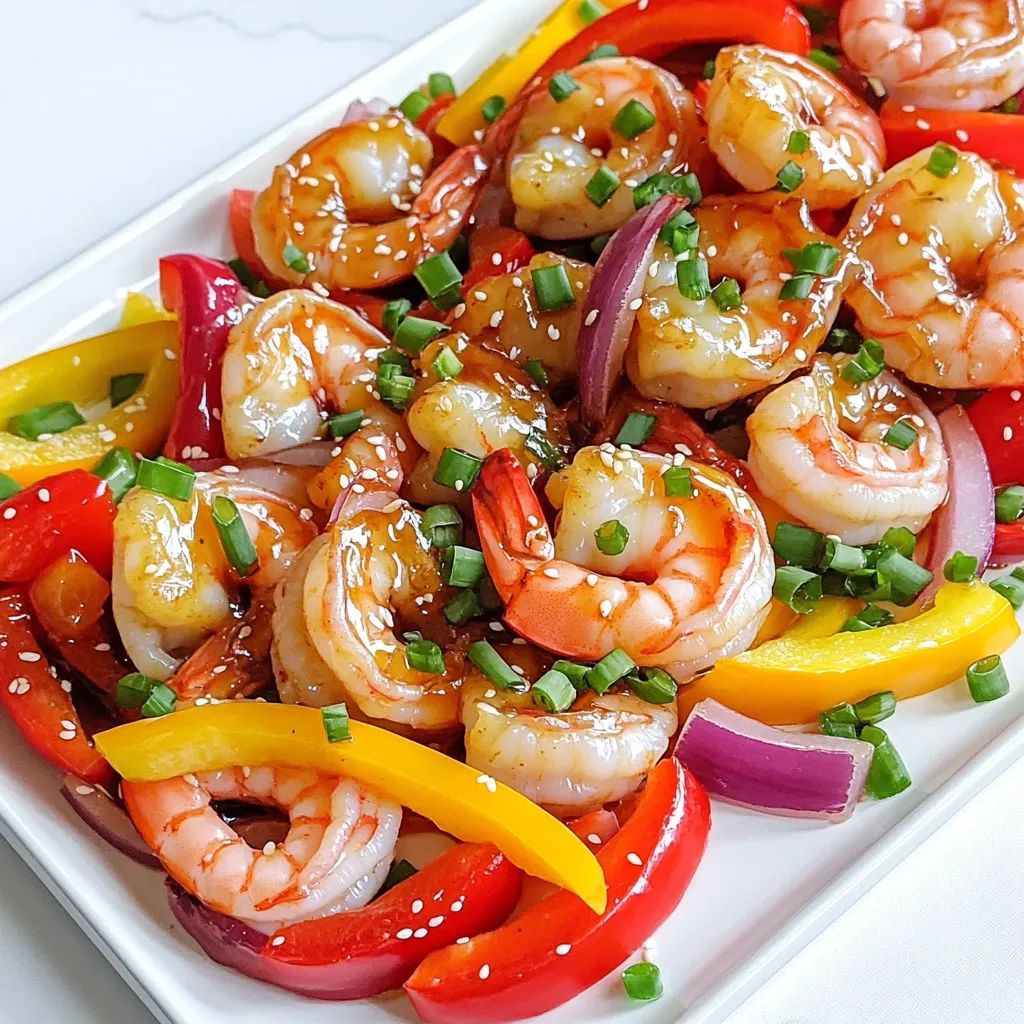
Garnish with chopped green onions and sesame seeds for a pop of color. Serve in a large bowl or on a platter to share. This makes the dish look inviting and delicious. Enjoy the vibrant colors and fresh aromas!
Variations
Ingredient Swaps
You can easily swap vegetables. Try zucchini, broccoli, or snap peas for a twist. These choices add unique flavors and textures. You can also replace honey with maple syrup or agave nectar. Both options keep the dish sweet and enjoyable.
Dietary Modifications
To make this meal gluten-free, use a gluten-free soy sauce. This small change keeps the flavor while meeting dietary needs. If you’re on a low-carb diet, skip the honey or use a low-calorie sweetener. This keeps the carbs low without losing taste.
Cooking Method Alternatives
If you prefer cooking on the stovetop, heat a skillet over medium heat. Cook the shrimp and veggies until the shrimp turn pink. This method gives you a nice sear. For grilling, thread shrimp and peppers onto skewers. Grill for about 6-8 minutes, turning until cooked through. This method adds a smoky flavor that’s simply delicious.
Storage Info
Storing Leftovers
To keep your honey garlic shrimp fresh, store leftovers in the fridge. Use an airtight container to prevent moisture loss. This helps keep the shrimp juicy. Make sure to cool the dish before sealing it. For freezing, place the shrimp and veggies in a freezer-safe bag. Remove as much air as possible. This prevents freezer burn and keeps flavors intact.
Reheating Tips
Reheat the shrimp and peppers gently to maintain their texture. The best method is using the microwave. Heat in short bursts, about 30 seconds, and stir in between. You can also reheat in a skillet on low heat. Add a splash of water to help steam the shrimp and veggies. This keeps them moist and tasty.
Shelf Life
In the fridge, your dish stays good for about 3 days. If frozen, it lasts up to 3 months. However, for the best taste, eat it within a month. Always check for off smells or changes in color before eating leftovers.
FAQs
Can I use frozen shrimp for this recipe?
Yes, you can use frozen shrimp. Just thaw them before cooking. Place the shrimp in cold water for about 15 minutes. This helps them defrost quickly. Pat them dry before adding to the dish. This will keep the sauce from becoming too watery.
What can I serve with honey garlic shrimp?
You can serve honey garlic shrimp with rice or noodles. Both absorb the sauce well. Steamed vegetables also make a nice side. Try a fresh salad for crunch. You can also serve it with crusty bread to soak up extra sauce.
How do I know when shrimp are fully cooked?
Shrimp are fully cooked when they turn pink. They should also curl into a C shape. If they remain gray or turn too tightly, they might be overcooked. Use a meat thermometer; shrimp should reach 120°F.
Can I prepare this dish ahead of time?
Yes, you can prep this dish ahead. Mix the shrimp and veggies in the sauce. Store them in the fridge for up to 2 hours. This helps the flavors meld. Just bake them when you are ready to serve for a quick meal.
What’s the best way to store leftover honey garlic shrimp?
Store leftover shrimp in an airtight container. They last about 2-3 days in the fridge. For longer storage, freeze them in a freezer-safe bag. Label the bag with the date. Shrimp can be frozen for up to 3 months.
In this blog post, we explored a simple honey garlic shrimp recipe. We covered essential ingredients, preparation steps, and baking instructions. I shared cooking tips to help you choose fresh shrimp and enhance flavor. You can also customize the dish with ingredient swaps and dietary modifications. Remember to store leftovers properly for great taste later. By following these steps and tips, you’ll create a tasty meal. Enjoy cooking and experimenting with this dish!