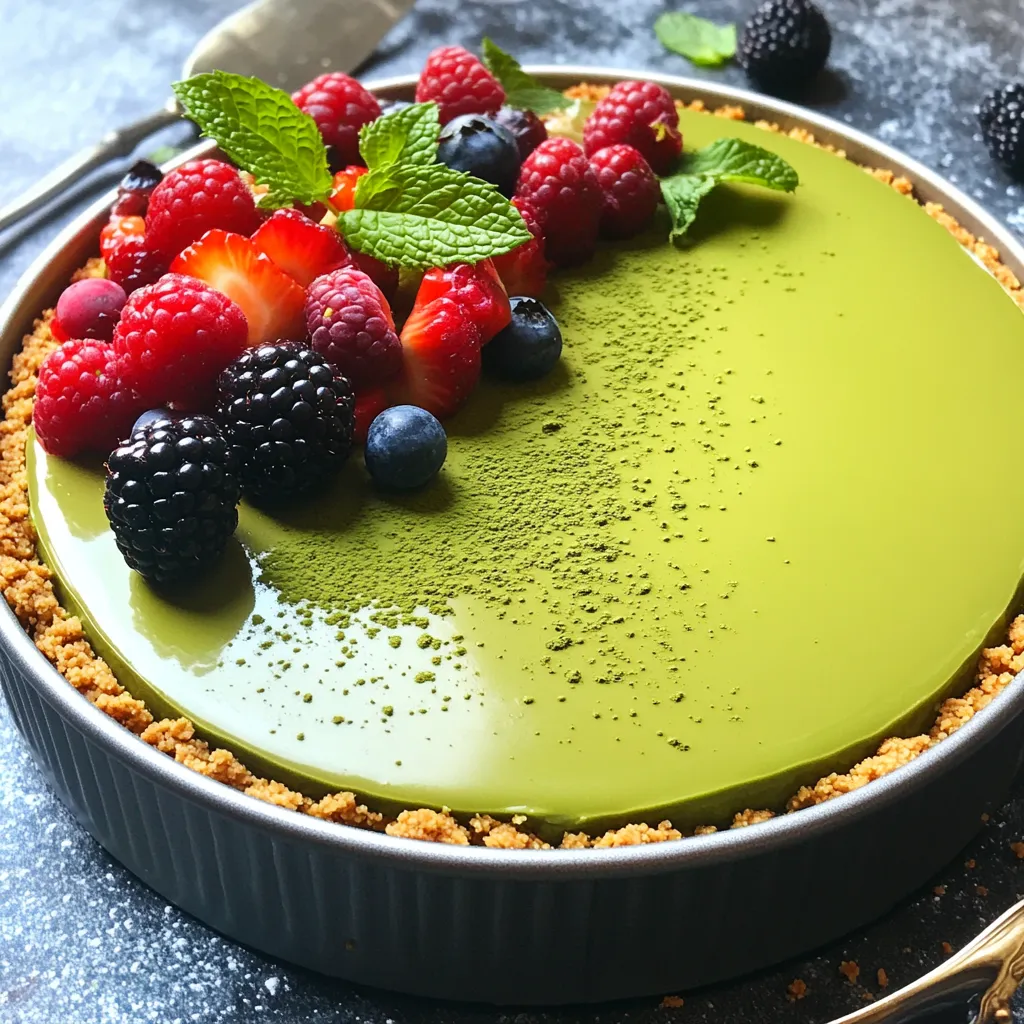
No-Bake Matcha Cheesecake Creamy and Simple Delight
Craving a sweet treat that’s both easy and delicious? You’re in the right place! This No-Bake Matcha Cheesecake is creamy
Craving a sweet treat that’s both easy and delicious? You’re in the right place! This No-Bake Matcha Cheesecake is creamy

Are you ready for a vibrant, tasty dish that’s easy to whip up? Sweet Chili Tofu Lettuce Cups are the
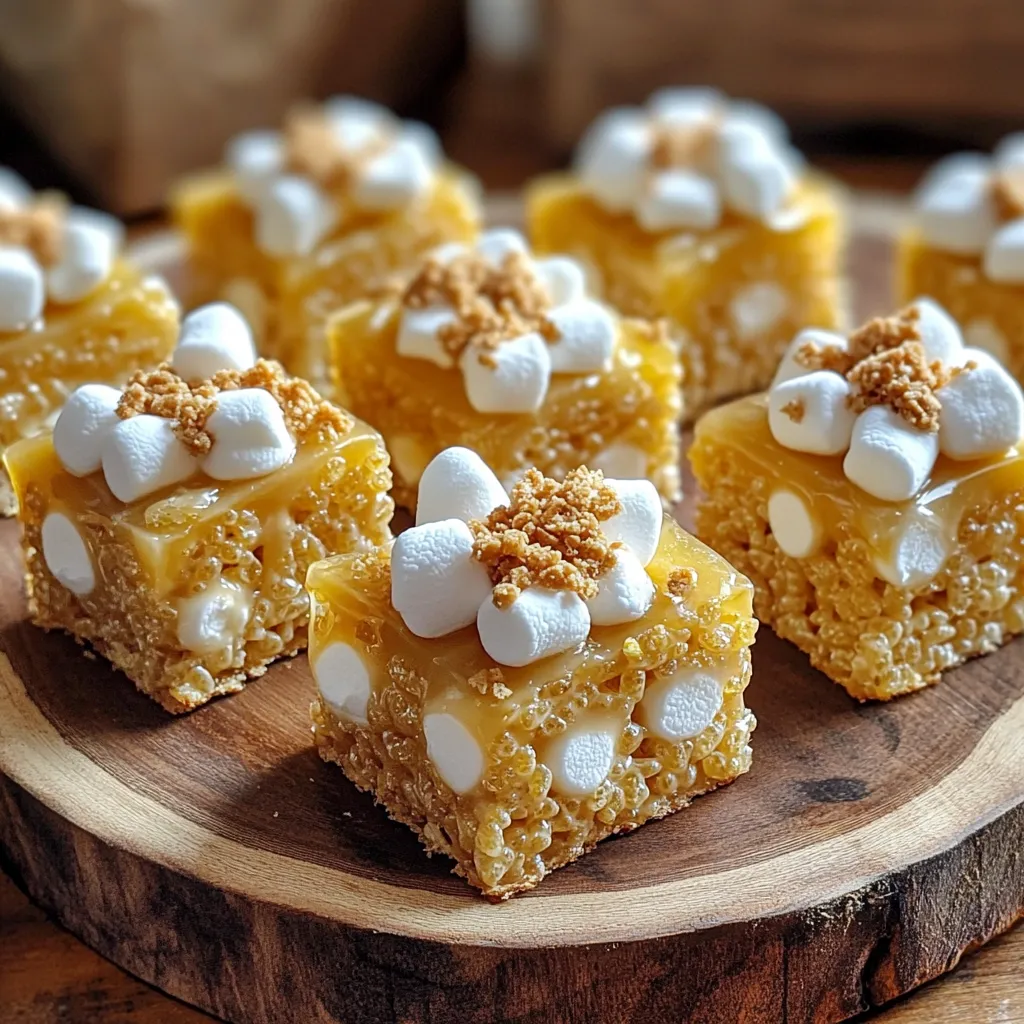
If you love s’mores, you’ll adore these S’mores Rice Krispie Treats! This simple recipe combines gooey marshmallows, crunchy graham crackers,

If you’re craving a hearty and vibrant meal, look no further! This Creamy Sun-Dried Tomato Orzo is your ticket to

Craving a warm and filling meal? Try my Slow Cooker Loaded Nacho Soup! This dish brings together ground beef, beans,
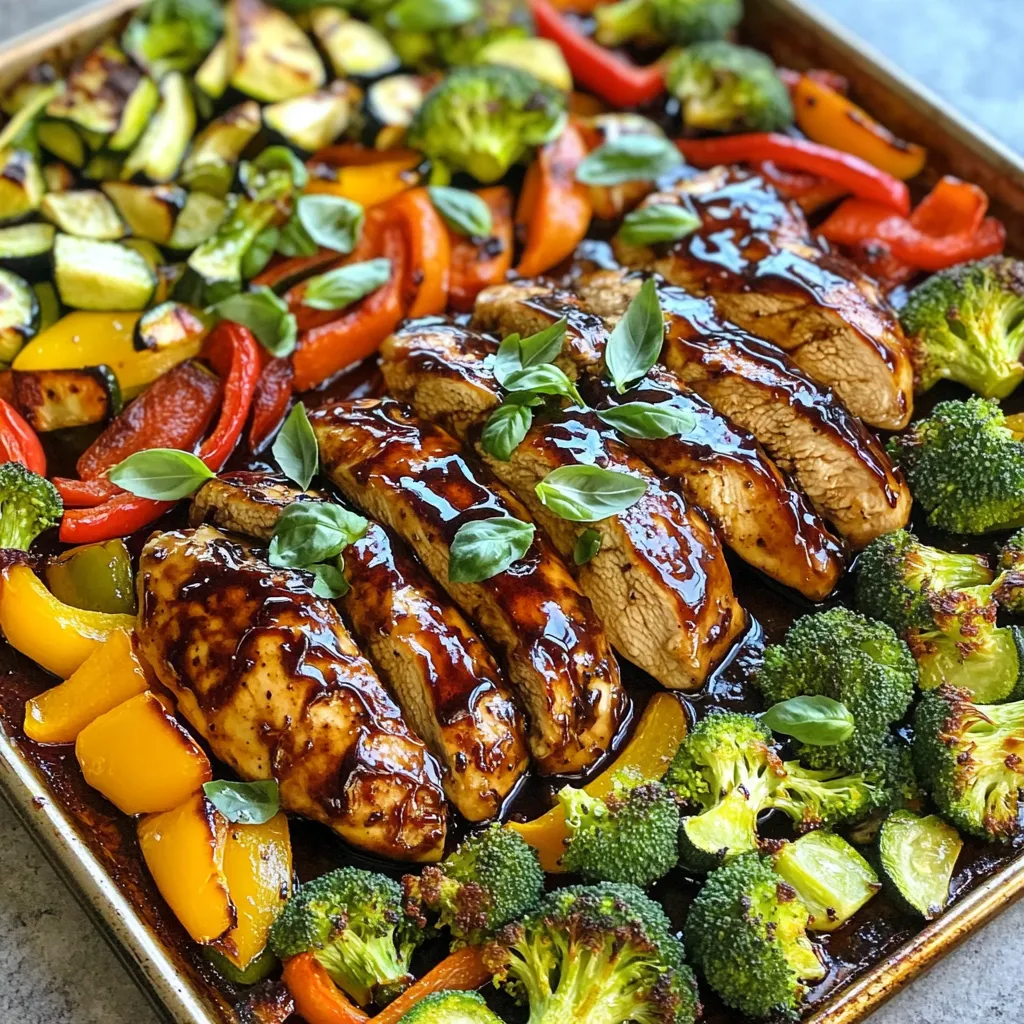
Looking for a quick meal packed with bold flavors? My Sheet Pan Balsamic Chicken & Veggies recipe is just what
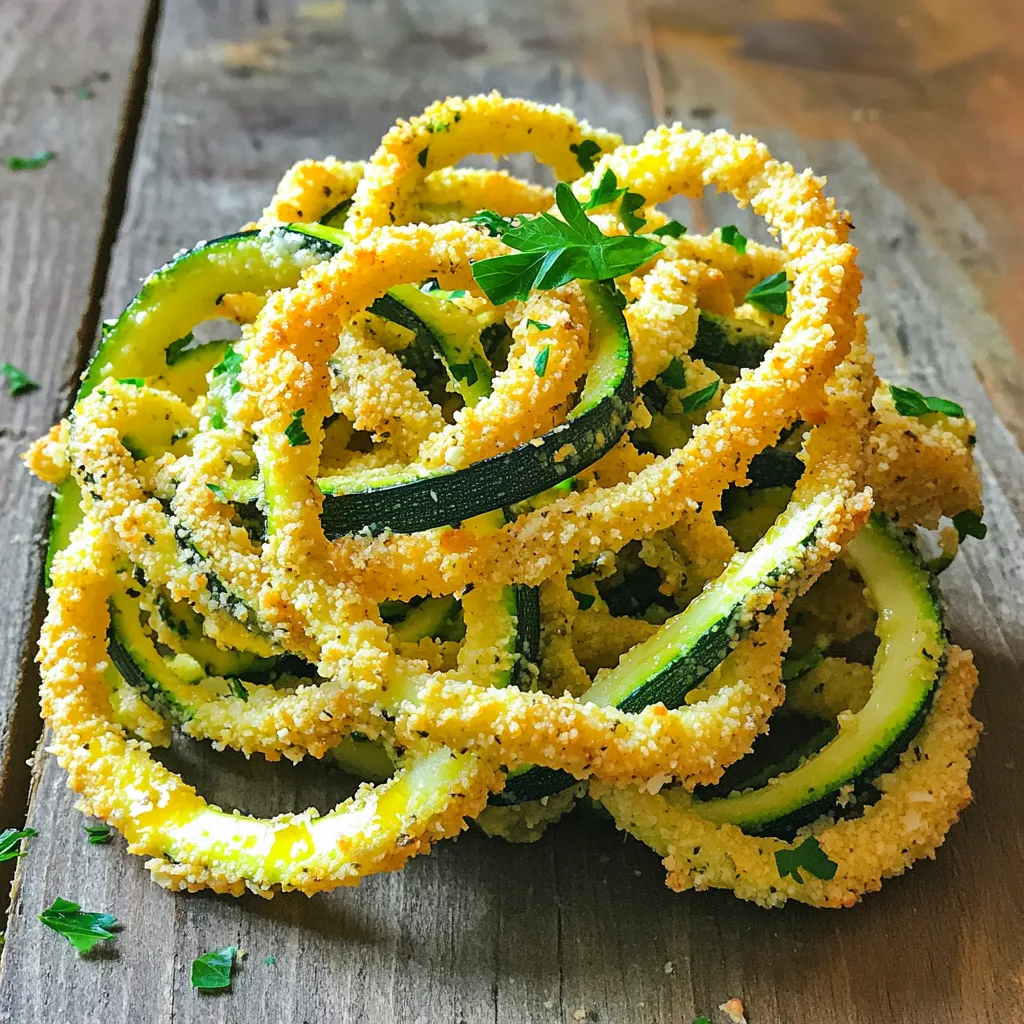
If you’re craving a tasty snack that feels indulgent but is actually healthy, you’re in the right place. I’m excited
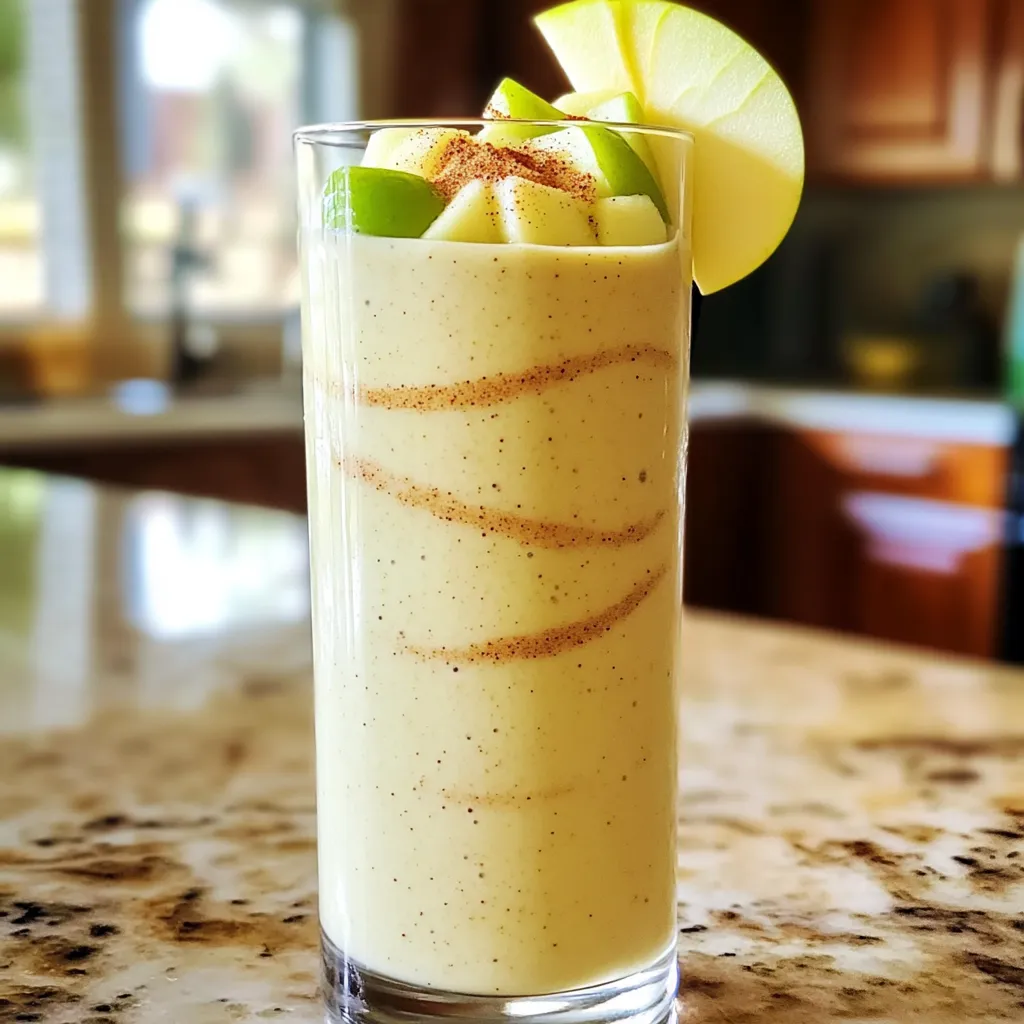
If you crave the warm, cozy taste of apple pie without the baking, this Apple Pie Smoothie delivers! Packed with
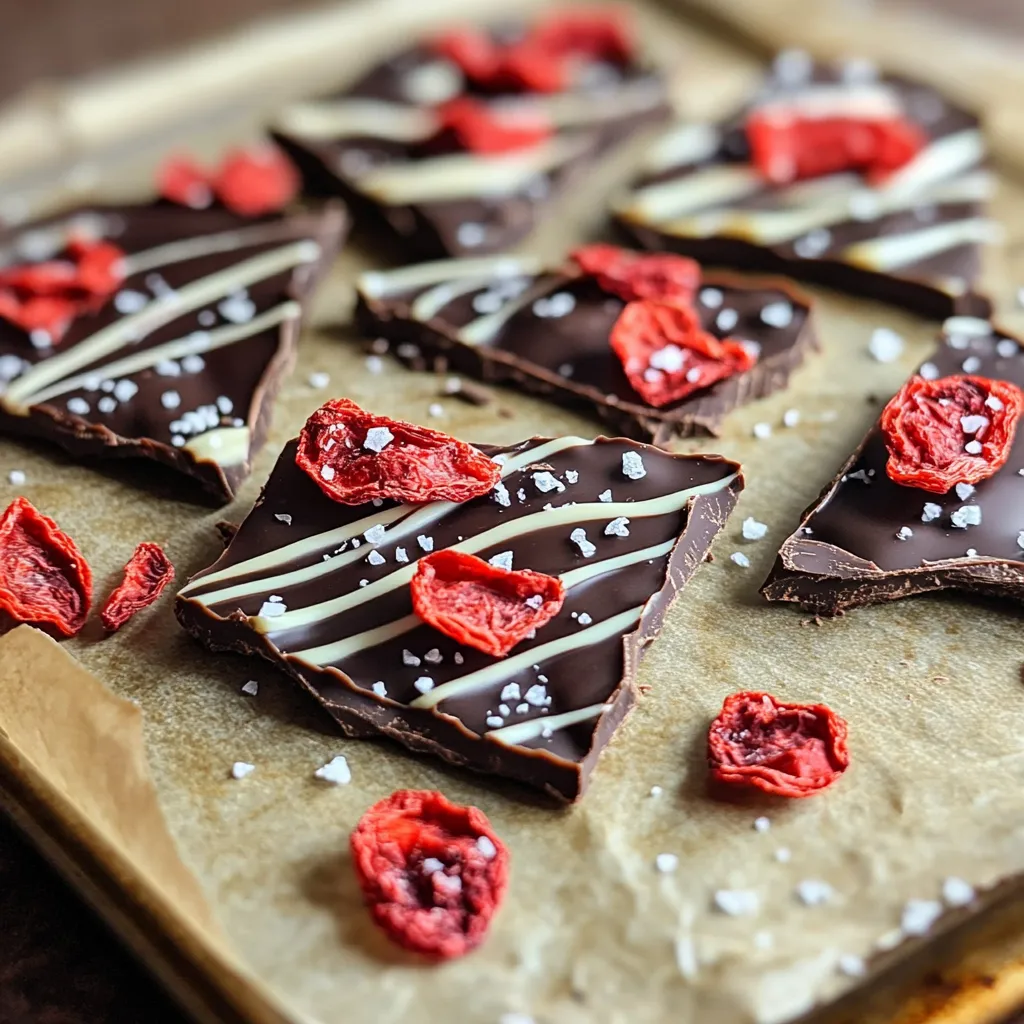
If you love sweet treats, you’ll adore this Chocolate Covered Strawberry Bark recipe! It marries rich chocolate with tart strawberries
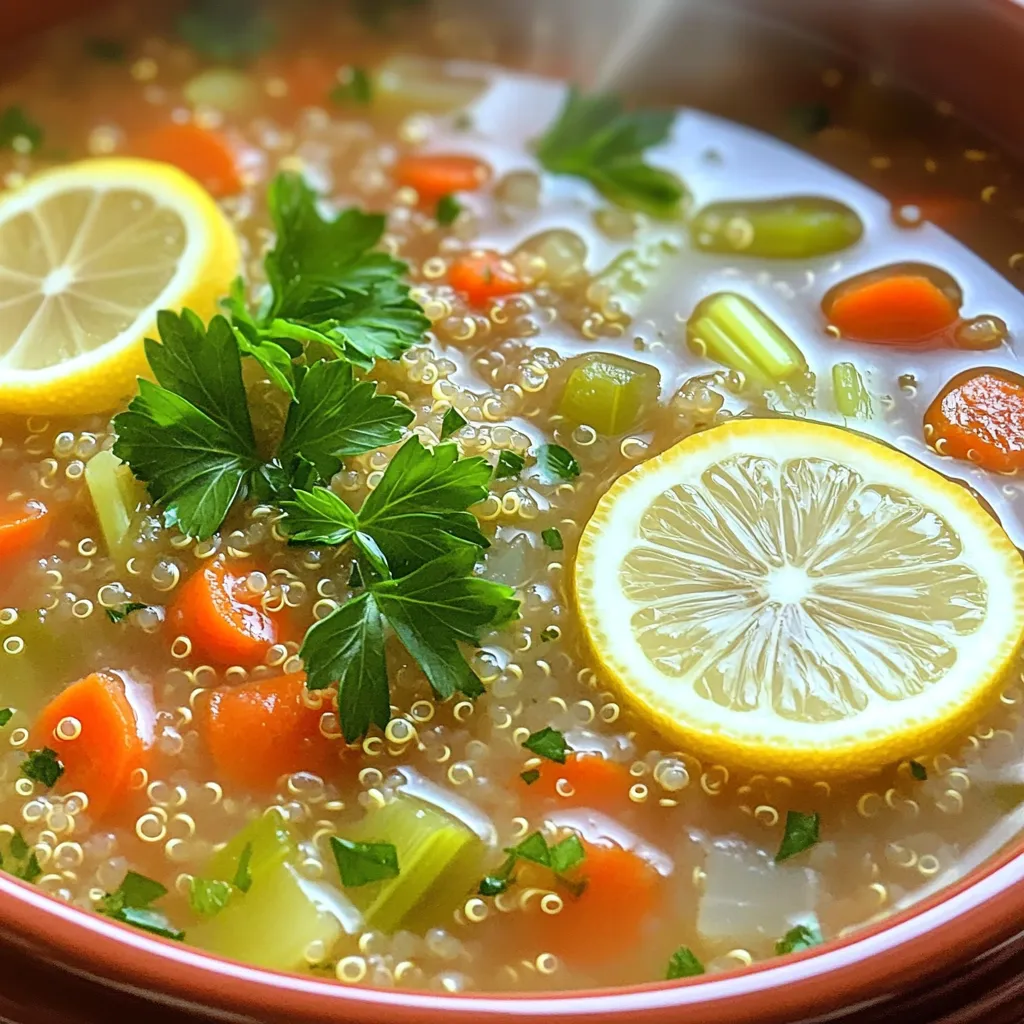
Looking for a comforting meal that’s both simple and healthy? You’ll love my Slow Cooker Lemon Herb Quinoa Soup! With
