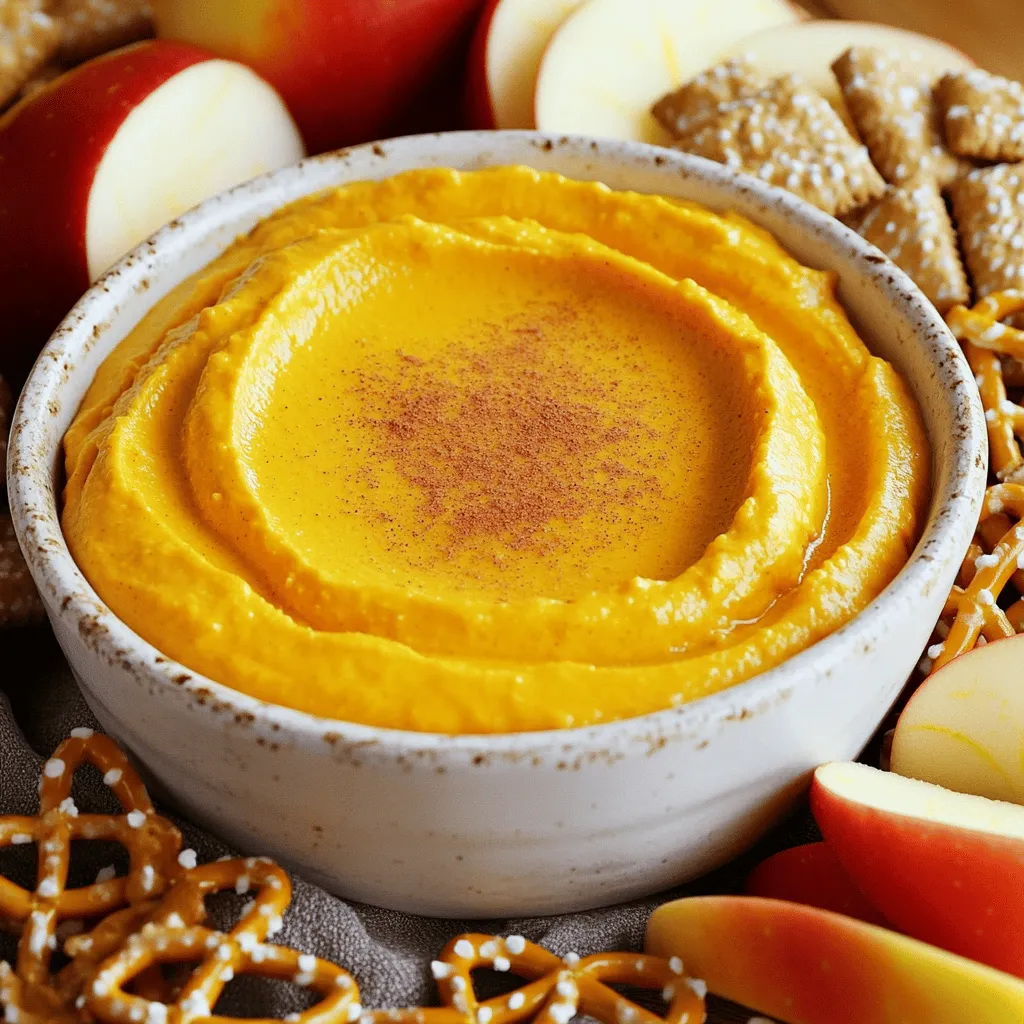
Pumpkin Spice Cheesecake Dip Creamy and Decadent Treat
Get ready to dive into fall flavors with my Pumpkin Spice Cheesecake Dip! This creamy and decadent treat is perfect
Get ready to dive into fall flavors with my Pumpkin Spice Cheesecake Dip! This creamy and decadent treat is perfect
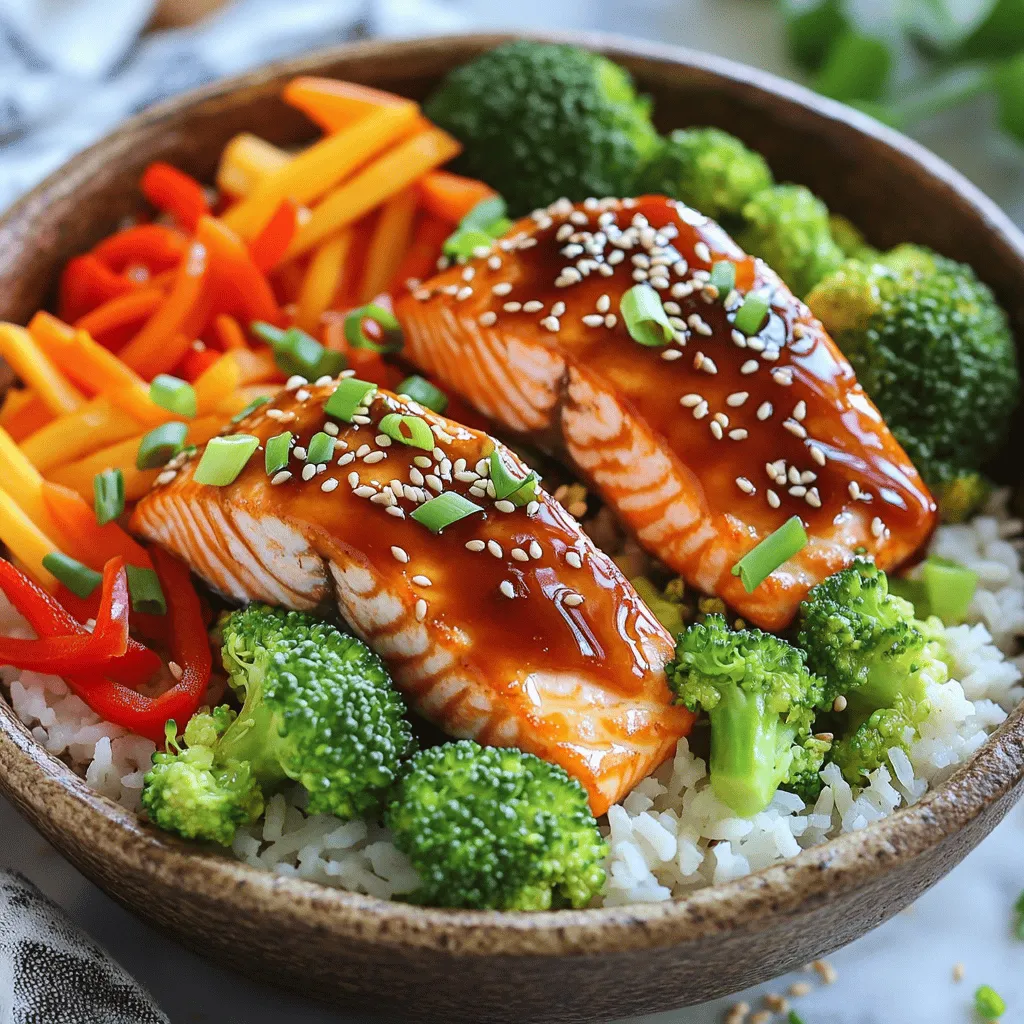
Craving a tasty meal that’s quick and easy? You’re in the right place! Teriyaki Salmon Rice Bowls combine fresh salmon,
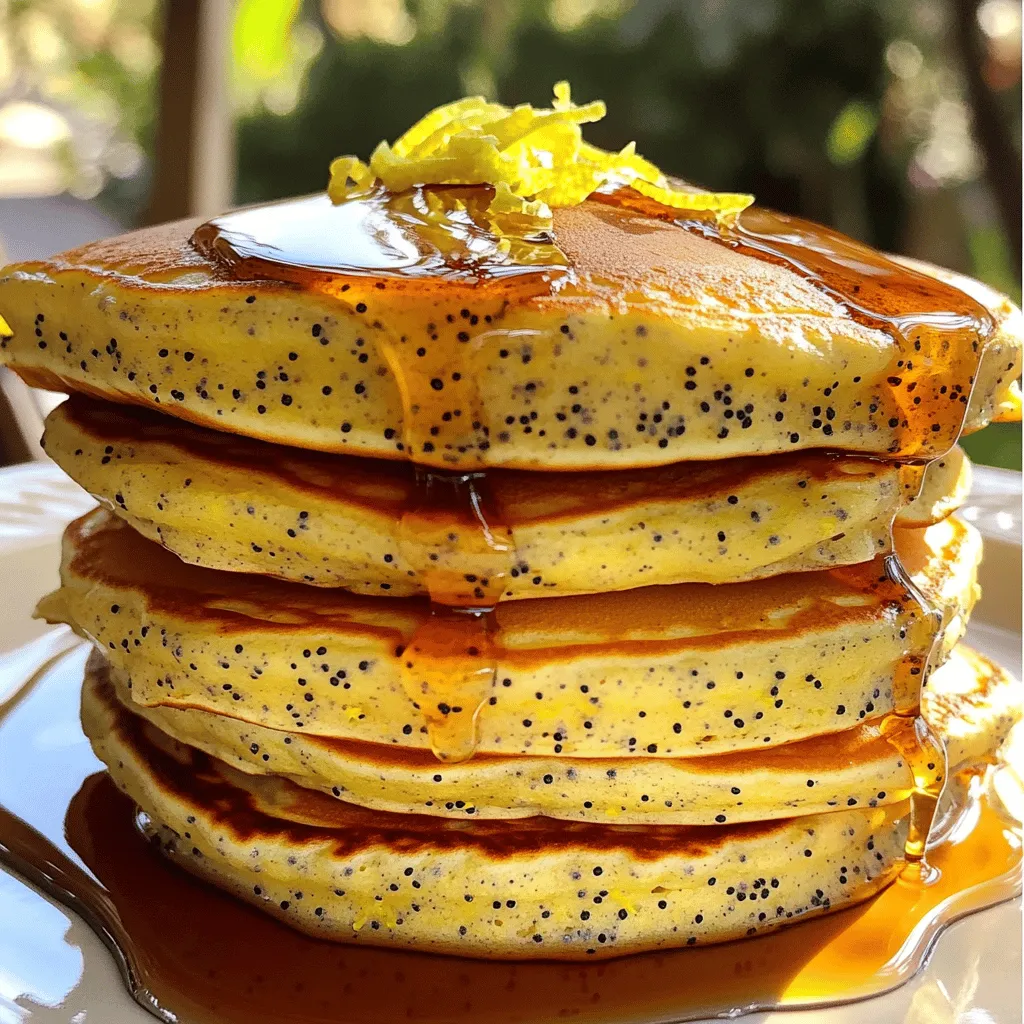
Wake up to a sunny breakfast with my Lemon Poppy Seed Pancakes! These fluffy, delicious treats burst with bright flavor
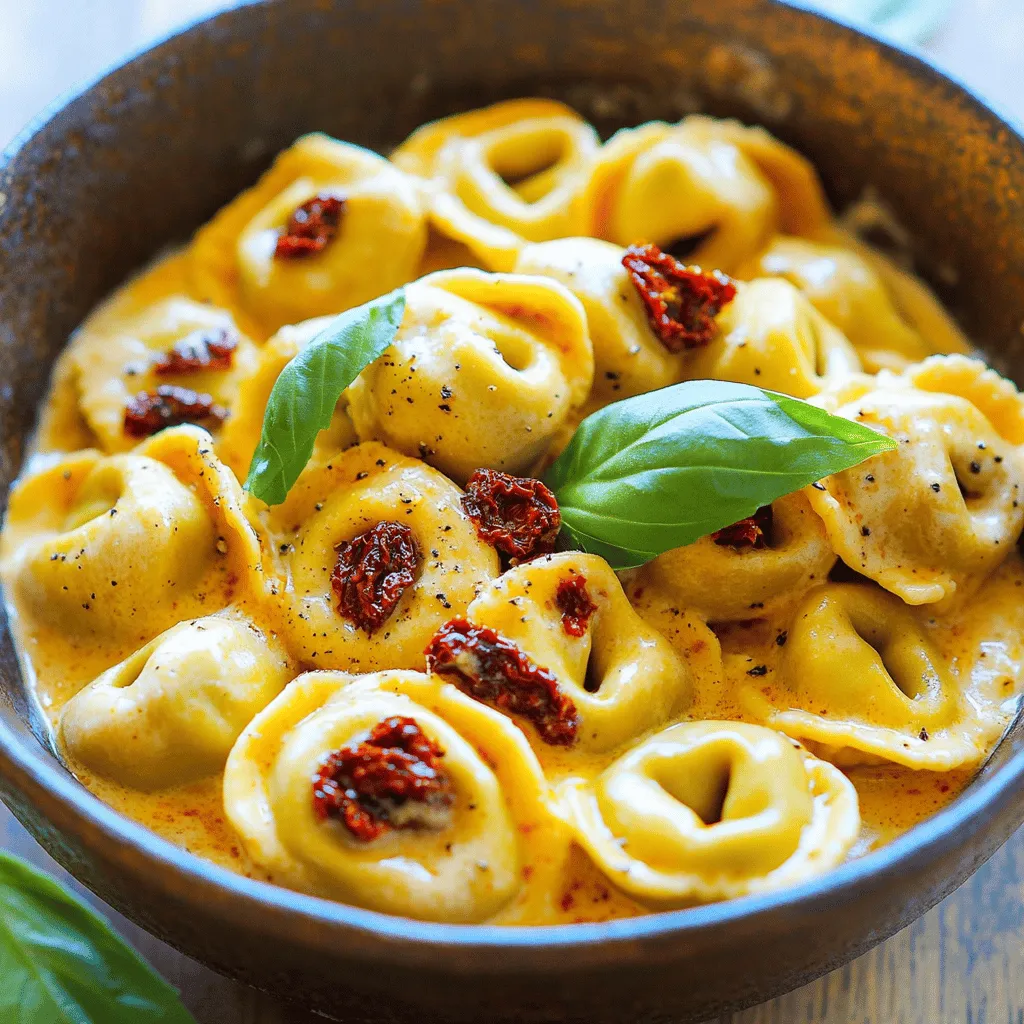
Craving a quick yet tasty dinner? Look no further! My Creamy Sun-Dried Tomato Tortellini is your answer. This dish is
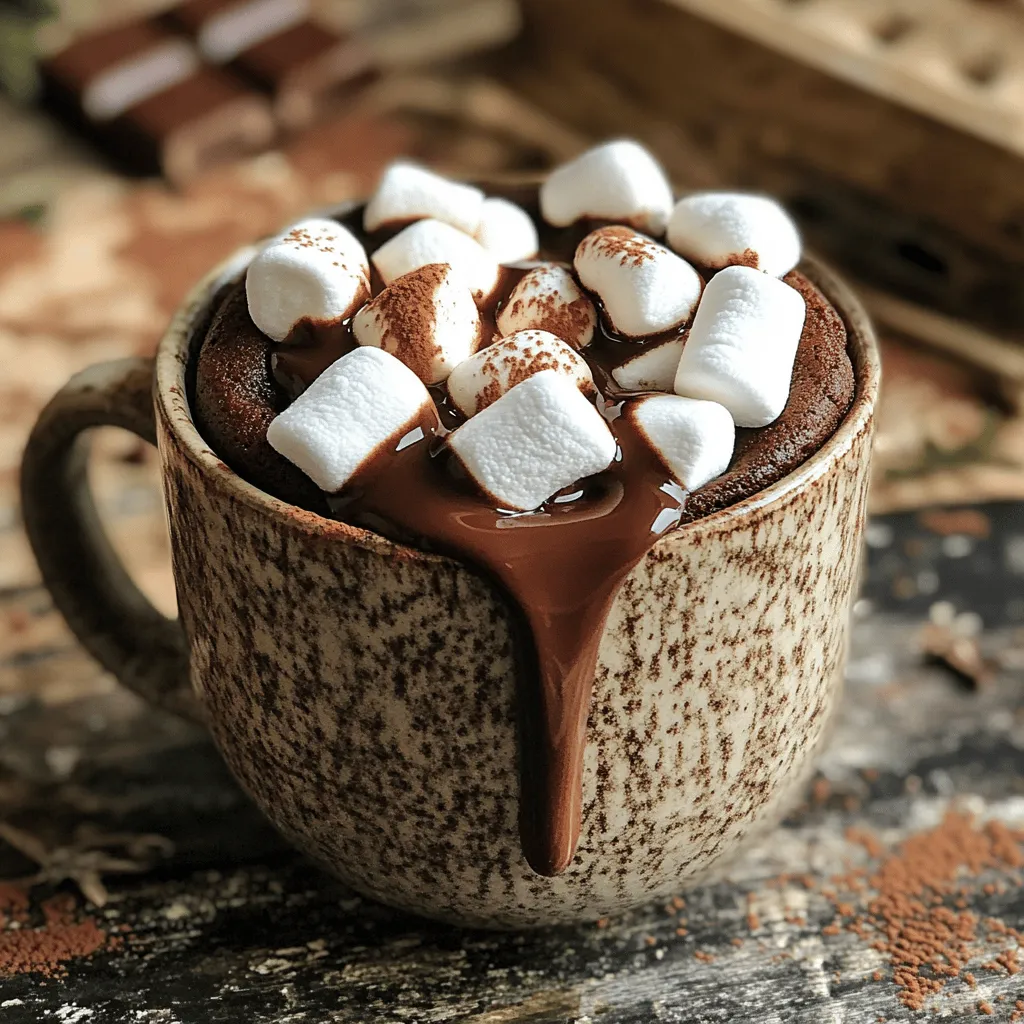
Craving something sweet but short on time? I’ve got just the treat for you! My Chocolate Marshmallow Mug Cake is
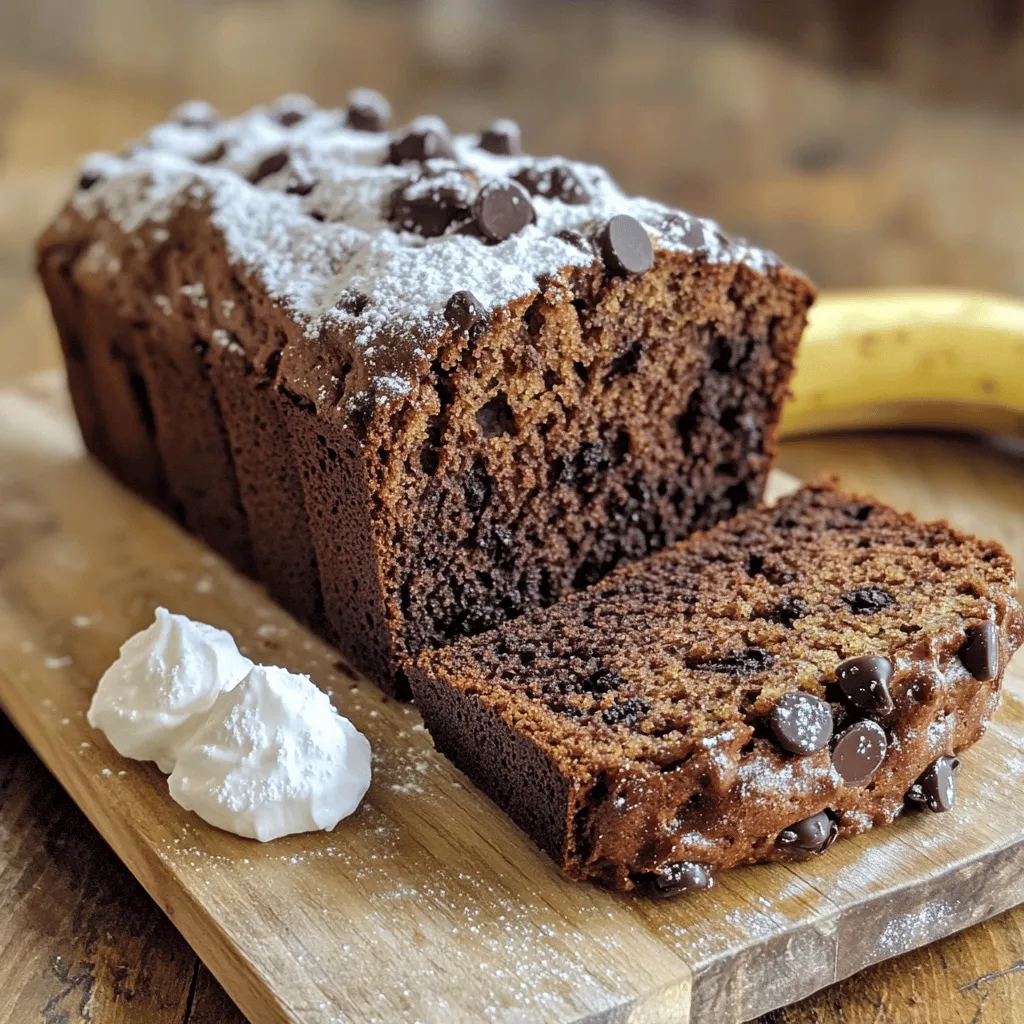
Imagine a warm slice of chocolate espresso banana bread, melting in your mouth. This delightful treat combines rich flavors and
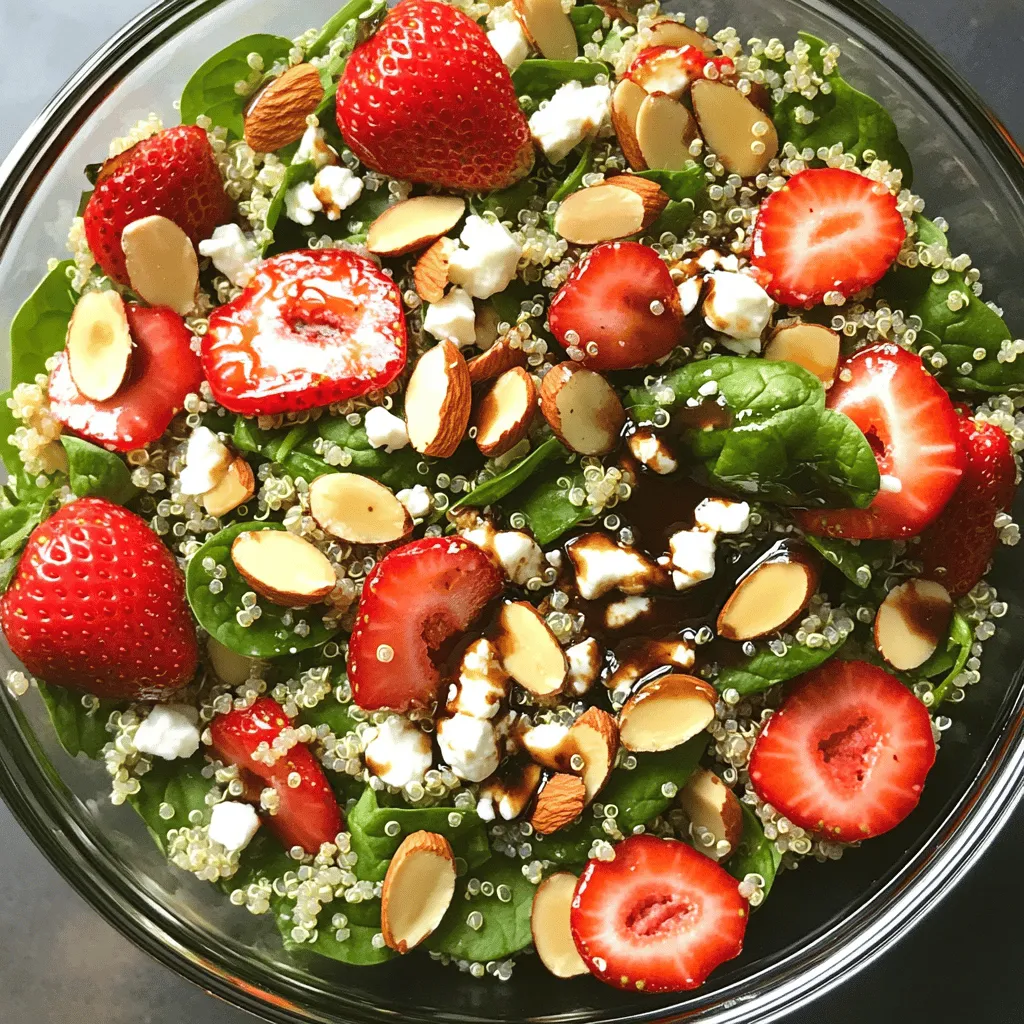
Looking for a fresh, healthy dish that bursts with flavor? Look no further! My Strawberry Spinach Quinoa Salad is the
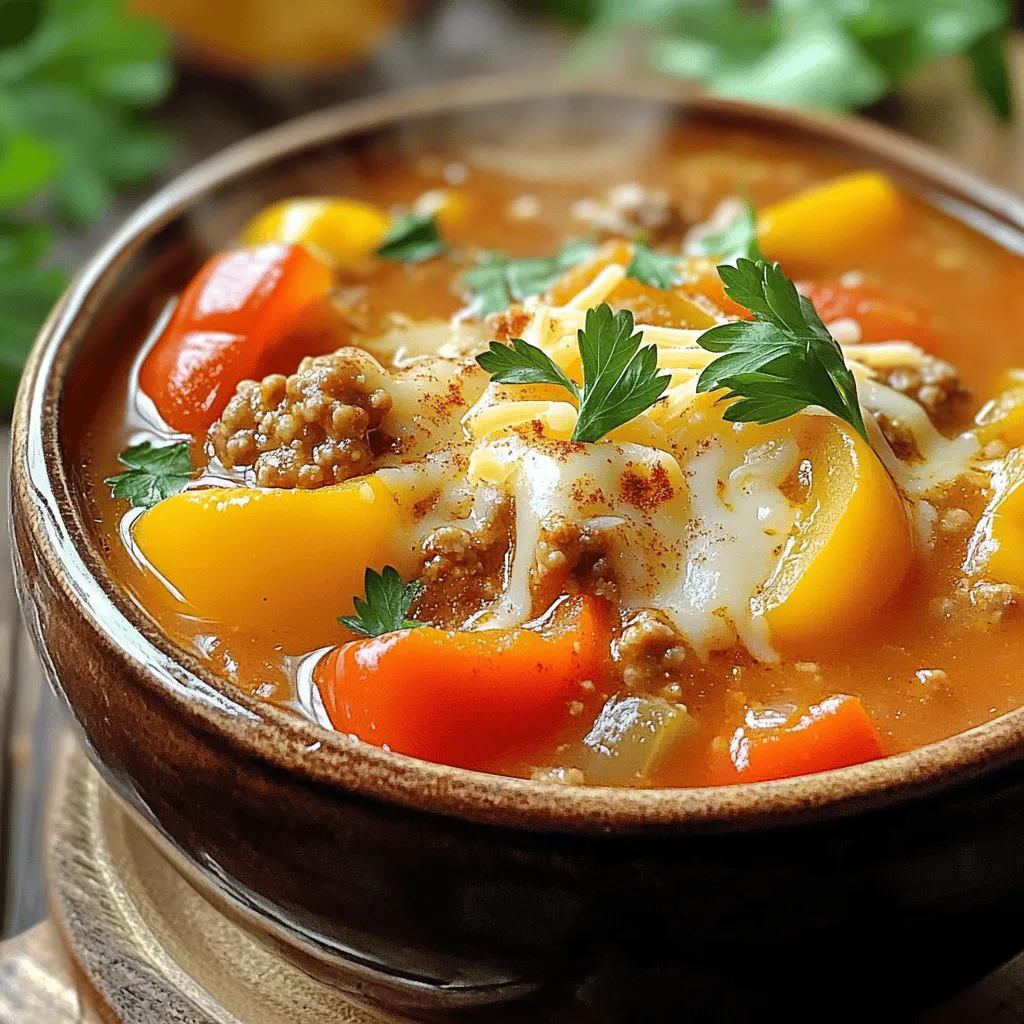
Looking for a warm dish that’s easy to make and packed with flavor? This Slow Cooker Stuffed Pepper Soup is
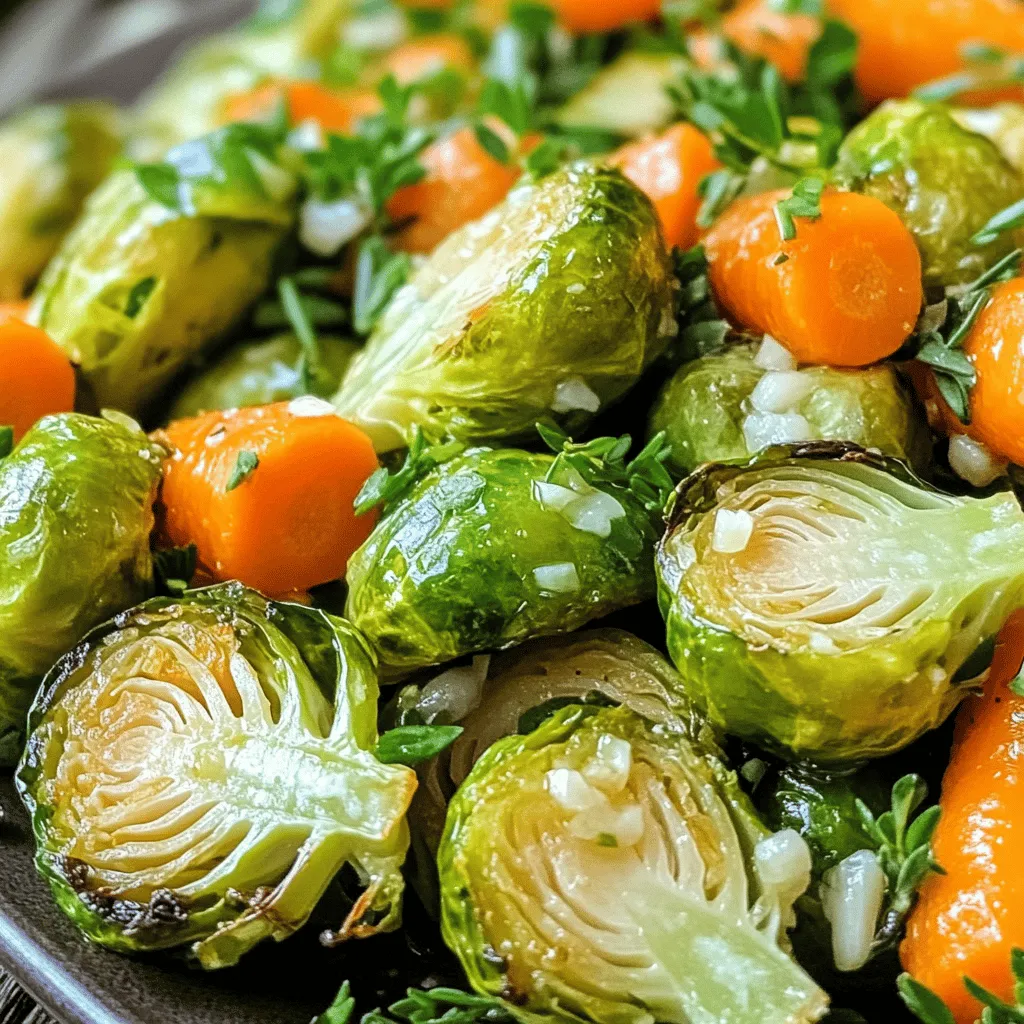
Are you ready to elevate your vegetable game? In this blog post, I’ll guide you through making Garlic Herb Roasted
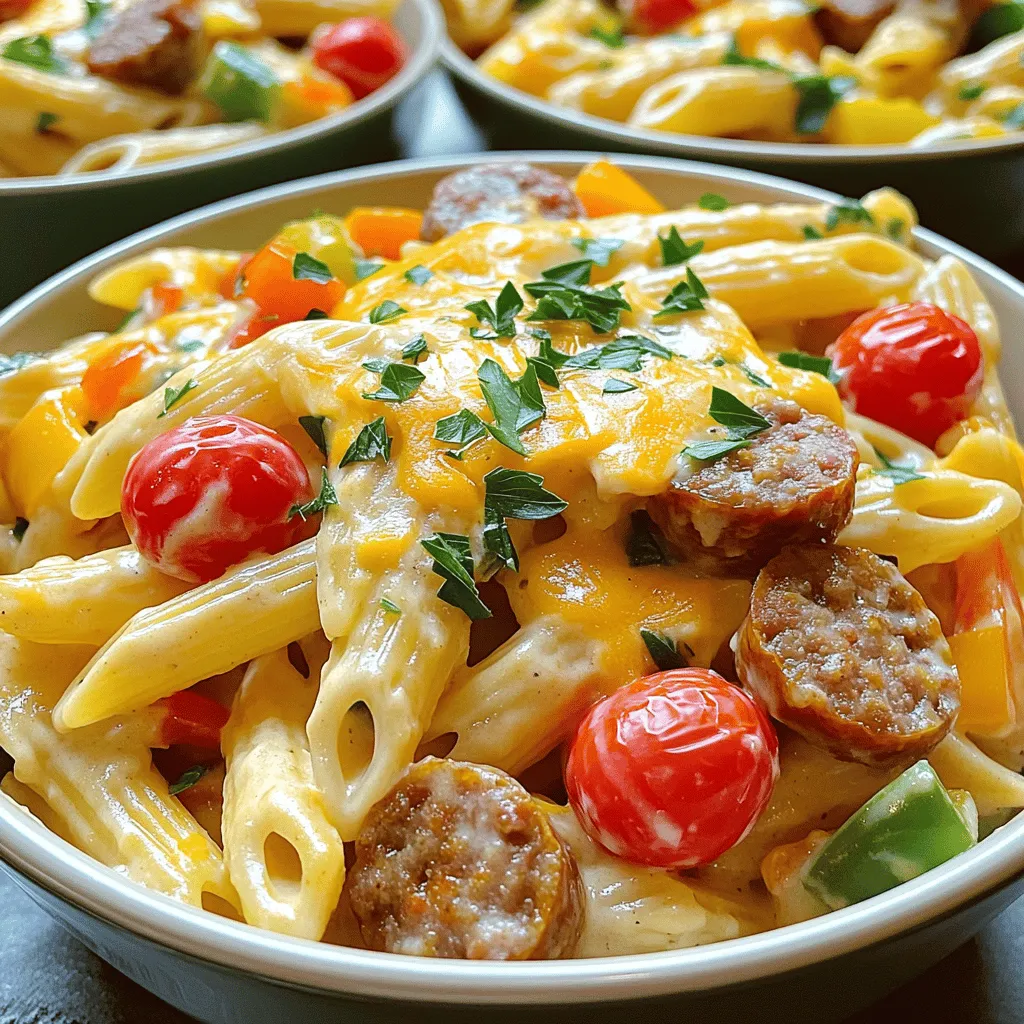
Are you ready to spice up your dinner routine? In this blog post, I’ll guide you through the steps to
