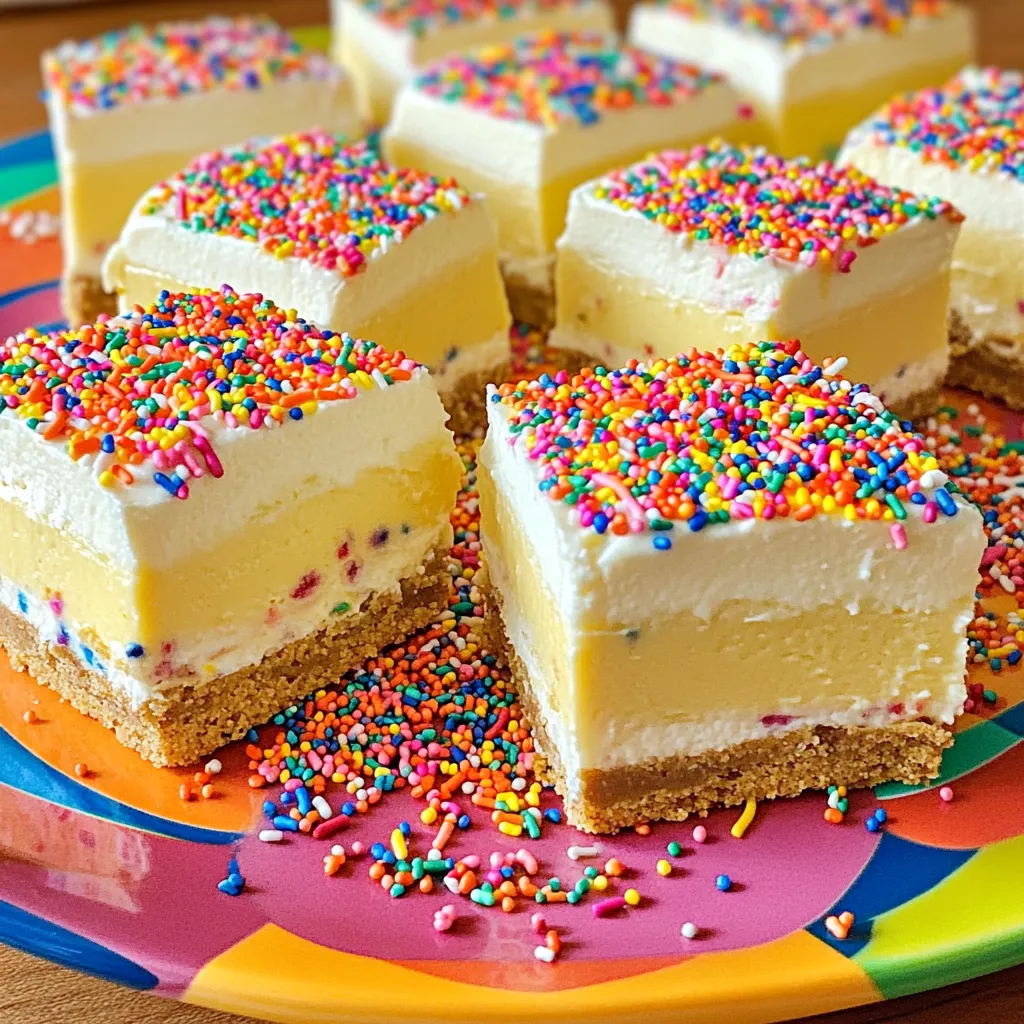
No-Bake Birthday Cake Cheesecake Bars Delightful Treat
If you crave a sweet treat that’s easy to make and fun to eat, you’re in the right place! No-Bake
If you crave a sweet treat that’s easy to make and fun to eat, you’re in the right place! No-Bake
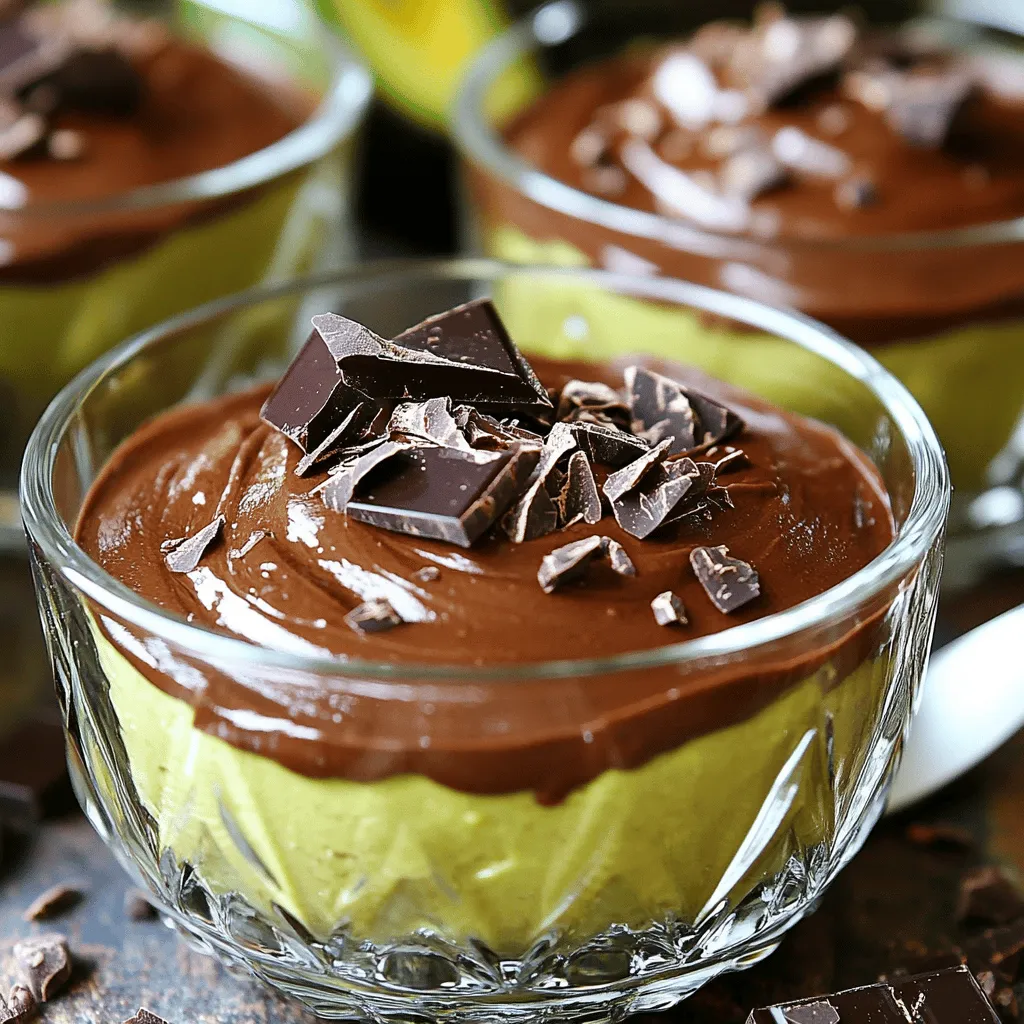
Looking for a dessert that’s both easy and healthy? Avocado chocolate mousse is the answer! This creamy treat combines rich
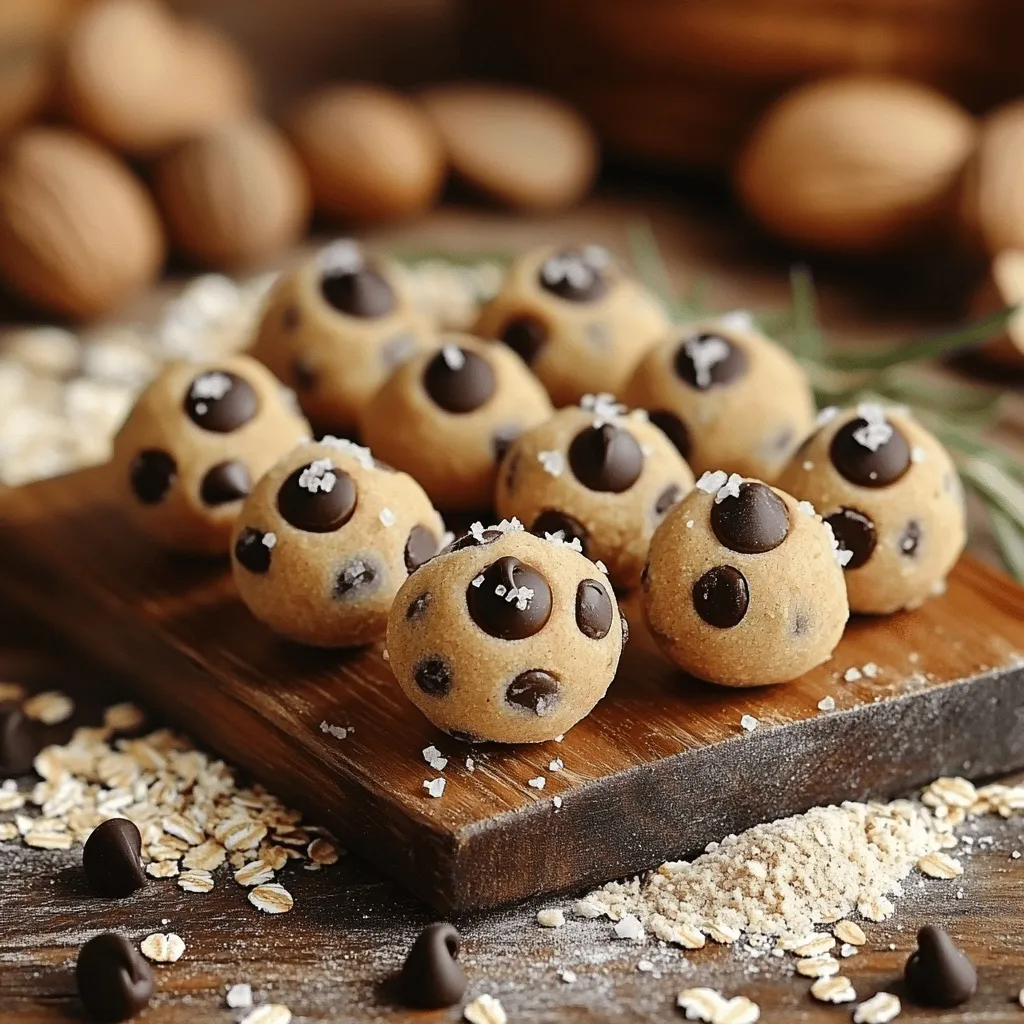
Craving a sweet snack that’s both simple and delicious? You’re in the right place! My Vegan Cookie Dough Bites are

Looking for a quick and tasty veggie dish? You’ve found it! My Honey Garlic Brussel Sprout Skillet is packed with
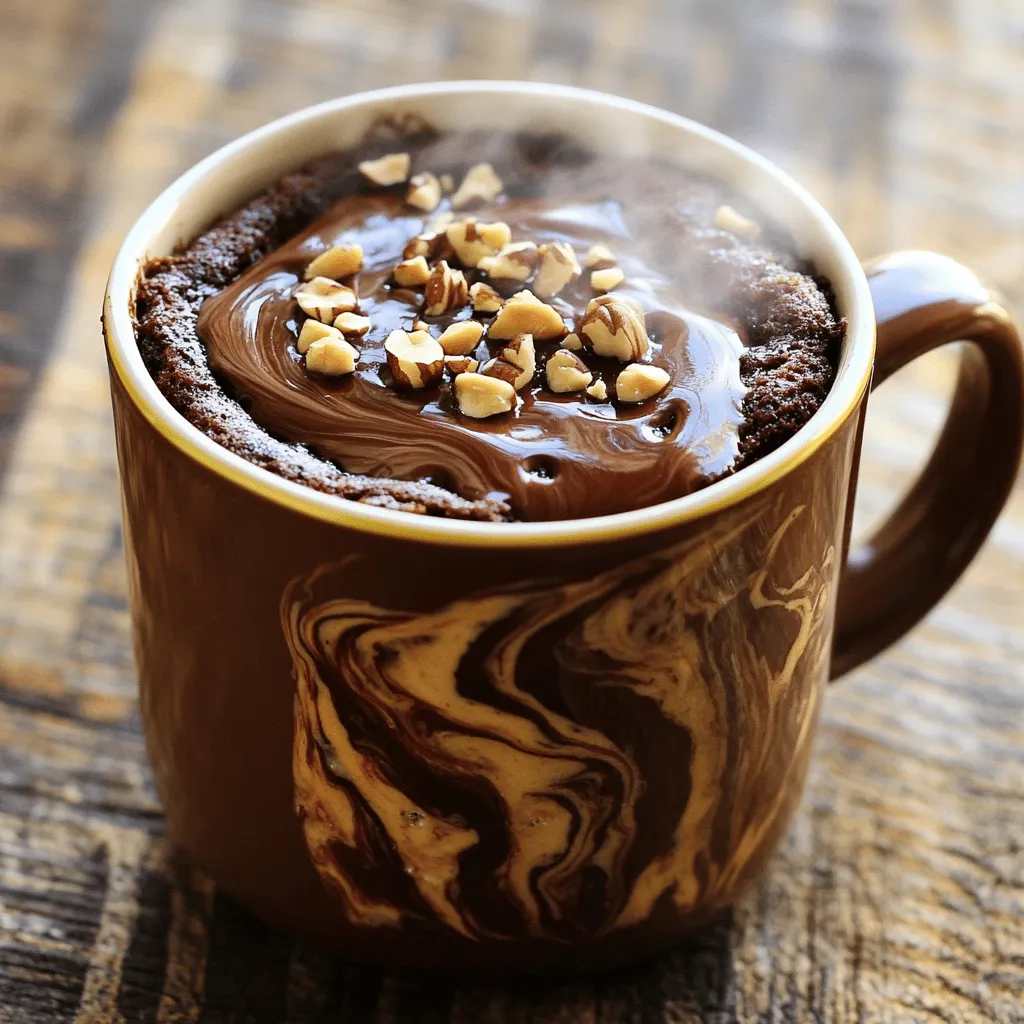
Craving a quick treat that won’t ruin your diet? Let me introduce you to the Chocolate Hazelnut Mug Cake! This

Looking for a fresh and tasty twist on dinner? Cajun Shrimp Stuffed Avocados are your answer! This dish combines creamy
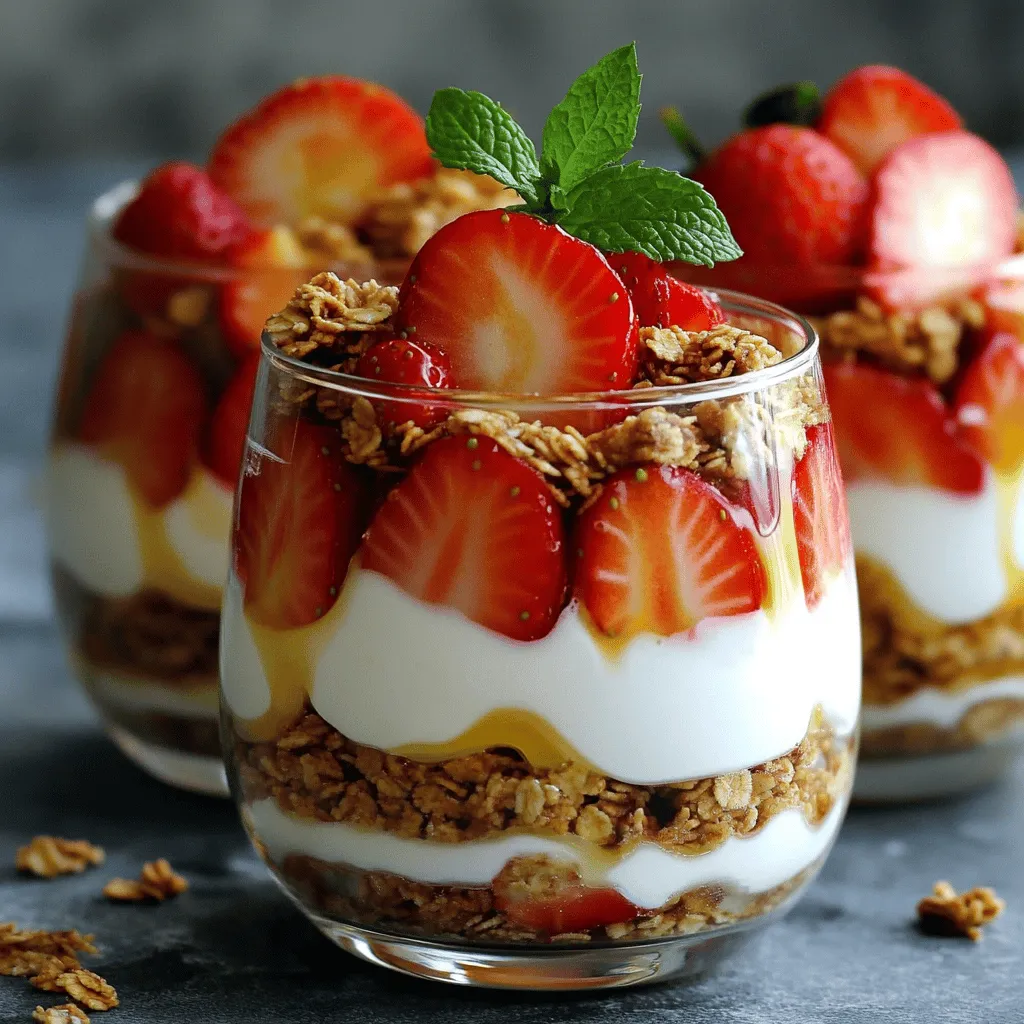
Are you ready for a sweet treat that’s as easy to make as it is delicious? Strawberry Cheesecake Yogurt Parfaits

Ready to elevate your dinner game? These Sweet Chili Salmon Bowls are both tasty and healthy. With bright veggies, tender

Craving a snack that’s both tasty and healthy? Let me introduce you to Air Fryer Crispy Avocado Fries! These golden,
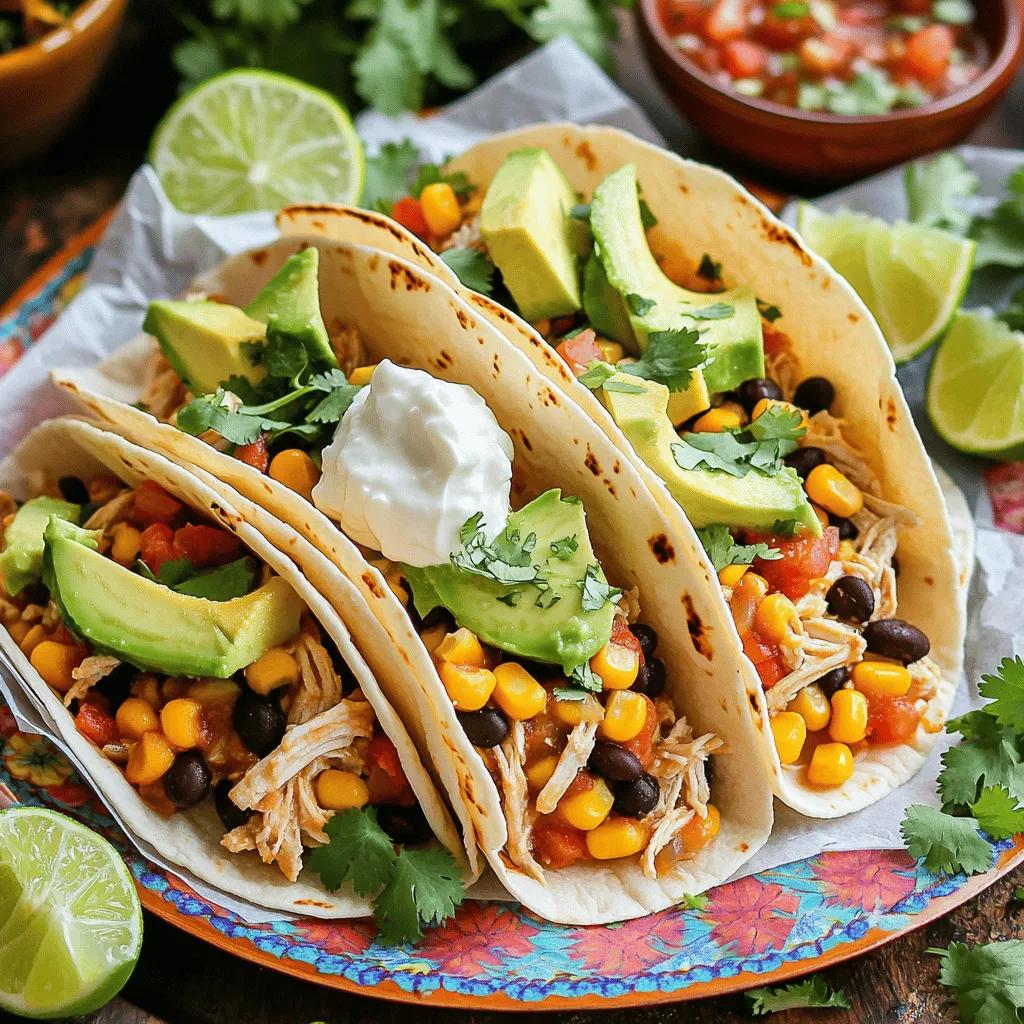
Are you ready to impress your family with an easy, tasty meal? My Slow Cooker Creamy Chicken Corn Tacos are
