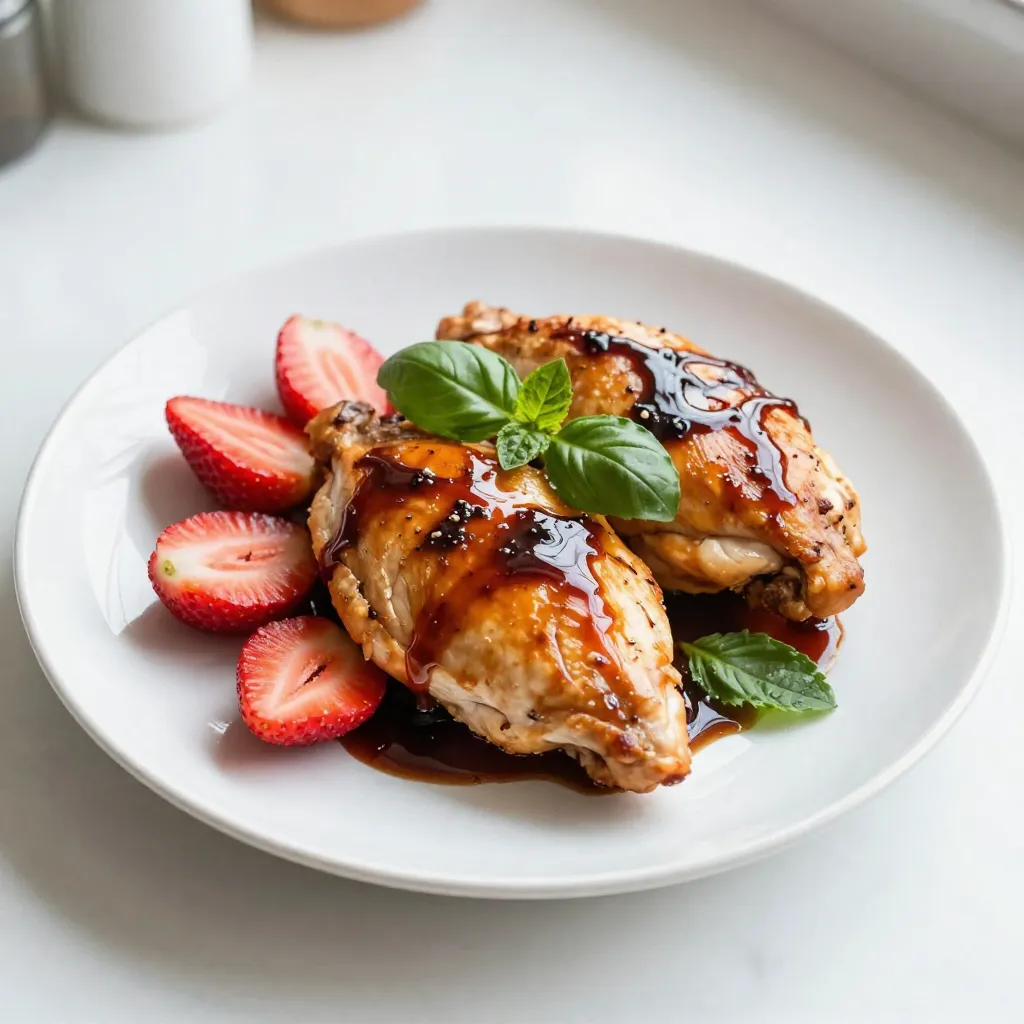
Balsamic Strawberry Chicken Delightful and Easy Meal
Looking for a tasty and easy meal? Balsamic Strawberry Chicken is your answer! This dish combines juicy chicken breasts with
Looking for a tasty and easy meal? Balsamic Strawberry Chicken is your answer! This dish combines juicy chicken breasts with

Are you ready for a fun twist on a classic cocktail? The Apple Cider Bourbon Smash is your new go-to
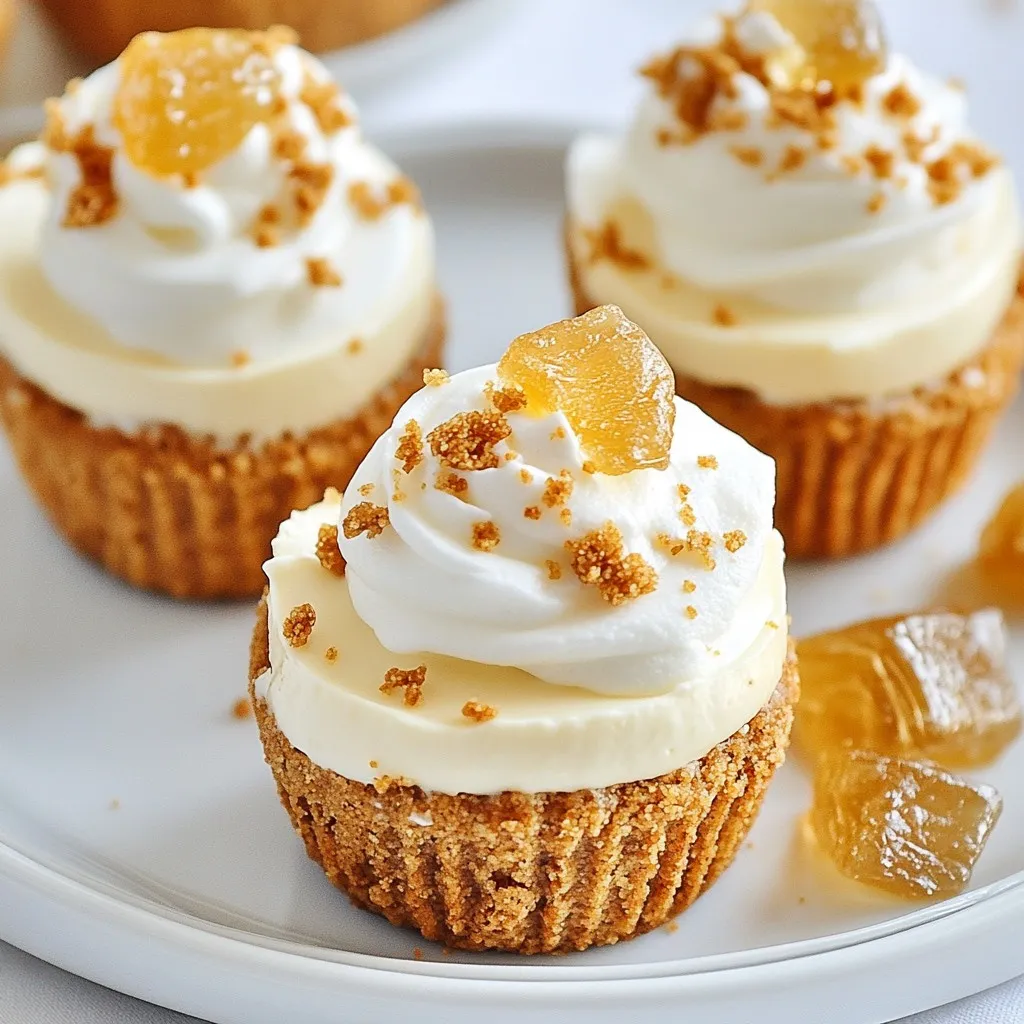
Ready to wow your friends and family this holiday season? These Gingerbread Cheesecake Dip Cups are the perfect blend of
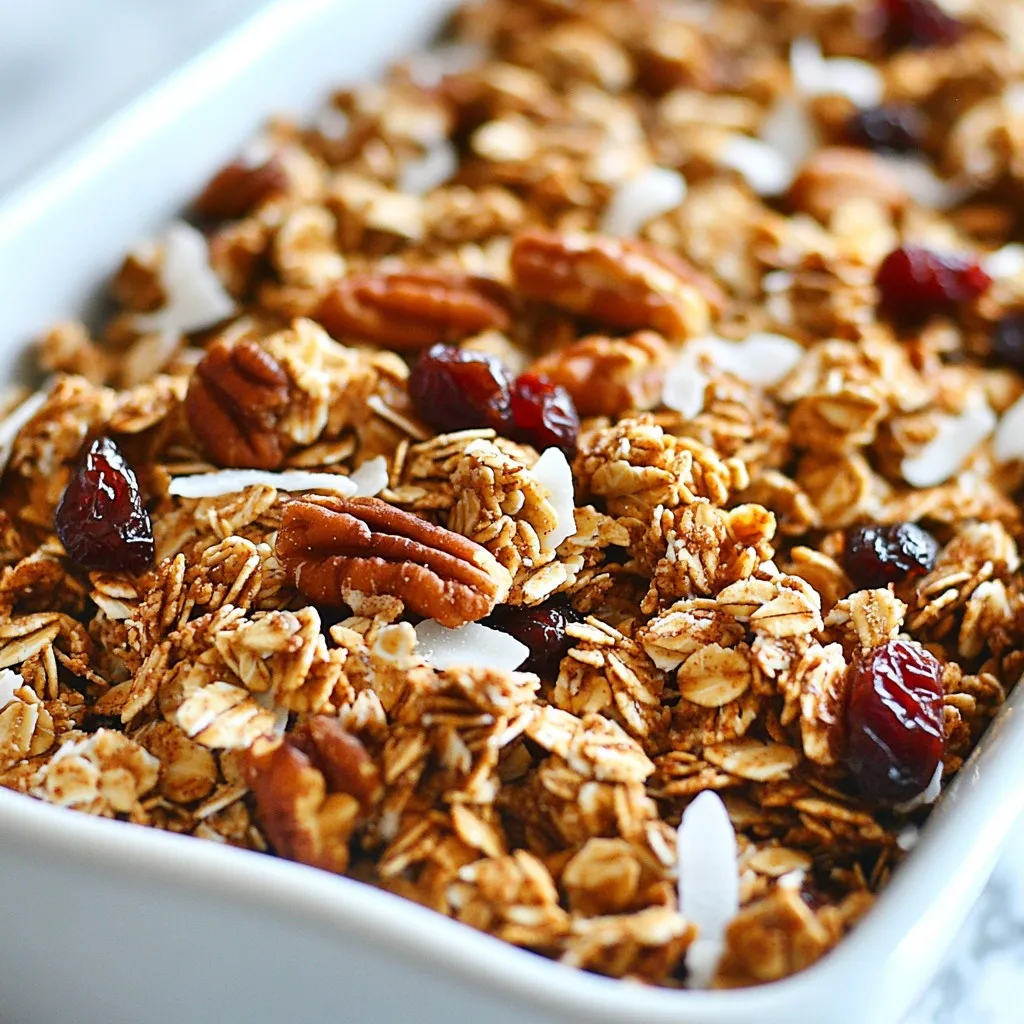
Do you want a healthy snack that’s crunchy and full of flavor? Look no further! My Maple Cinnamon Granola is
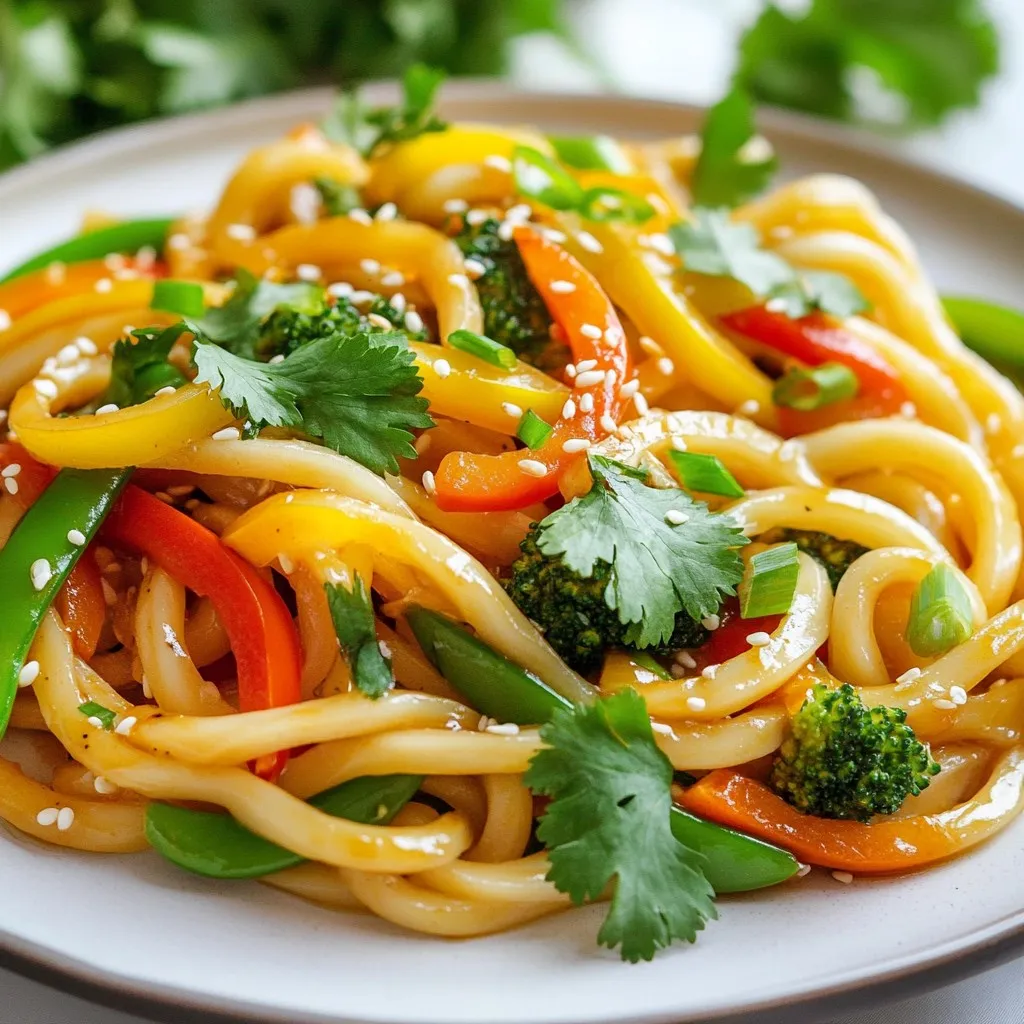
Looking for a quick, tasty meal? Try my Spicy Garlic Udon Stir Fry! It’s packed with fresh veggies and tons
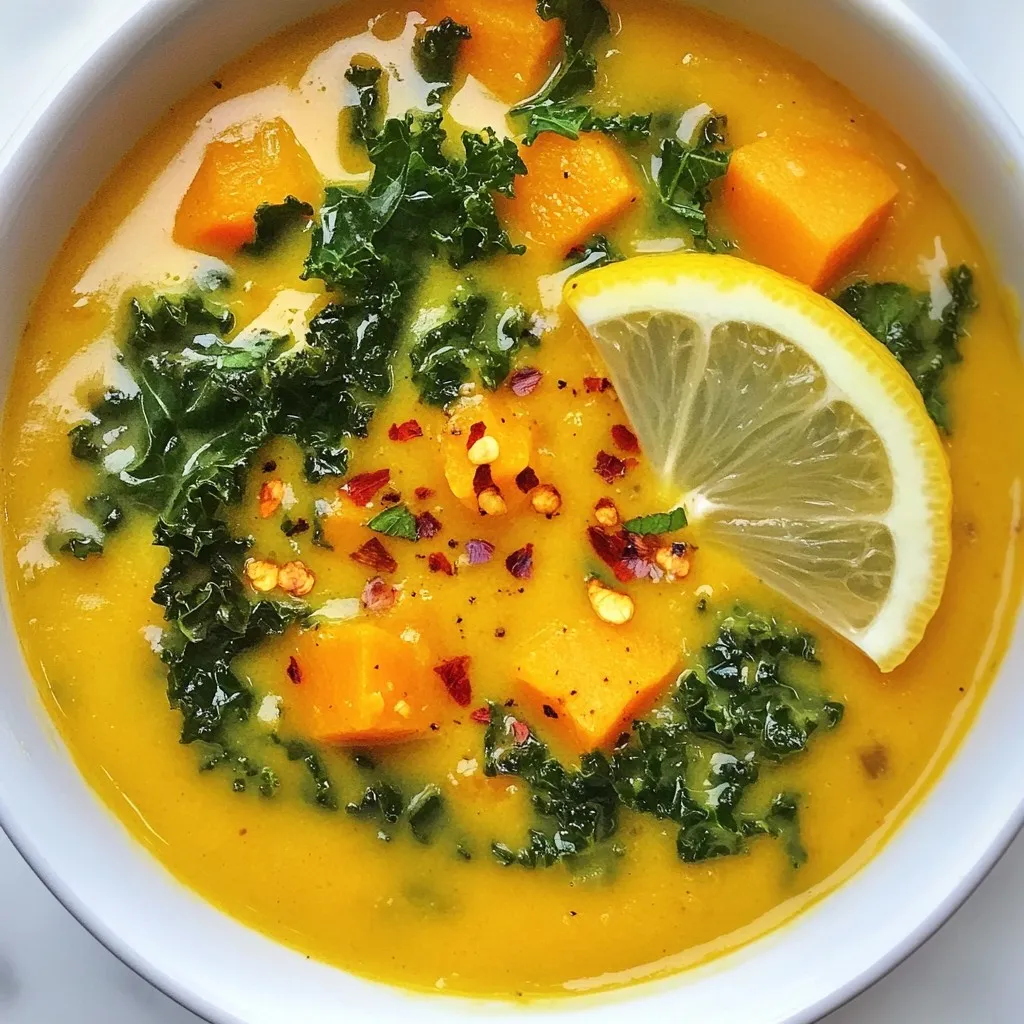
Looking for a warm, comforting meal that’s both tasty and healthy? You’ll love this Sweet Potato Kale Soup! Packed with

Get ready to indulge in a sweet treat that’s both simple and delicious! These chocolate fudge brownie cookies offer the
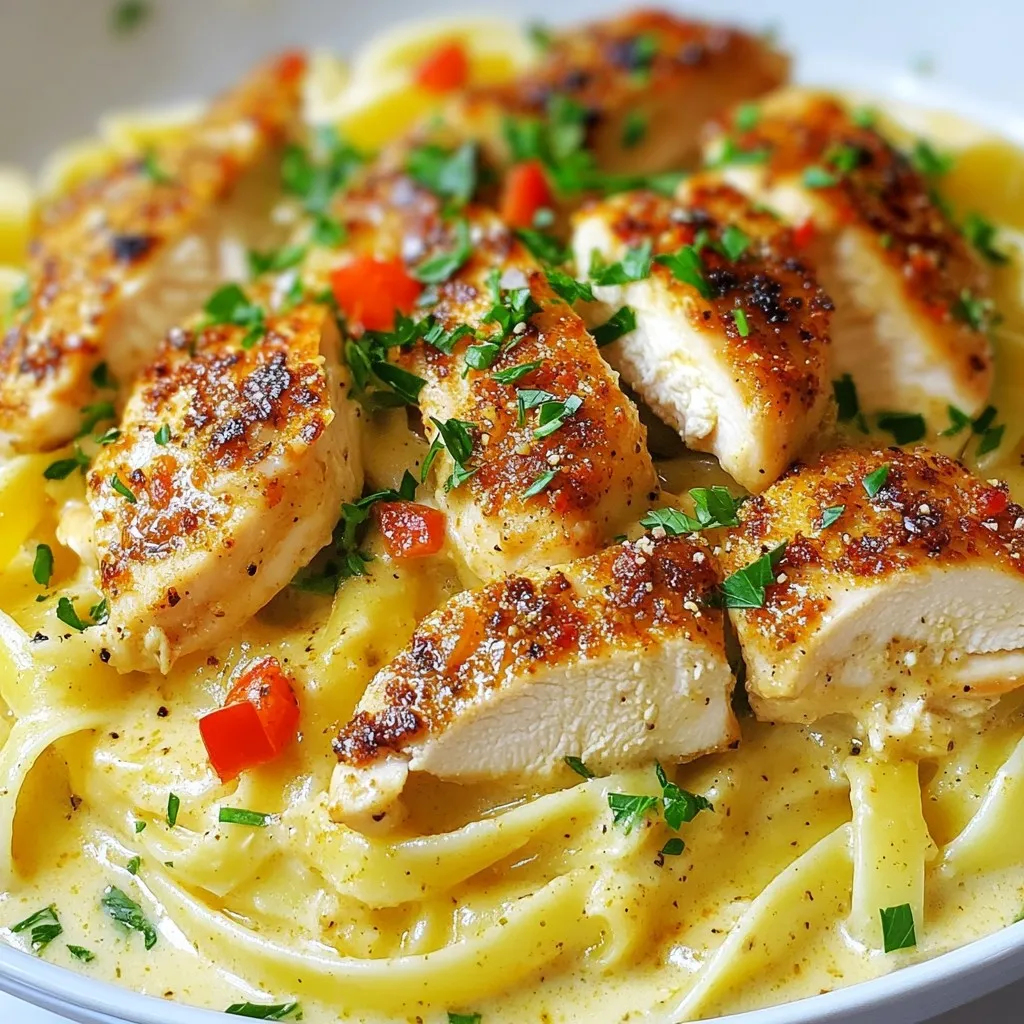
Are you ready for a meal that combines bold flavors with creamy goodness? My Creamy Cajun Chicken Pasta is quick
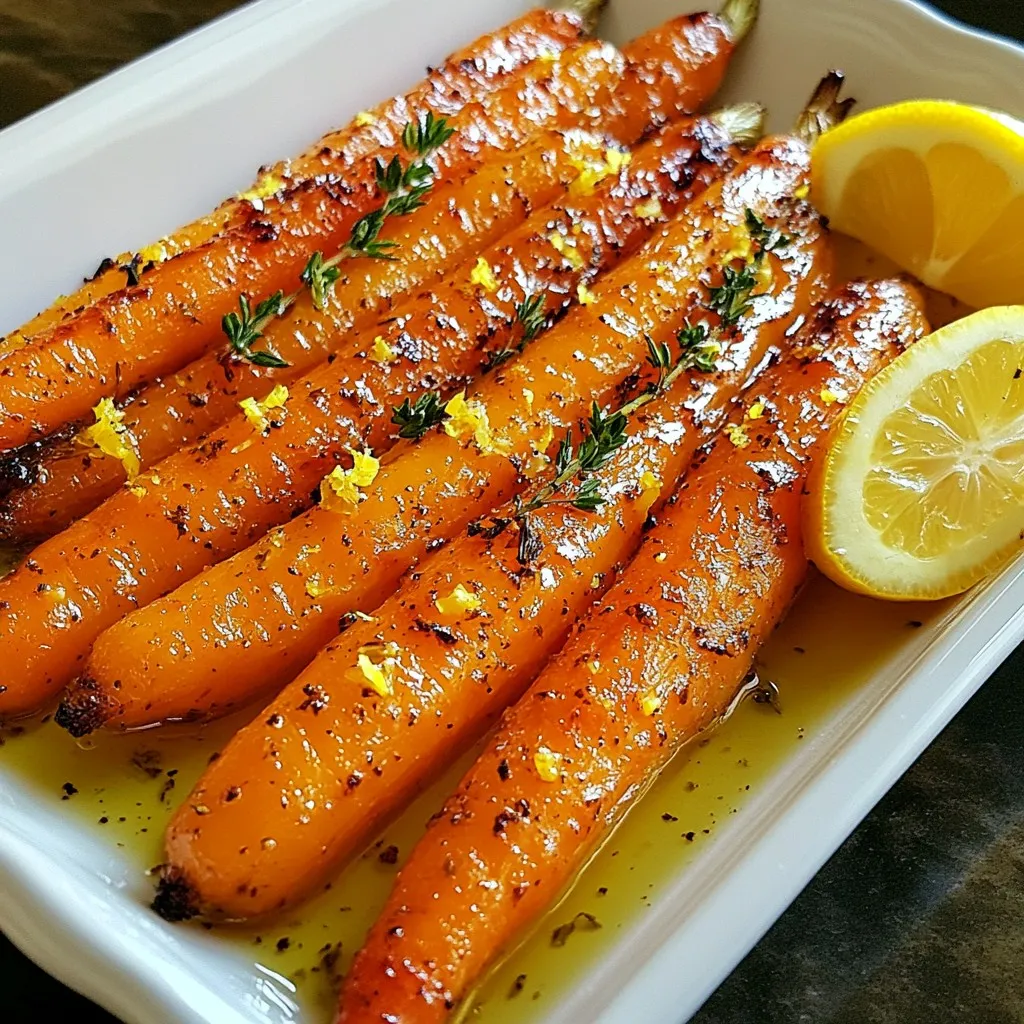
Looking for a simple yet delicious side dish? These Lemon Thyme Roasted Carrots are just what you need! With their
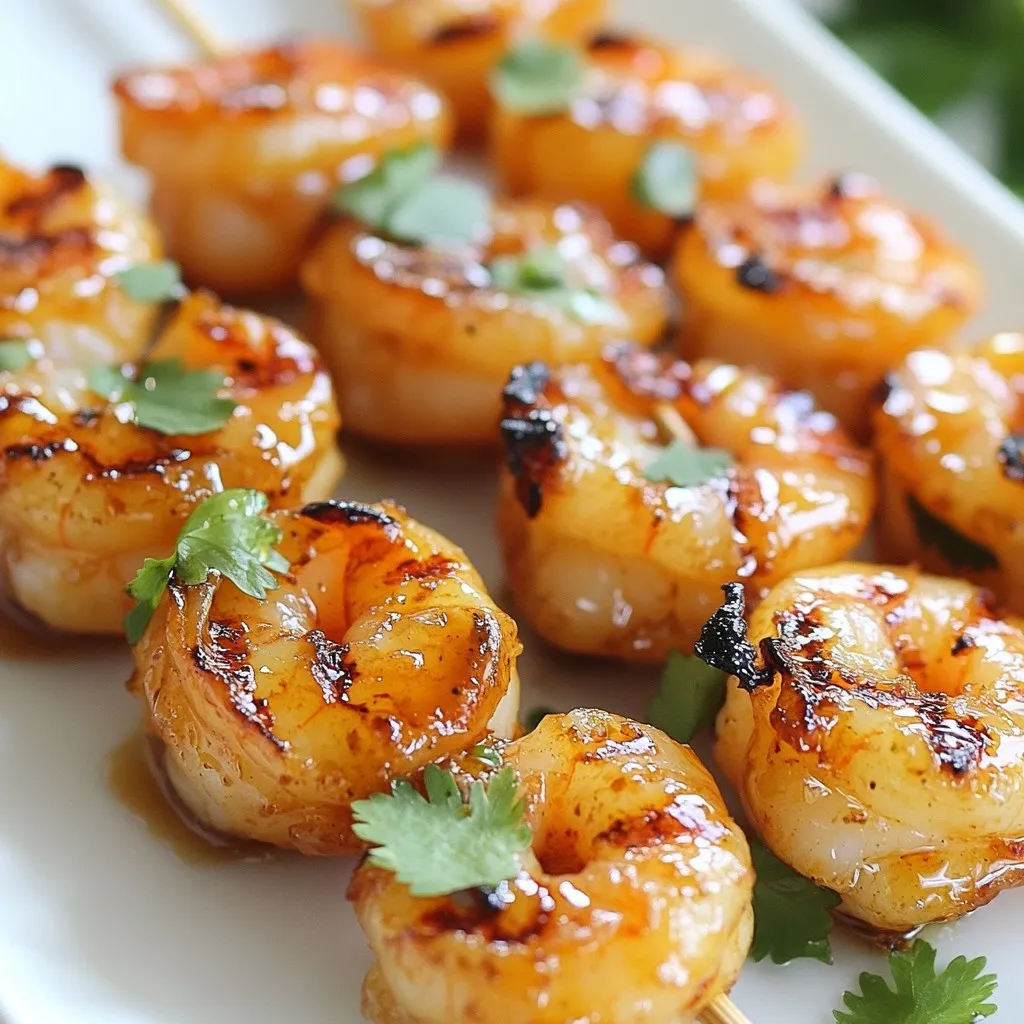
Are you ready to impress at your next gathering? Honey Garlic Shrimp Skewers are simple and bursting with flavor! In
