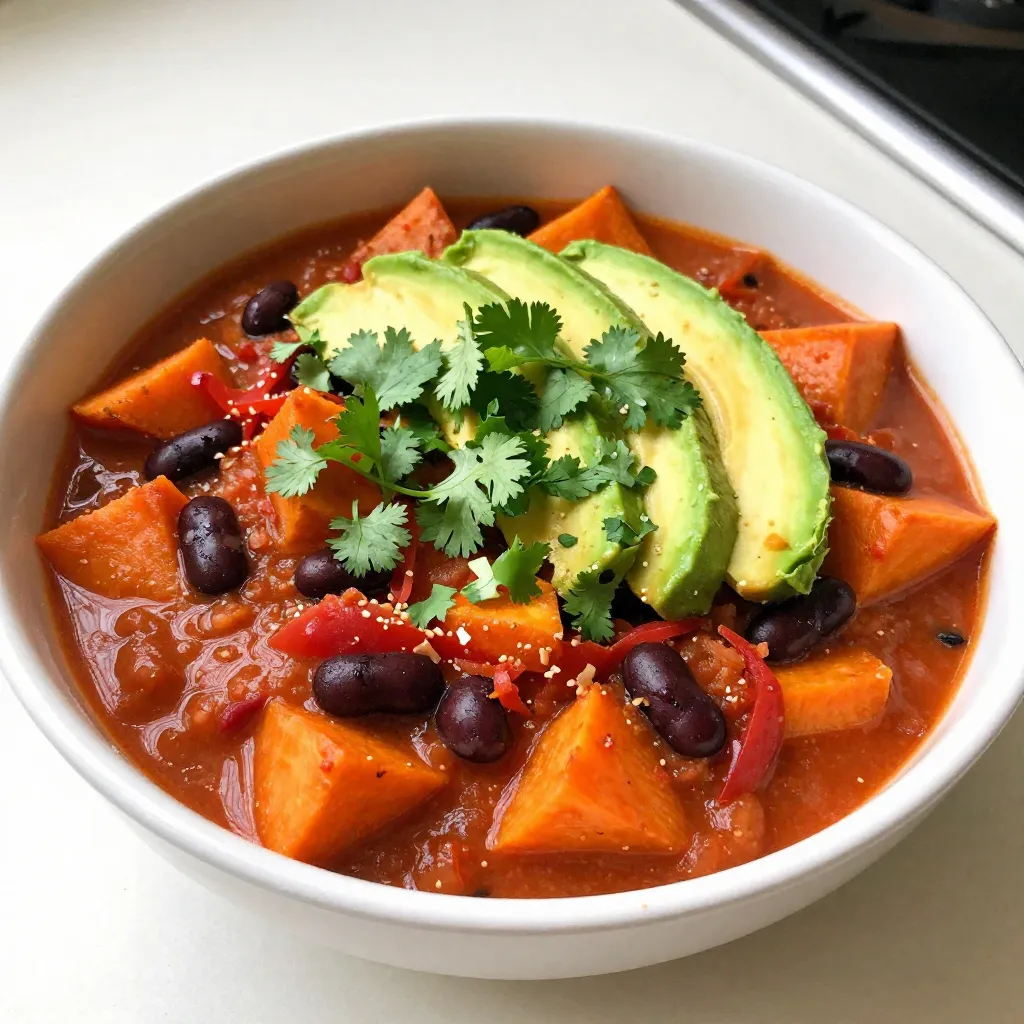
Vegan Sweet Potato Chili Hearty and Healthy Delight
Looking for a warm and filling meal that’s good for you? This Vegan Sweet Potato Chili is your answer! Packed
Looking for a warm and filling meal that’s good for you? This Vegan Sweet Potato Chili is your answer! Packed

Craving something sweet? You’re in for a treat! This Chocolate Peanut Butter Oreo Pie is your new go-to dessert. Imagine
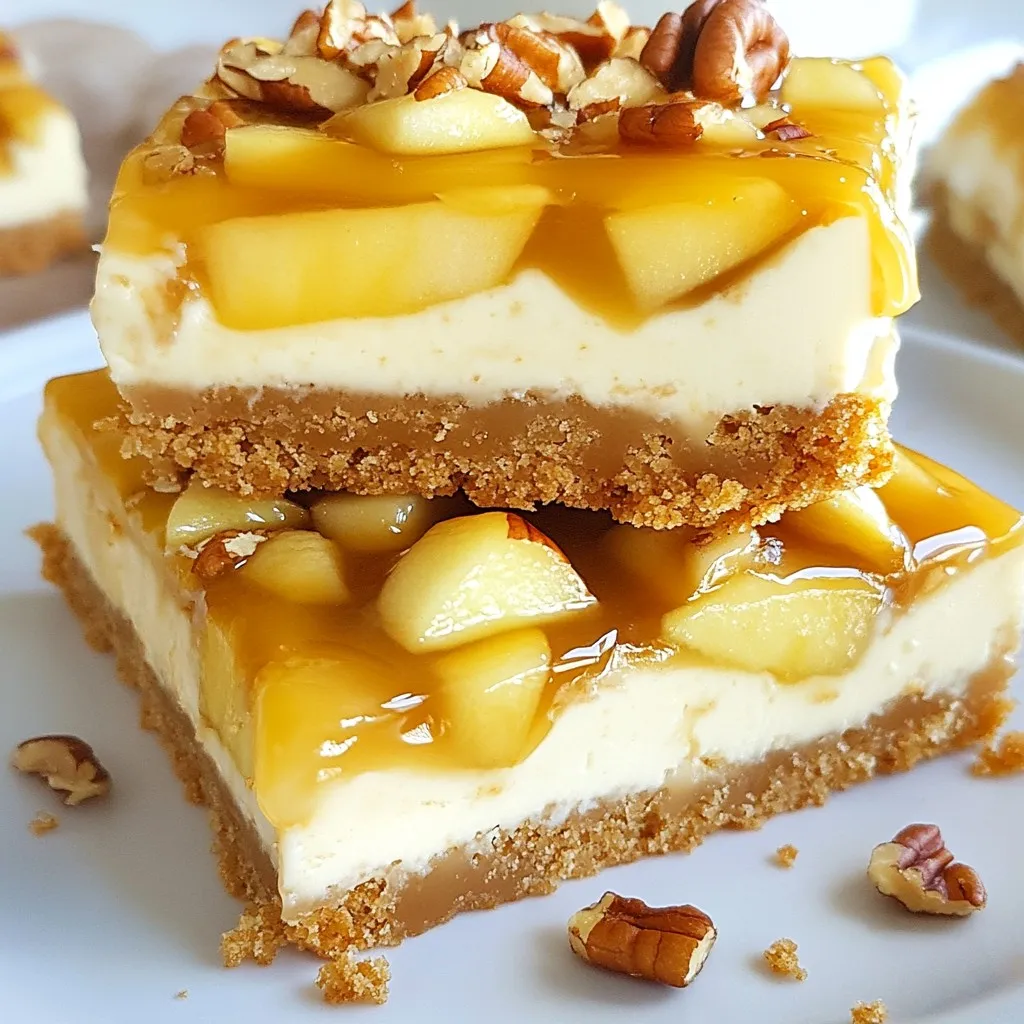
Craving something sweet? Let me introduce you to the ultimate dessert: Caramel Apple Cheesecake Bars. These bars combine creamy cheesecake,
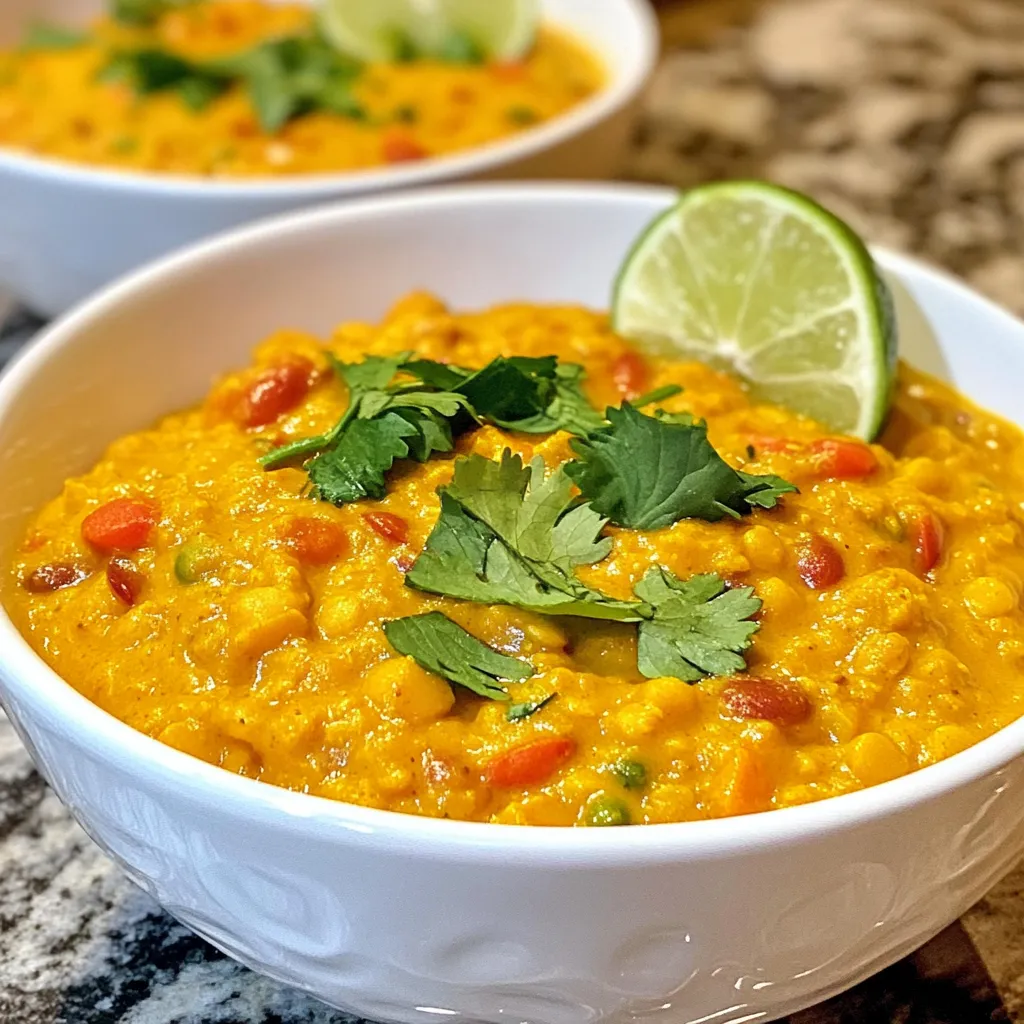
Looking for a warm, hearty dish that’s easy to make? This Creamy Coconut Lentil Curry checks all the boxes! With
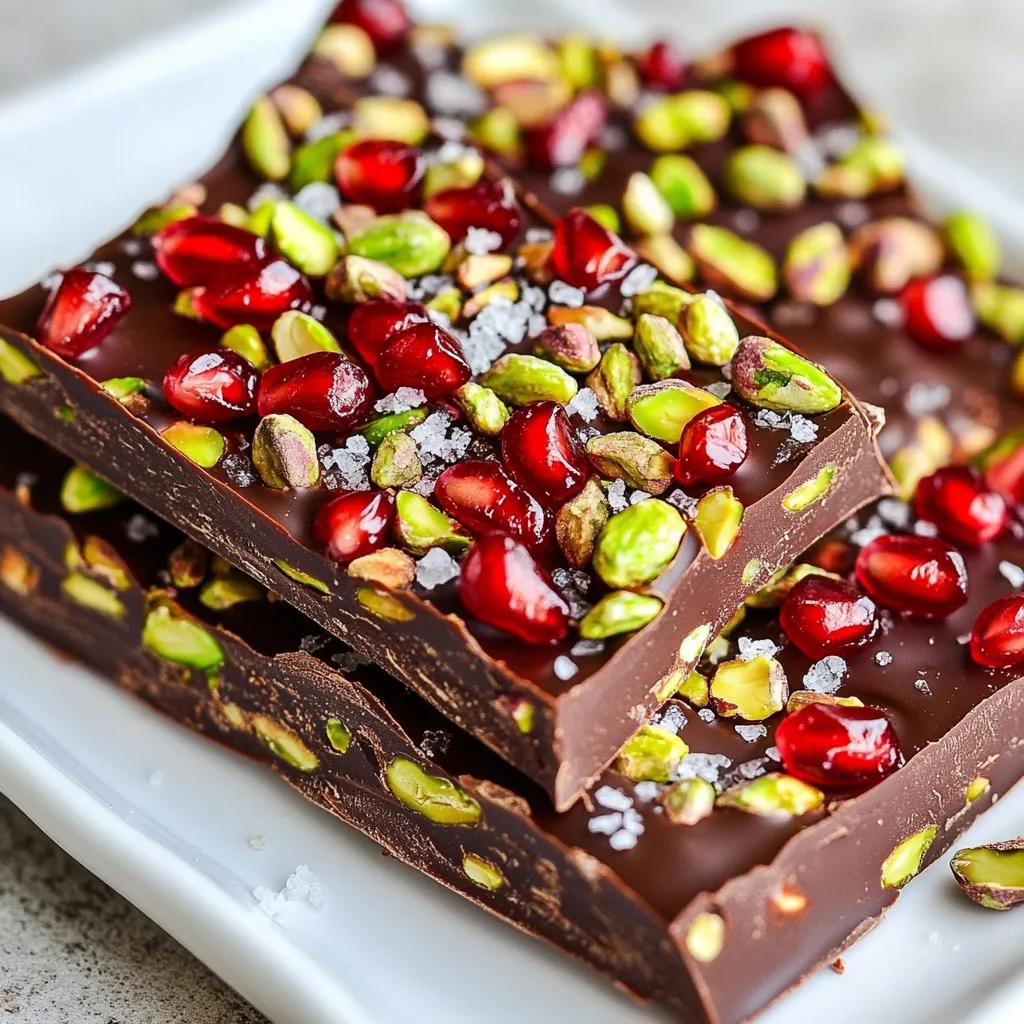
Ready for a sweet treat that’s simple and healthy? Pomegranate Pistachio Bark is a delicious snack that combines rich dark

Looking for a refreshing drink that’s easy to make? You’ll love the Blackberry Sage Smash Mocktail! This vibrant drink combines
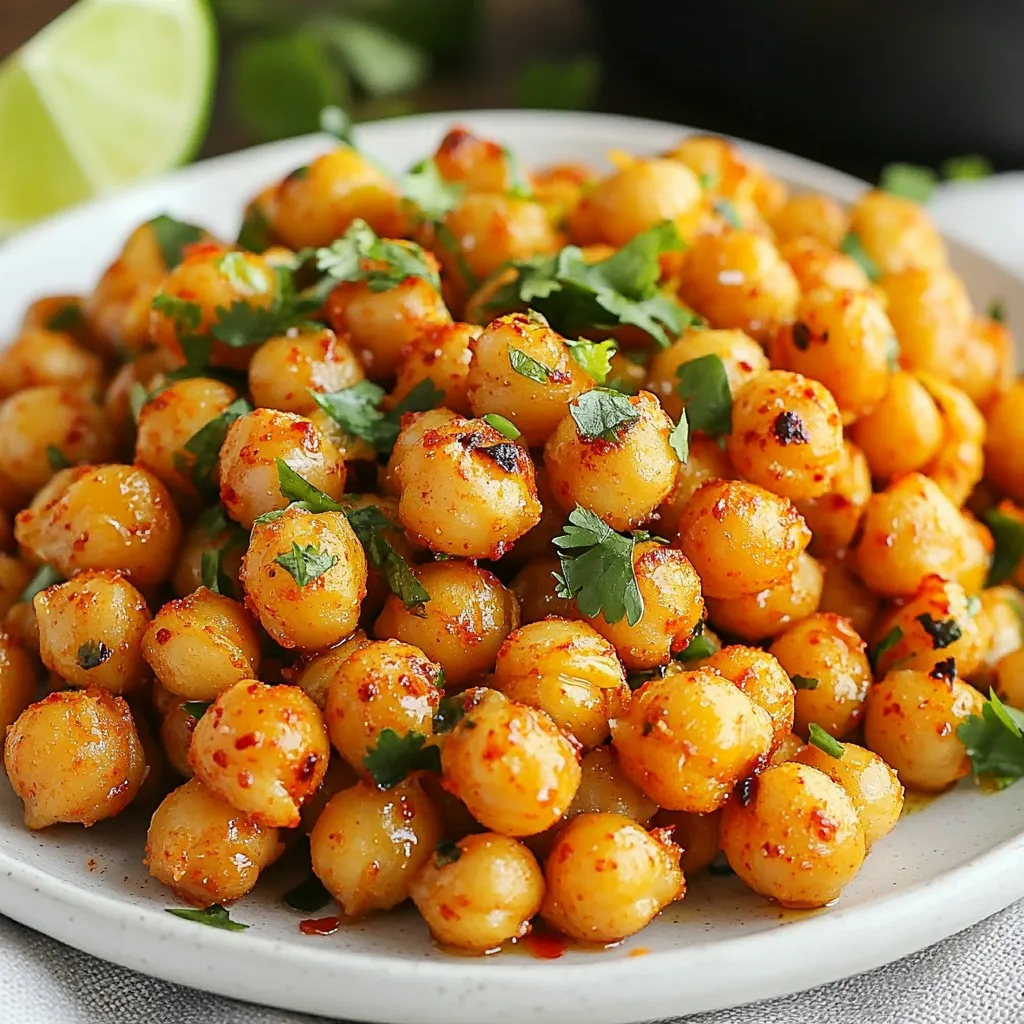
Looking for a zesty snack that packs a punch? You’re in the right place! My Chili Lime Roasted Chickpeas are

Indulge your sweet tooth with my Chocolate Dipped Coconut Macaroons! These treats combine chewy coconut and rich chocolate for a
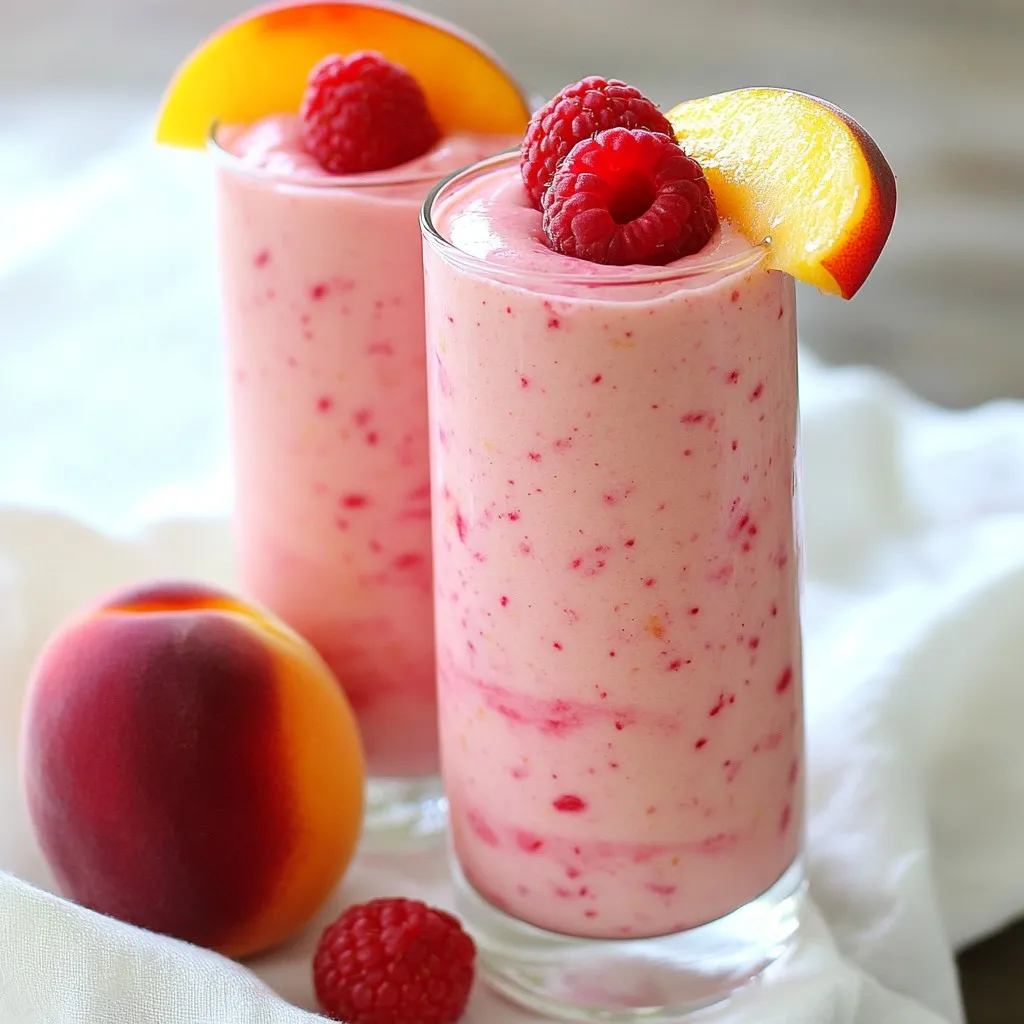
Are you ready for a tasty treat that’s also good for you? In this post, I’m sharing my favorite Raspberry

Get ready for a flavor explosion with my Spicy Peanut Chicken Lettuce Wraps! These easy-to-make wraps blend savory ground chicken
