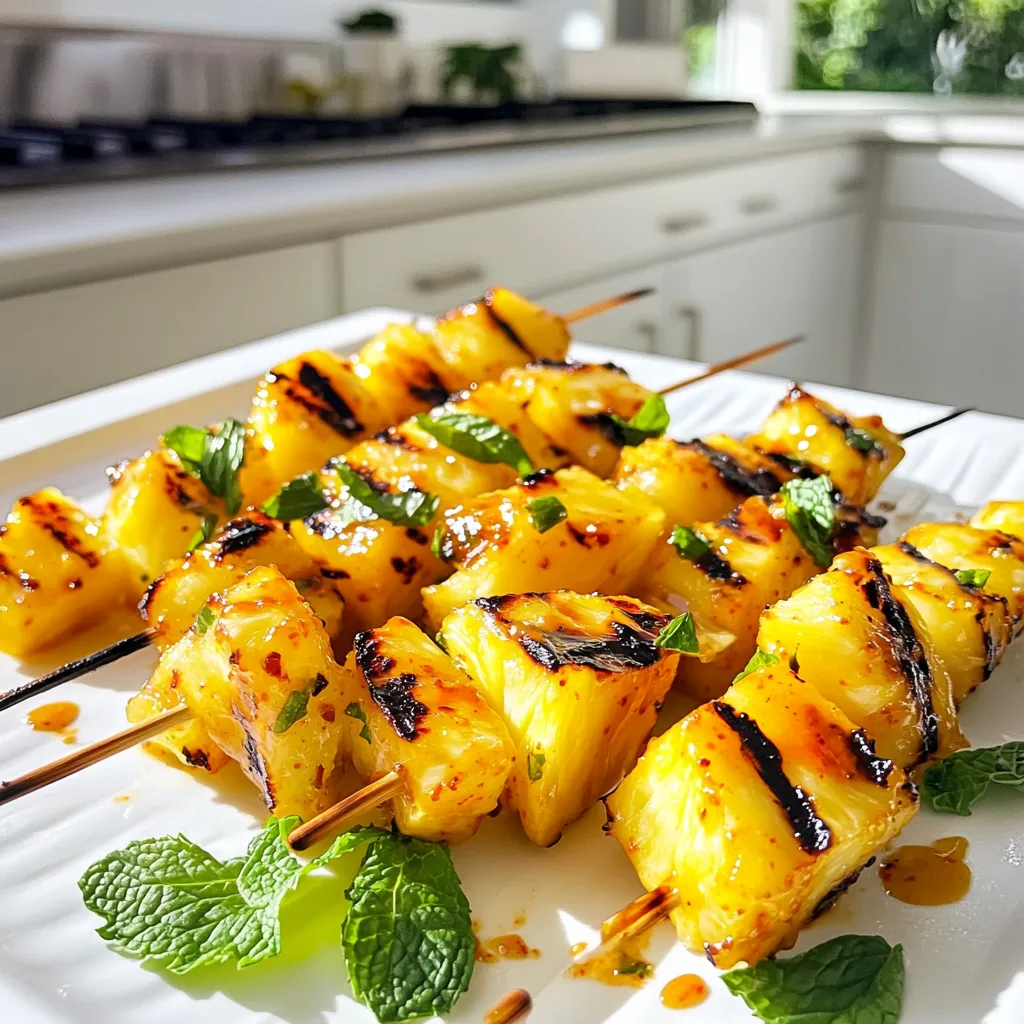
Sweet Chili Lime Grilled Pineapple Skewers Recipe
Get ready for a tasty treat! My Sweet Chili Lime Grilled Pineapple Skewers bring a burst of flavor to your
Get ready for a tasty treat! My Sweet Chili Lime Grilled Pineapple Skewers bring a burst of flavor to your
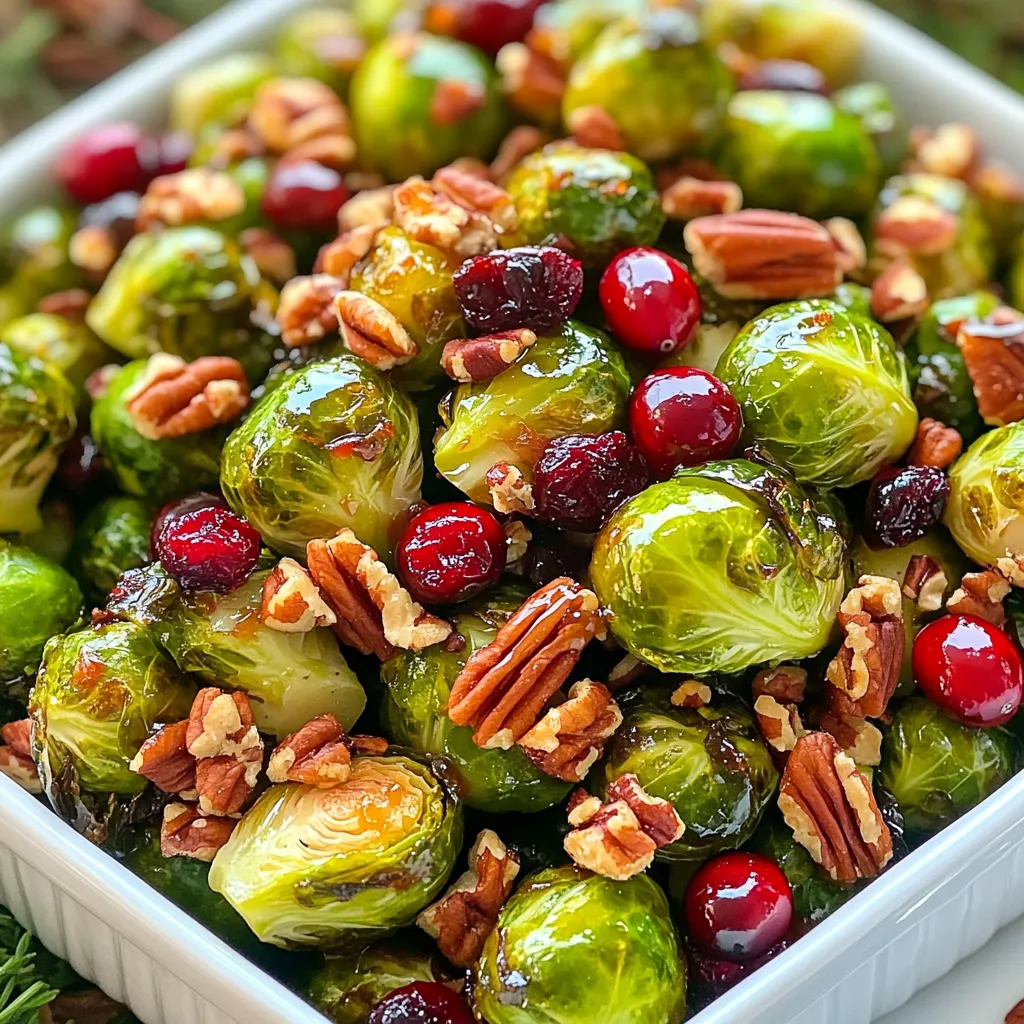
Looking to elevate your meal with a delicious side dish? Maple Glazed Brussels Sprouts with Cranberries Delight is the answer!
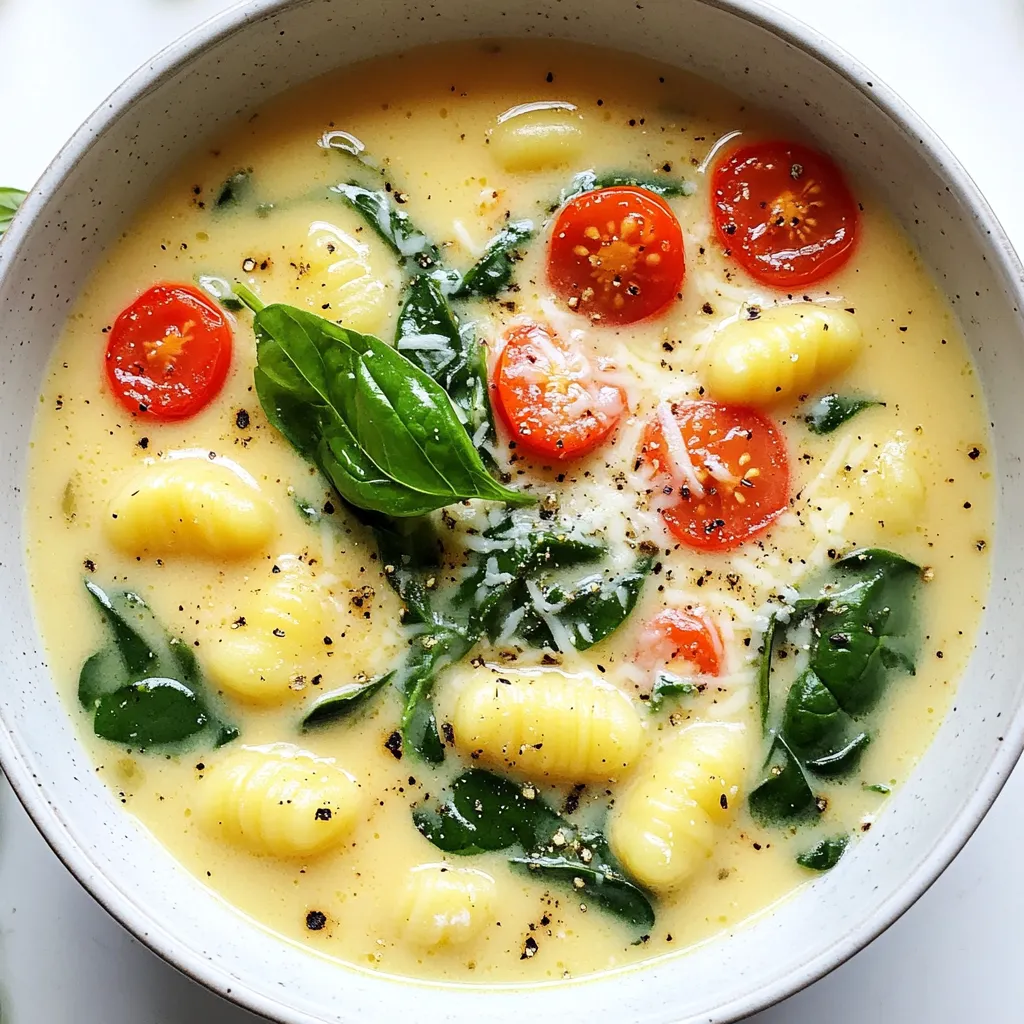
Are you looking for a meal that’s both easy to make and bursting with flavor? This One-Pot Creamy Tuscan Gnocchi
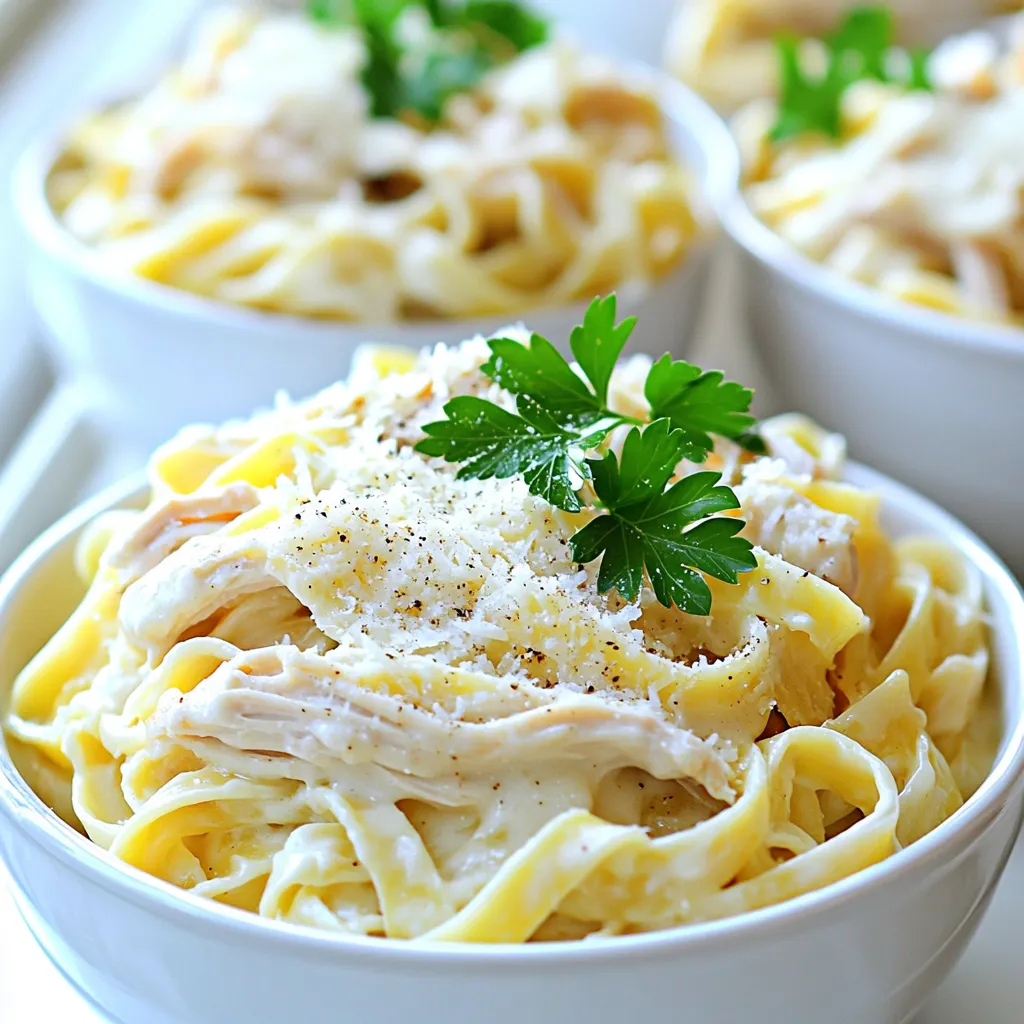
Get ready to dive into a world of creamy comfort with my Slow Cooker Creamy Chicken Alfredo. This dish is
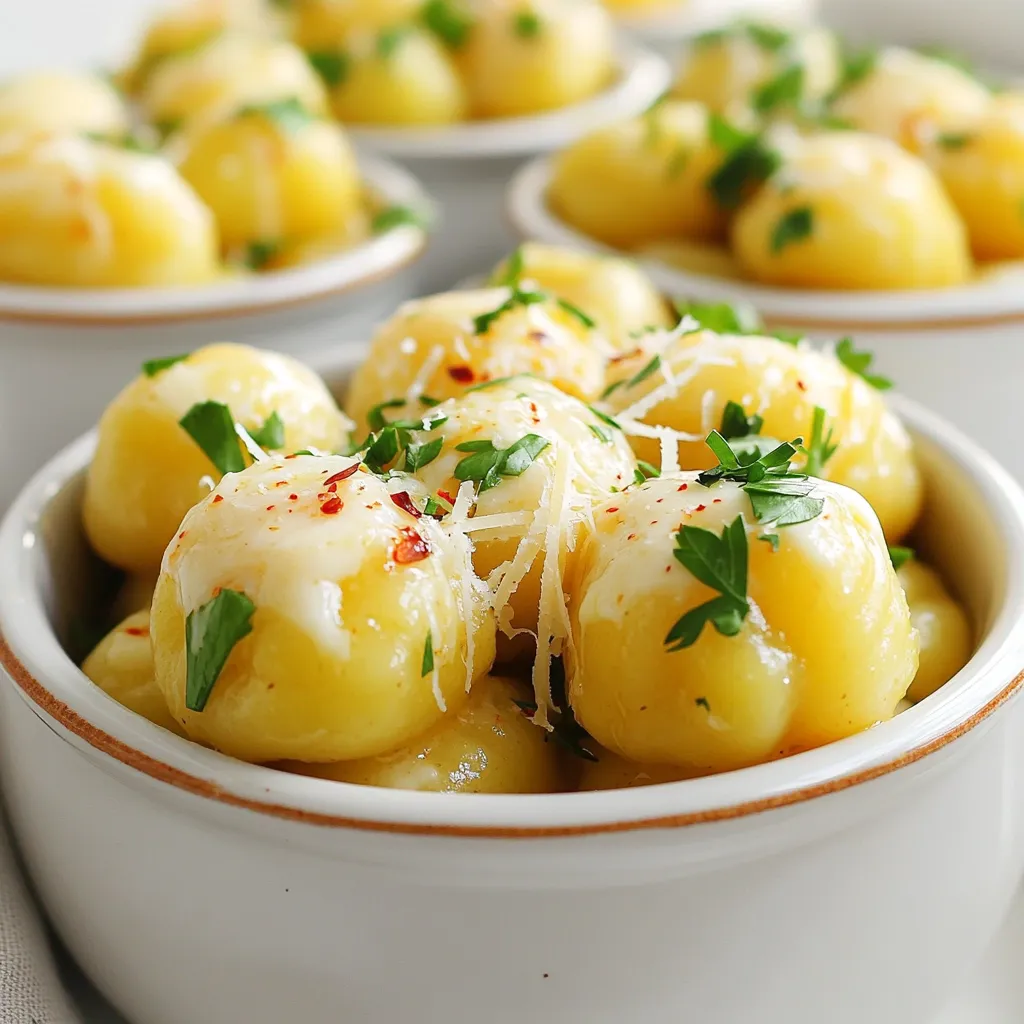
Are you craving something quick, tasty, and satisfying? Look no further! My Minute Garlic Parmesan Gnocchi is the perfect solution.
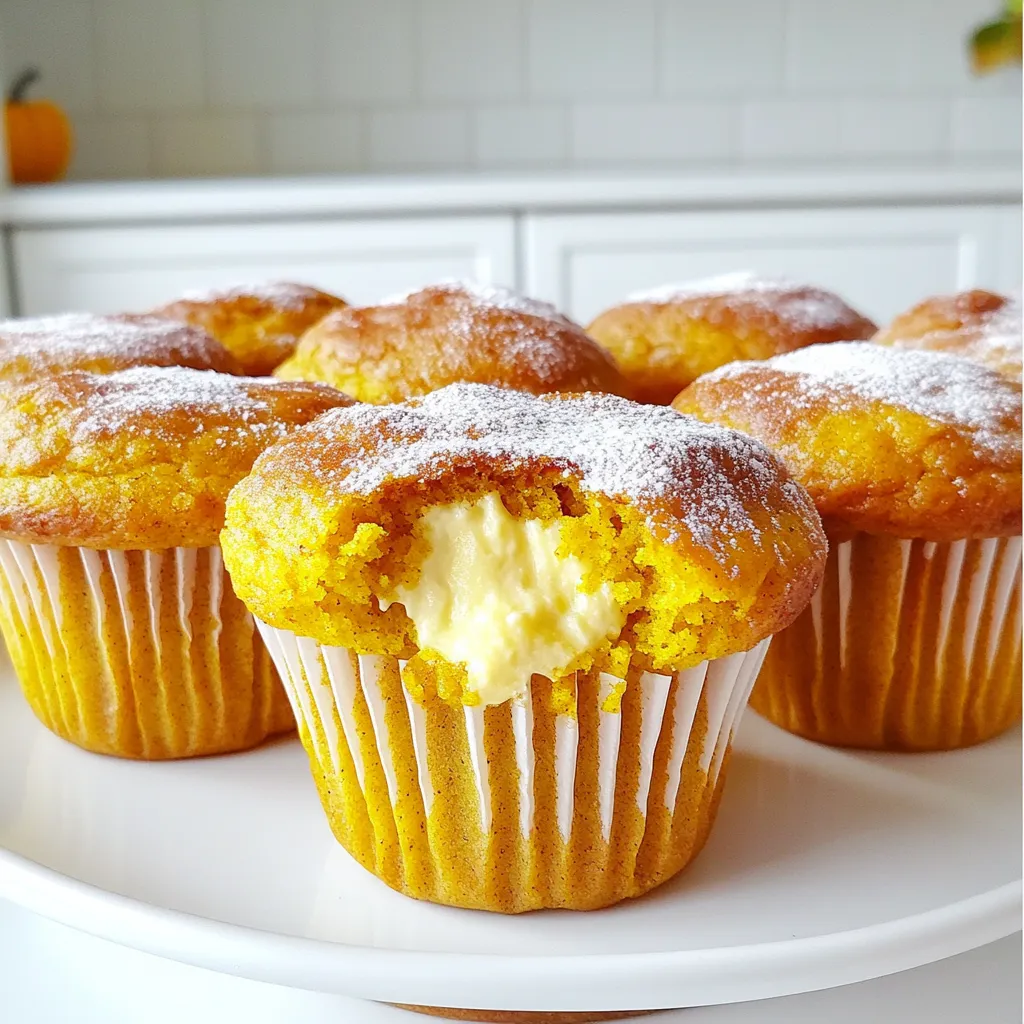
Get ready to delight your taste buds with Cheesecake Stuffed Pumpkin Muffins! These warm, fluffy muffins combine spicy pumpkin with
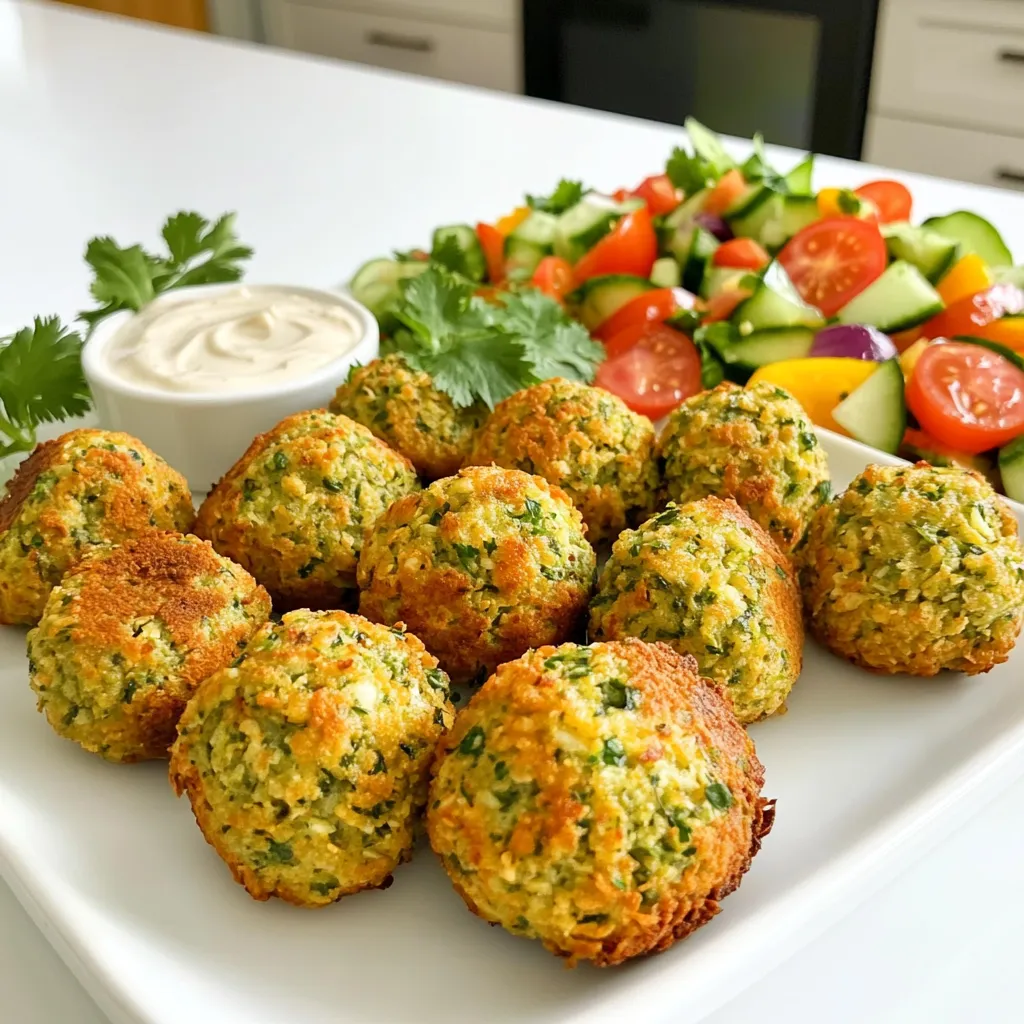
If you’re craving a tasty and healthy snack, look no further than Air Fryer Crispy Falafel Bites! These golden, crunchy
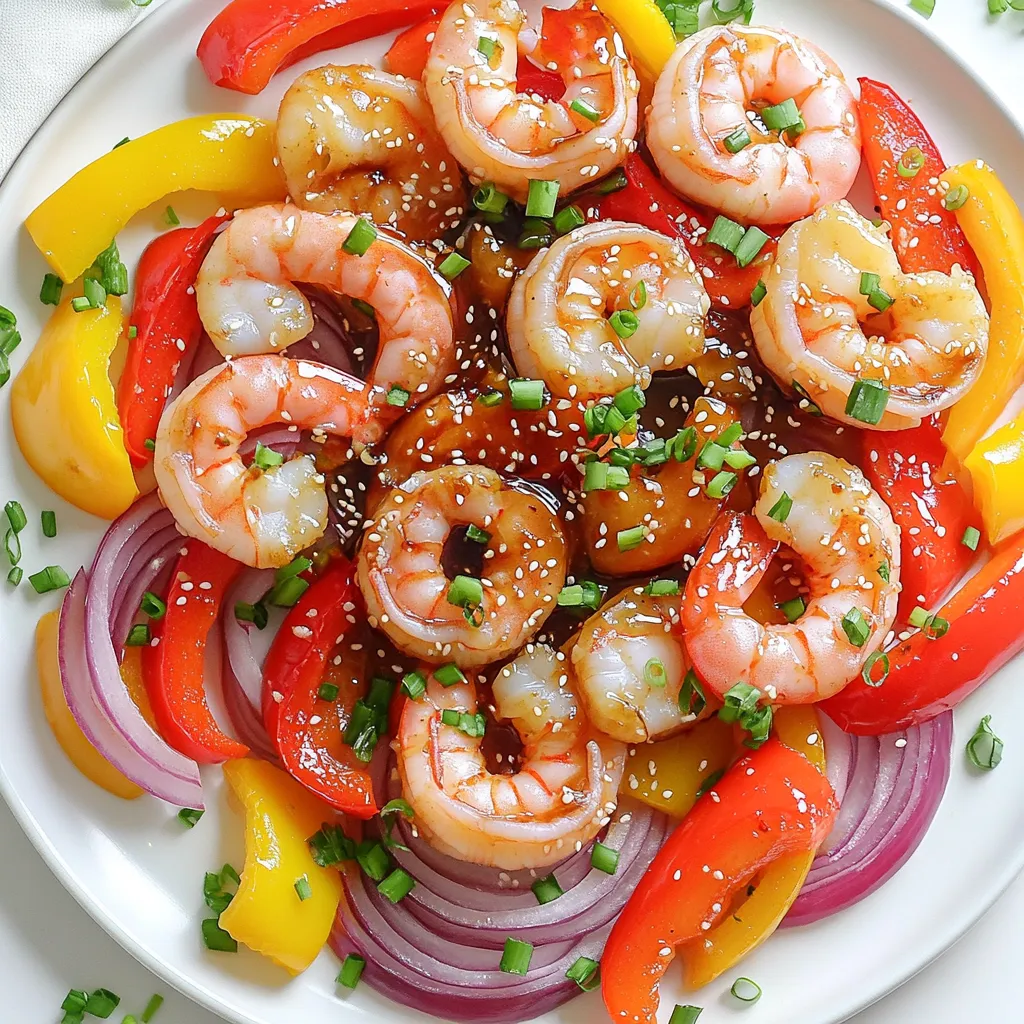
Welcome to a taste of the ocean! In this post, I’ll show you how to make Sheet-Pan Honey Garlic Shrimp
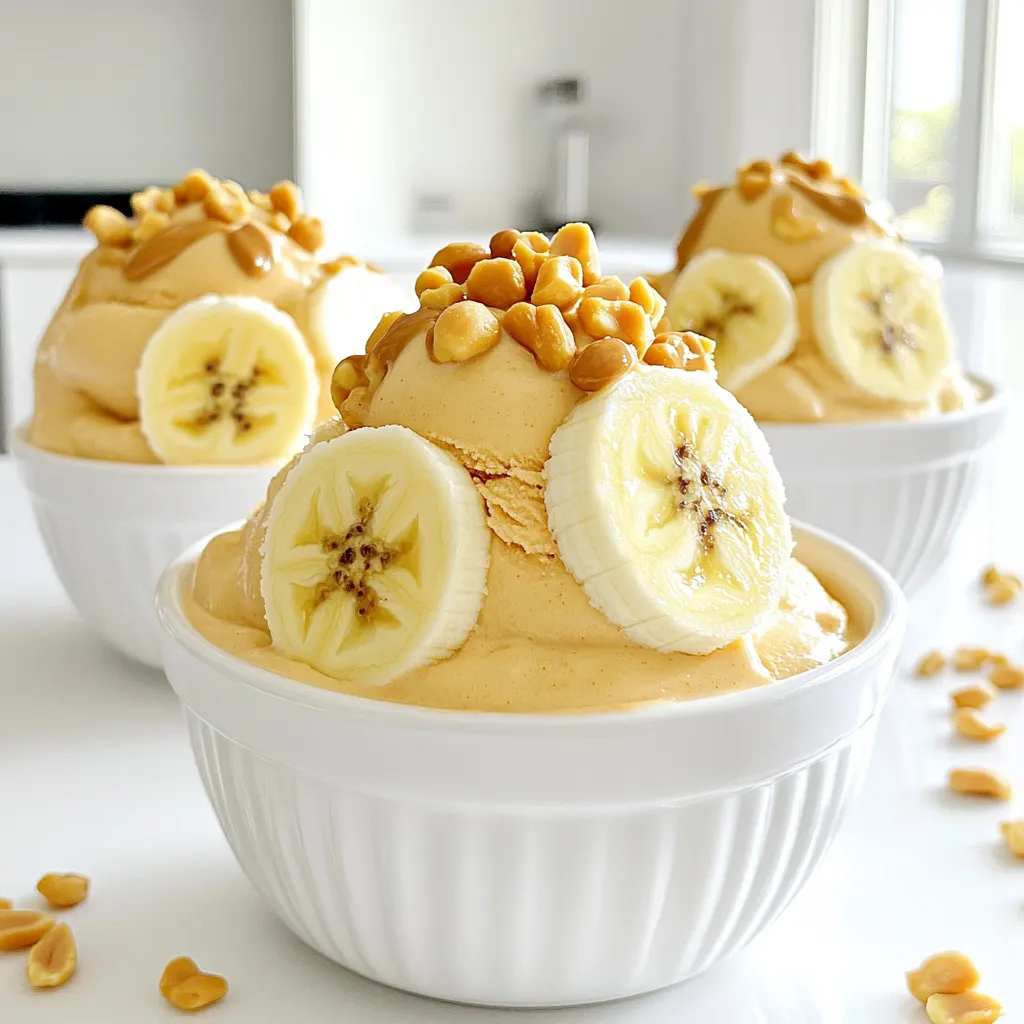
If you love ice cream but want a healthier option, you’re in for a treat! My Peanut Butter Banana Nice
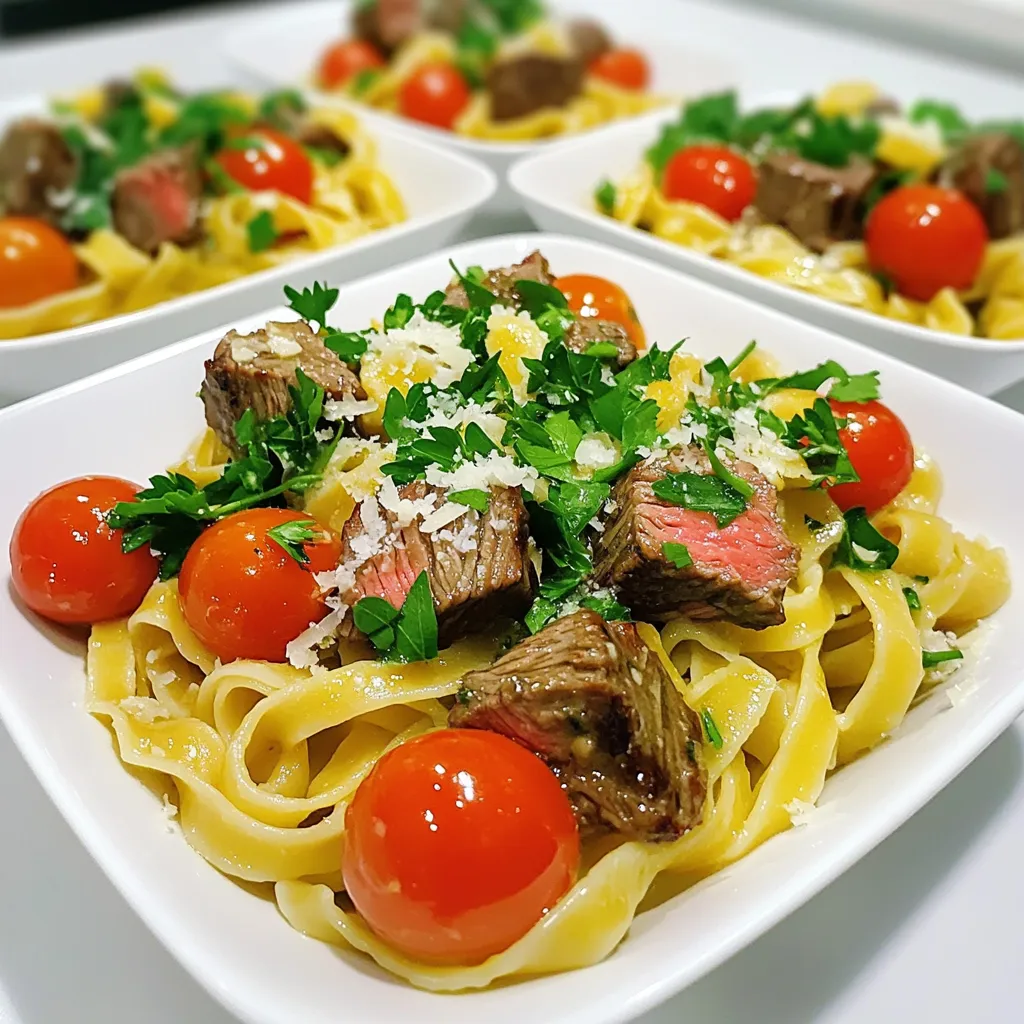
Are you craving a quick and tasty dinner? My Minute Garlic Butter Steak Bites Pasta is here to save the
