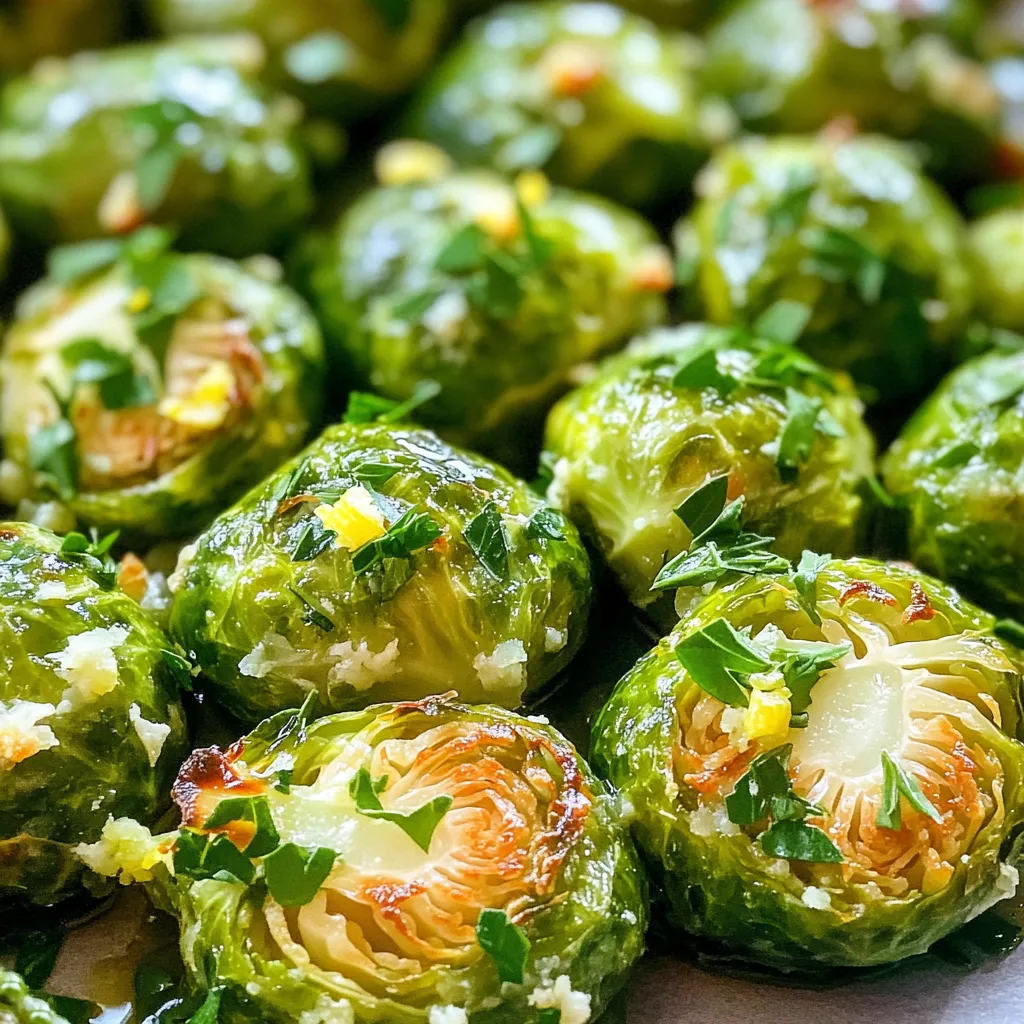
Garlic Herb Smashed Brussels Sprouts Flavor Boost
If you’re looking to elevate your veggie game, Garlic Herb Smashed Brussels Sprouts are a must-try! These little bites pack
If you’re looking to elevate your veggie game, Garlic Herb Smashed Brussels Sprouts are a must-try! These little bites pack
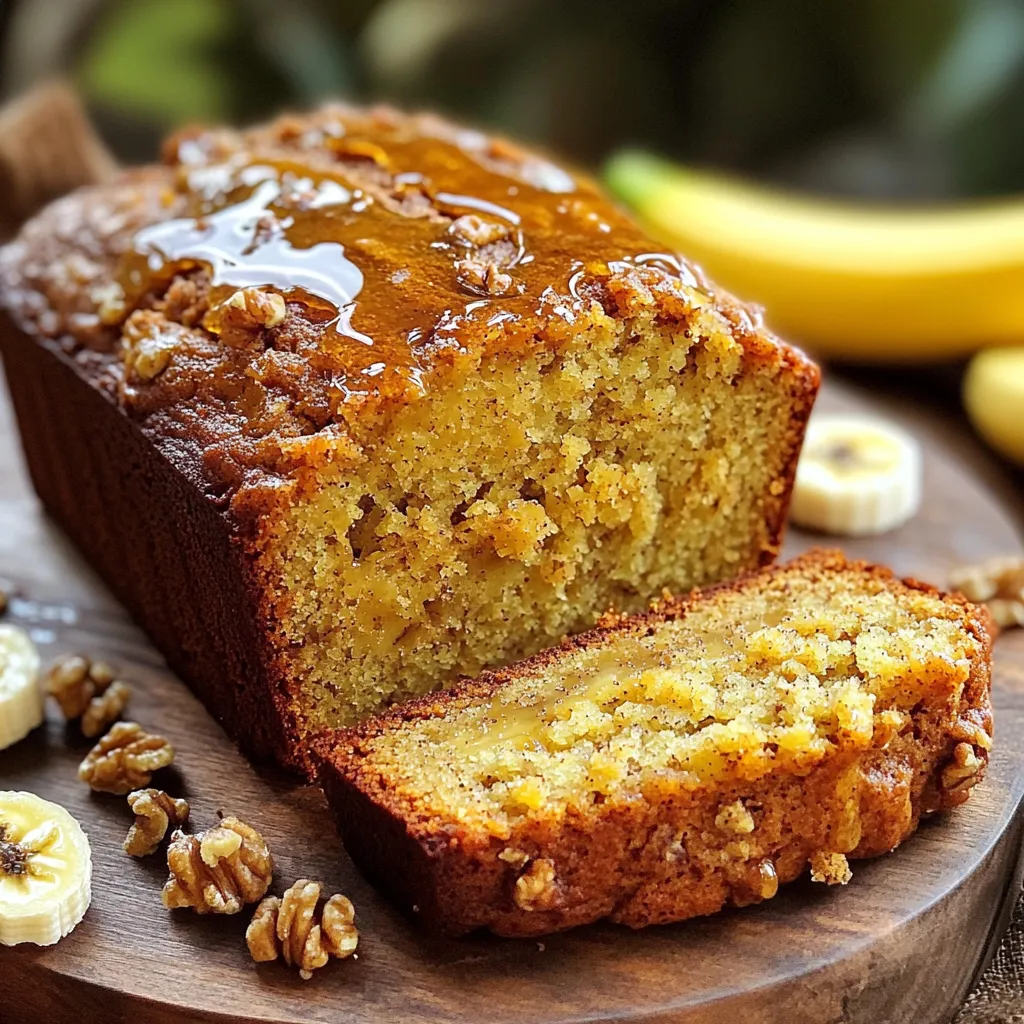
Are you ready to bake a treat that brings warmth and comfort? My Maple Cinnamon Banana Bread is soft, tasty,
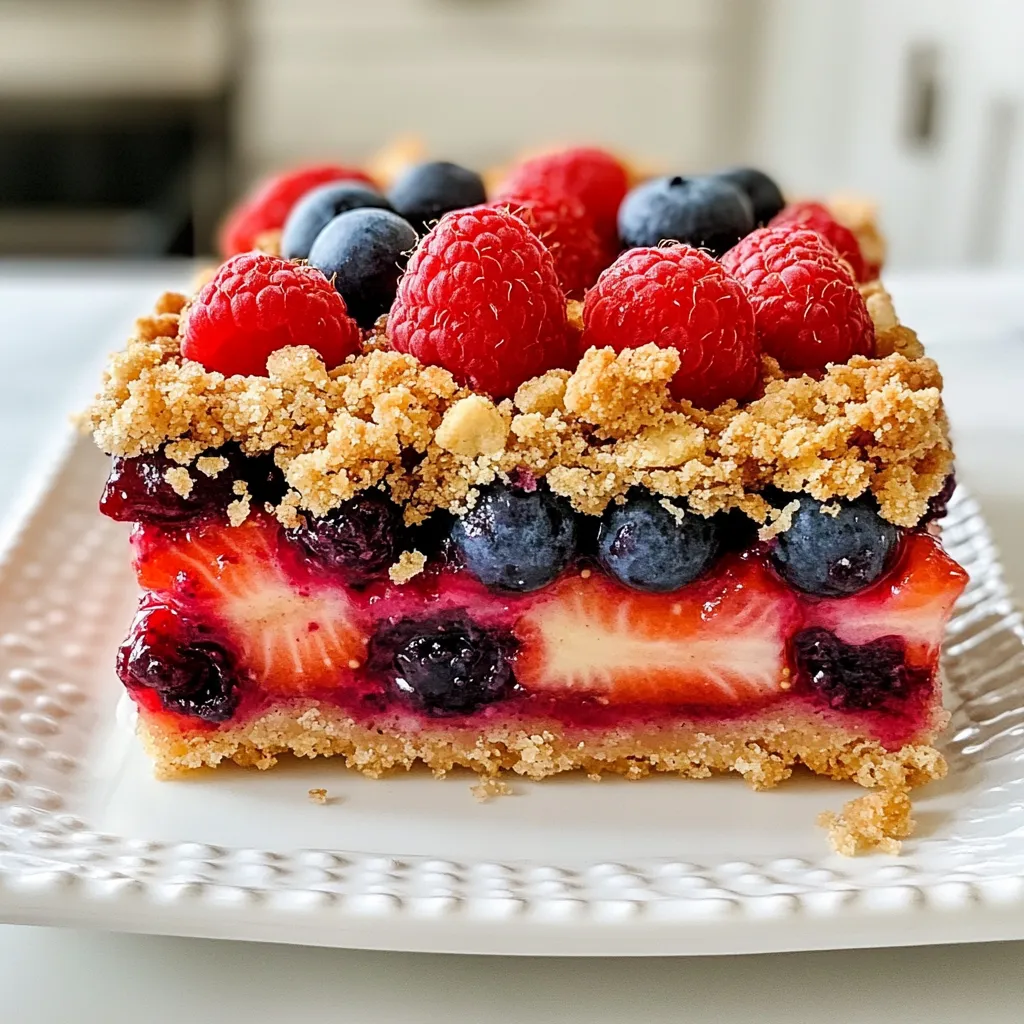
If you’re craving a sweet treat that’s easy to make, you’ve come to the right place! My Triple Berry Crumble
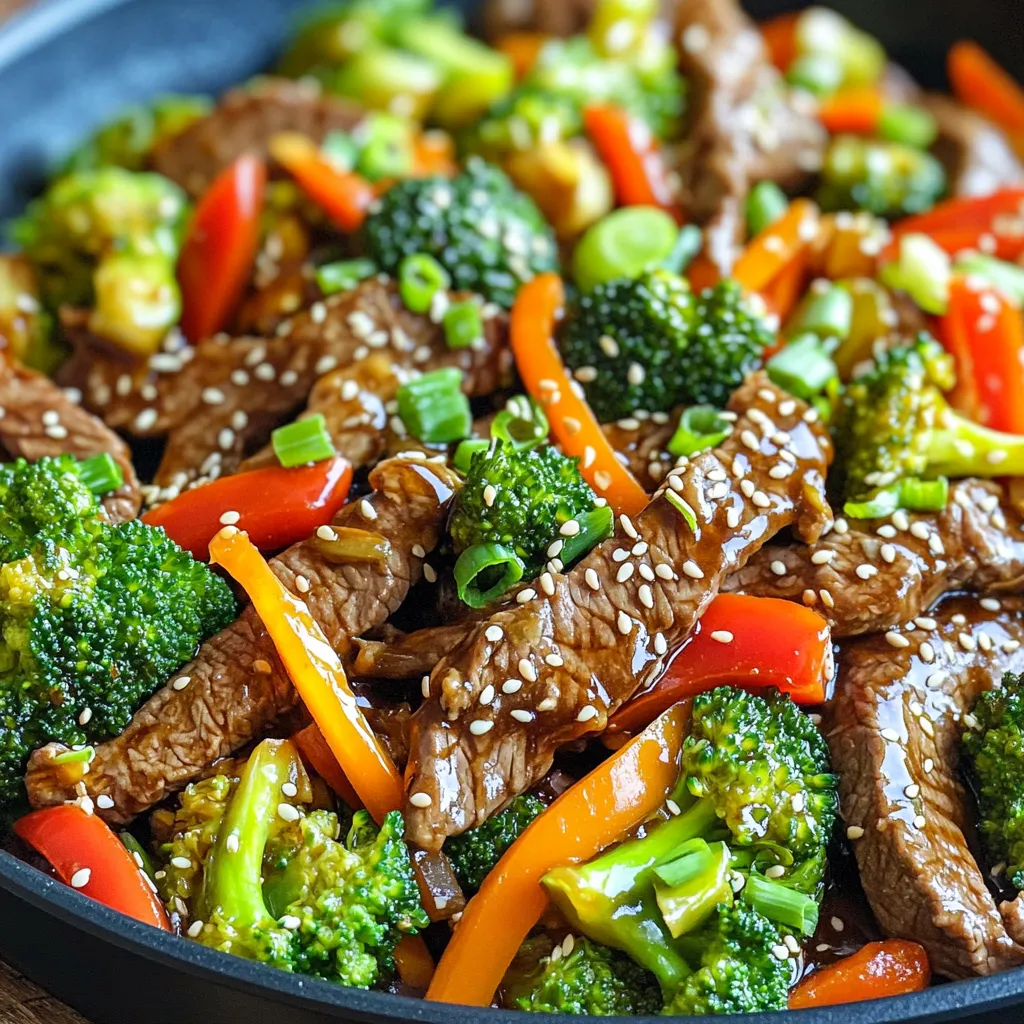
Looking for a quick and tasty meal? The Minute Sesame Teriyaki Beef Skillet is here to save the day! This
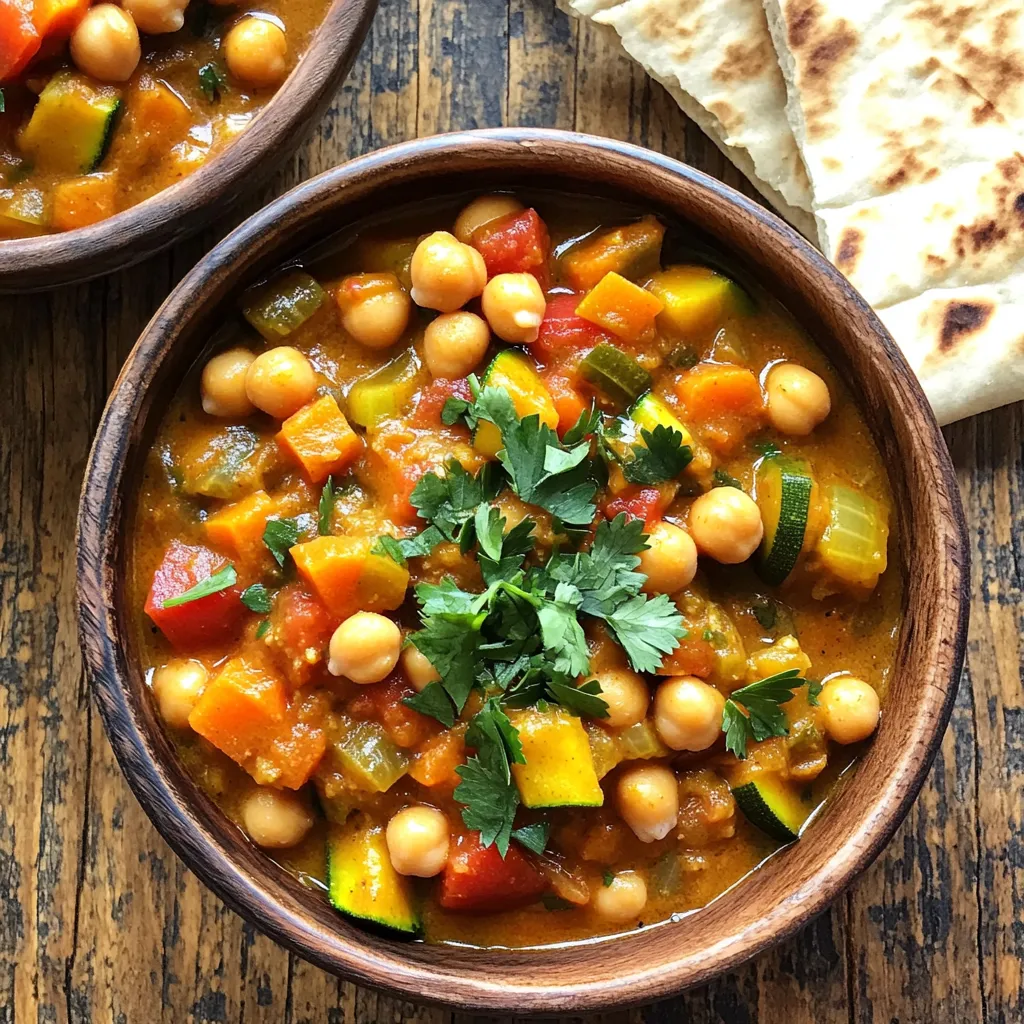
Are you ready to transport your taste buds to Morocco? My Slow Cooker Moroccan Chickpea Stew offers a burst of
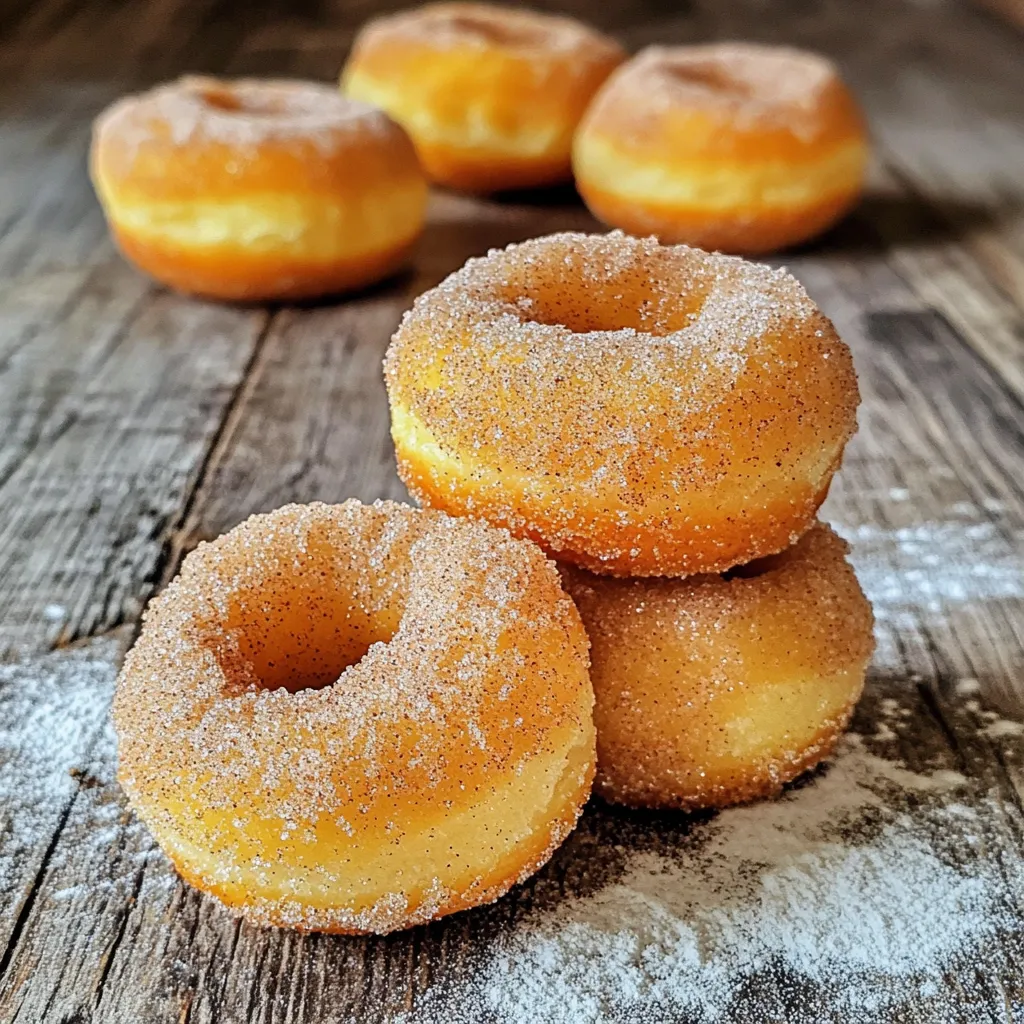
Are you ready to indulge in a sweet treat that’s easy to make? These Air Fryer Cinnamon Sugar Donut Holes

Fall is here, and that means it’s time for cozy treats! Imagine biting into a warm, soft cookie stuffed with

Get ready for a fun meal with my Satisfying Sheet-Pan BBQ Chicken Nachos recipe! This crowd-pleaser is perfect for game
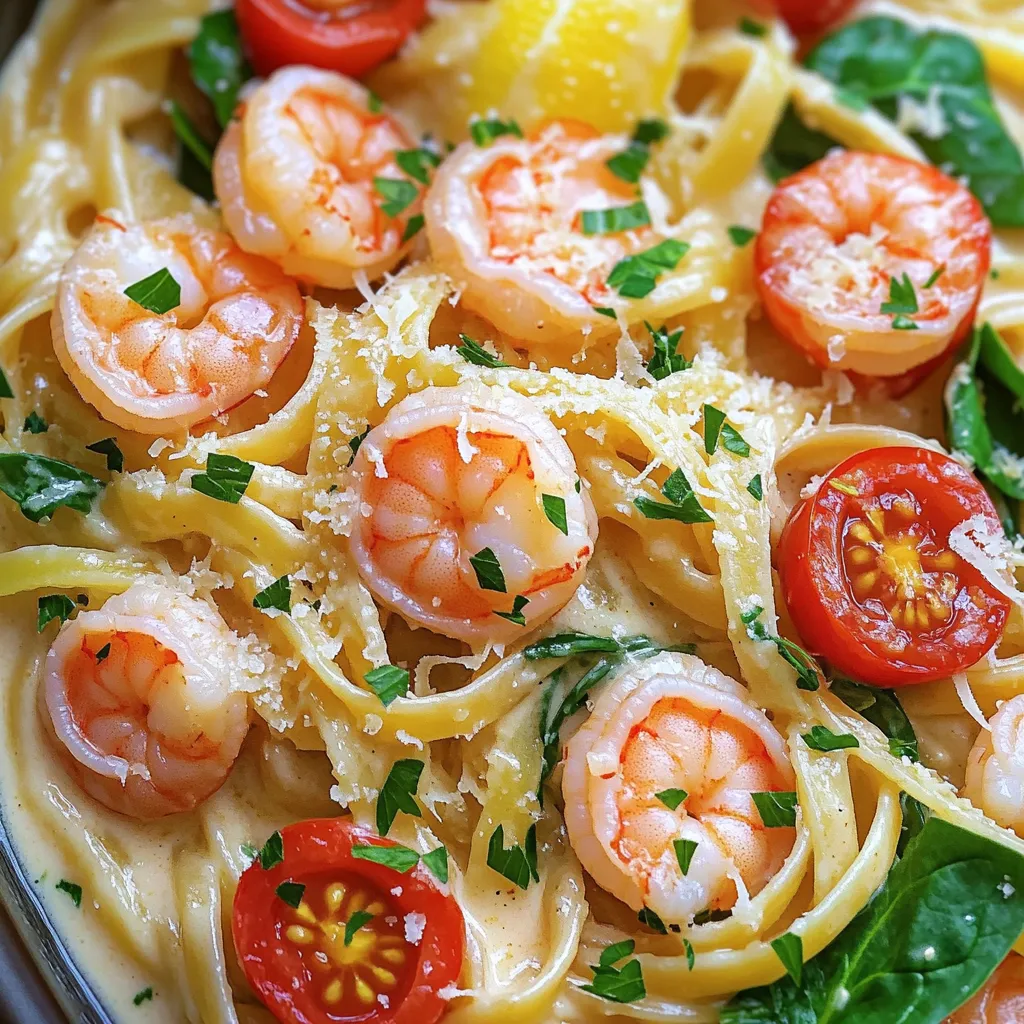
Welcome to my delicious guide for One-Pot Creamy Lemon Garlic Shrimp Pasta Delight! If you love quick and easy meals
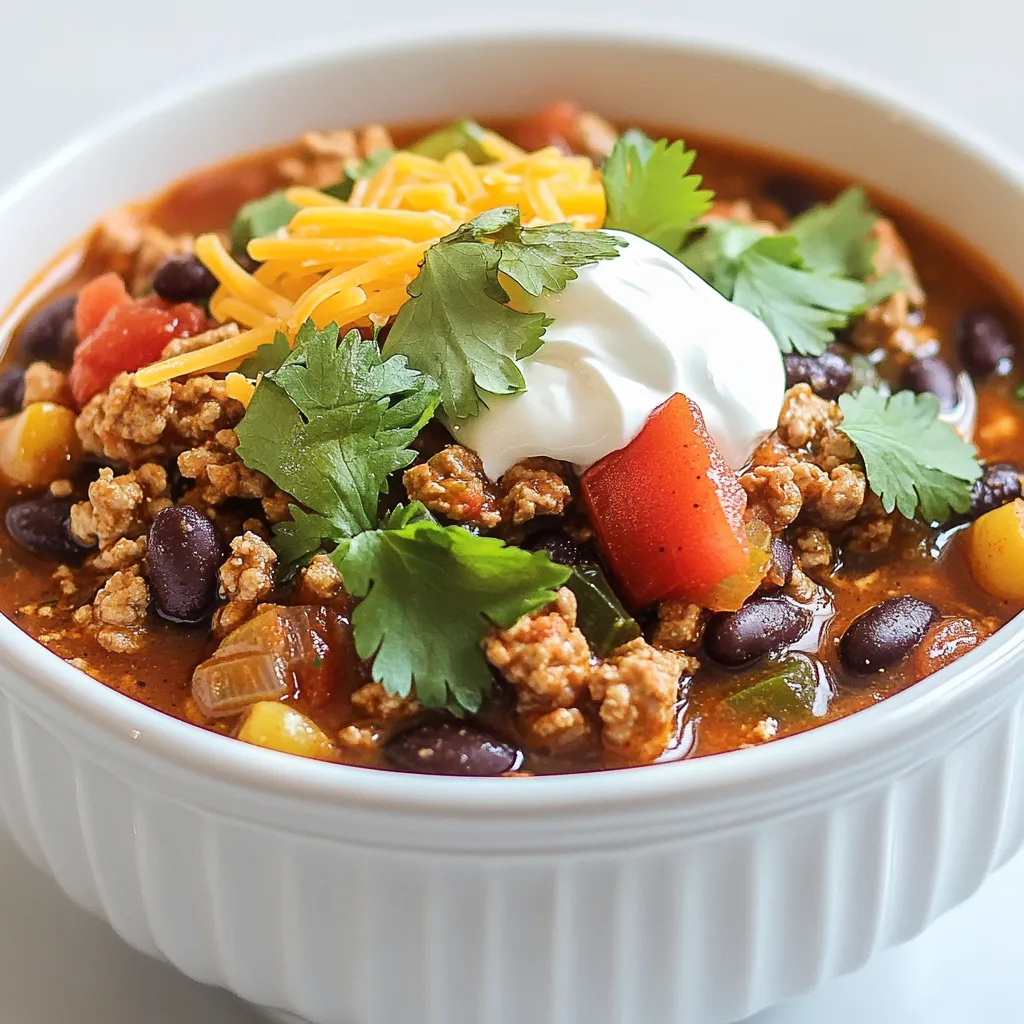
Are you ready to spice up your dinner with a smoky twist? My Smoky Chipotle Turkey Chili is not just
