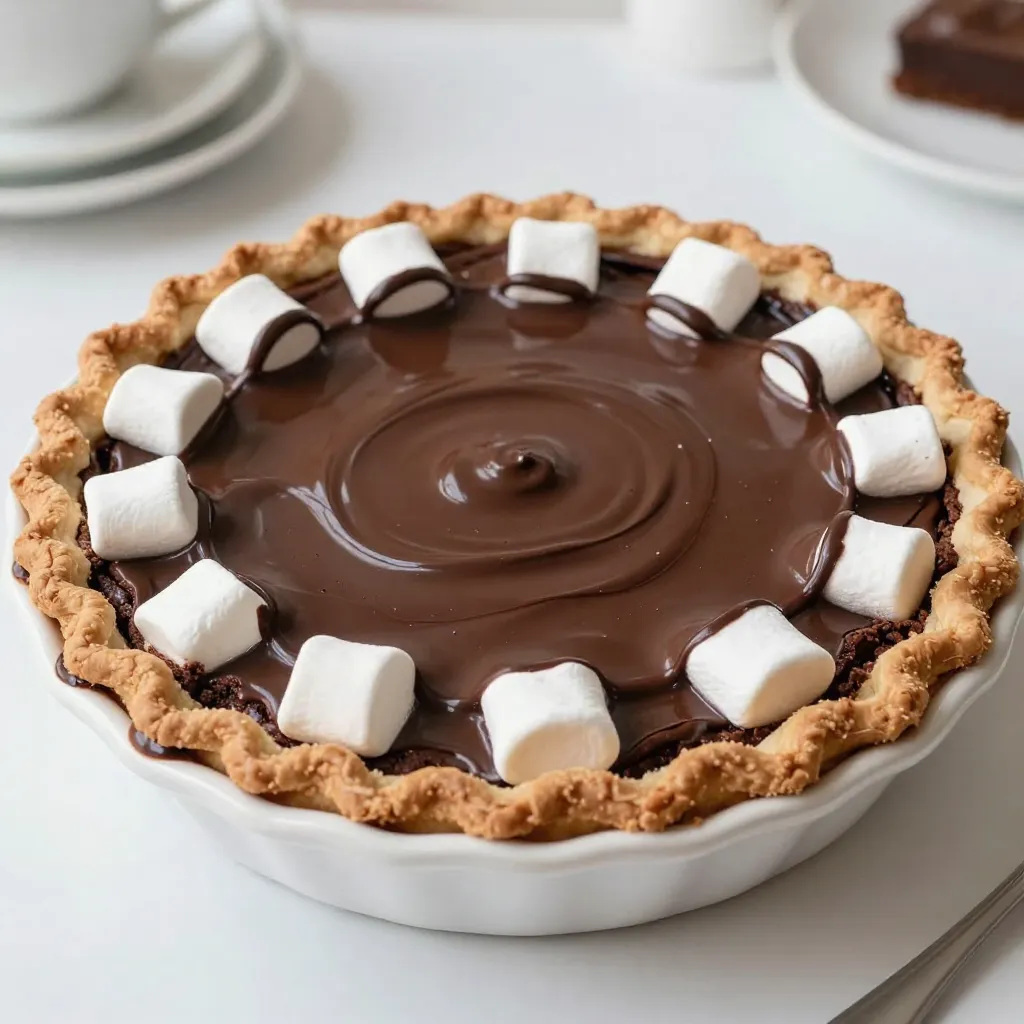
If you’re craving the perfect treat, these Bakery Style Cranberry Orange Scones are for you! With juicy cranberries and bright orange zest, they offer a burst of flavor in every bite. Don’t worry if you’re new to baking—this step-by-step guide makes it easy to create these scones at home. Get ready to impress your family and friends with a delightfully simple recipe that rivals your favorite bakery’s best. Let’s get baking!
Ingredients
Main Ingredients
– 2 cups all-purpose flour
– 3/4 cup granulated sugar
– 1 tablespoon baking powder
– 1/2 teaspoon salt
– 1/2 cup unsalted butter, cold and cubed
For the main ingredients, I always choose high-quality all-purpose flour. It gives the scones a nice texture. Granulated sugar adds sweetness, making each bite delightful. Baking powder helps the scones rise. Salt brings out the flavors. Finally, the cold, cubed unsalted butter creates rich, flaky layers that we all love in scones.
Flavor Enhancers
– 1/2 cup dried cranberries
– Zest of 1 large orange
– 1/2 cup heavy cream
– 1 teaspoon vanilla extract
Now, let’s talk about flavor enhancers. Dried cranberries add a tartness that contrasts well with the sweet dough. The zest of a large orange gives a fresh, citrusy aroma. Heavy cream keeps the scones moist and tender. Vanilla extract rounds out the flavor for a warm, comforting taste.
Optional Ingredients
– 1 egg wash (1 egg beaten with 1 tablespoon of water)
– Coarse sugar for sprinkling
For optional ingredients, the egg wash gives a lovely golden top. It also helps the coarse sugar stick. Sprinkling sugar on top adds a bit of crunch and sweetness. These small touches can elevate your scones to bakery style!
Step-by-Step Instructions
Preparation Steps
1. Preheat your oven to 400°F (200°C). Line a baking sheet with parchment paper.
2. In a large bowl, whisk together 2 cups of all-purpose flour, 3/4 cup of granulated sugar, 1 tablespoon of baking powder, and 1/2 teaspoon of salt.
3. Cut in 1/2 cup of cold, cubed unsalted butter. Use your fingertips or a pastry cutter until the mix looks like coarse crumbs.
Mixing Wet Ingredients
1. In another bowl, whisk together 1/2 cup of heavy cream, 1 large egg, and 1 teaspoon of vanilla extract. Mix until it’s all blended.
2. Pour the wet mix into the dry ingredients. Use a spatula to combine gently. Make sure not to over-mix. The dough should be a bit crumbly.
Shaping and Baking
1. Turn the dough onto a lightly floured surface. Knead it gently a few times to bring it together. Pat the dough into a circle about 1-inch thick.
2. Cut the dough into 8 wedges, like a pizza. Place them on the baking sheet with some space between each.
3. Brush the tops with an egg wash made from 1 beaten egg and 1 tablespoon of water. Sprinkle with coarse sugar if you like.
4. Bake for 15-20 minutes or until the tops are golden brown.
5. Let the scones cool on a wire rack for a few minutes before serving.
Tips & Tricks
Scone Making Tips
– Importance of cold butter: Cold butter makes your scones flaky. The butter needs to stay firm while baking. This creates pockets of air, giving the scones that light texture you love.
– Avoiding over-mixing: Mix just until combined. Over-mixing can lead to tough scones. You want a gentle touch to keep them soft and crumbly.
– Kneading techniques for texture: Knead the dough lightly. Just a few folds will help shape it. Too much kneading makes them dense. Aim for a tender crumb.
Presentation Tips
– Serving suggestions for visual appeal: Serve your scones warm on a rustic wooden board. Add fresh orange slices for a pop of color. This makes your dish look inviting.
– Glazing options with powdered sugar: For a sweet touch, drizzle a glaze. Mix powdered sugar with a bit of orange juice. This adds shine and flavor, making your scones even more delightful.
Best Practices for Freshness
– Ensuring optimal texture and flavor: Store scones in an airtight container. This keeps them fresh for a few days. If you want them to last longer, freeze them. Just make sure to wrap them well.

Variations
Flavor Variations
You can easily change the flavor of these scones. Adding nuts like walnuts or pecans gives a nice crunch. Seeds, like sunflower or pumpkin seeds, also add texture. If you want to switch up the dried fruit, try raisins or chopped apricots. Each option brings a new taste and keeps things fun.
Dietary Adjustments
For gluten-free scones, you can use a gluten-free flour blend. Make sure it has xanthan gum for the best results. If you want vegan scones, replace the butter with coconut oil or vegan butter. Use a plant-based milk instead of heavy cream. These changes will still give you great scones.
Seasonal Twists
You can get creative with seasonal ingredients. In spring, think about adding fresh strawberries or rhubarb. In fall, spices like cinnamon or nutmeg can add warmth. In summer, blueberries or peaches can provide sweetness. These twists can make your scones fit any season or holiday.
Storage Info
How to Store Scones
To keep your scones fresh, store them at room temperature. Place them in an airtight container. This will help maintain their soft texture. If you want them to last longer, you can refrigerate them. Wrap each scone in plastic wrap before placing them in the fridge. This keeps them from drying out.
Freezing Scones
You can freeze scones both before and after baking. If you freeze them unbaked, shape the dough into wedges first. Place the wedges on a baking sheet and freeze them until firm. Then, transfer them to a zip-top bag. For baked scones, let them cool completely first. Wrap each scone tightly in plastic wrap and place them in a bag.
To thaw, take the scones out of the freezer and let them sit at room temperature. You can also warm them up in an oven at 350°F for about 10 minutes.
Shelf Life
Stored scones can last up to three days at room temperature. If refrigerated, they may last about a week. Frozen scones keep well for up to three months. Just remember, the sooner you eat them, the better they taste!
FAQs
Common Questions
What are the best tips for achieving flaky scones?
To make flaky scones, use cold butter. Cut it into the flour until it looks like crumbs. Do not over-mix the dough; a little crumbly texture is fine. This helps create layers as they bake.
How do I know when the scones are done baking?
Scones are done when they turn golden brown on top. You can also check if they feel firm to the touch. If they look shiny and soft, give them a few more minutes.
Can I make the dough ahead of time?
Yes, you can make the dough ahead of time. Wrap it tightly in plastic wrap and keep it in the fridge for up to 24 hours. When ready, cut and bake as usual.
Ingredients Substitutions
What can I use instead of butter?
If you want to replace butter, use margarine or coconut oil. These can give you a similar texture. Just make sure they are cold when mixing.
Can I replace heavy cream with milk?
You can use milk instead of heavy cream, but the scones may not be as rich. If using milk, add a bit of melted butter to keep them moist.
Serving and Pairing Suggestions
What drinks pair well with cranberry orange scones?
These scones taste great with hot tea or coffee. Try pairing them with orange juice for a fresh twist. A light herbal tea also works well.
How to serve scones for brunch or tea time?
Serve scones warm on a nice plate. You can add fresh orange slices for color. A drizzle of glaze made from powdered sugar and orange juice adds a sweet touch.
In this blog post, we covered the key ingredients and steps to make delicious cranberry orange scones. We discussed helpful tips for perfect texture and flavor, different variations, and storage methods. Making scones is simple and rewarding. With these insights, you can enjoy fresh scones at home. Don’t hesitate to experiment with flavors and techniques. Your baking journey awaits!


