Get ready to elevate your baking game with my Browned Butter Chocolate Chip Cookies! These treats combine rich, nutty flavors with gooey chocolate chips for a deliciously unique twist. We'll explore all the ingredients you need and the simple steps to create perfect cookies. Whether you're a novice baker or a seasoned pro, this easy guide will help you achieve cookie perfection. Let’s dive into the details and make some magic in the kitchen!
Why I Love This Recipe
- Rich Flavor: The browned butter adds a deep, nutty flavor that elevates these cookies to a whole new level.
- Perfect Texture: These cookies are soft in the center with slightly crispy edges, creating a delightful contrast.
- Customizable: Feel free to add your favorite nuts or even swap in different types of chocolate for a personalized touch.
- Easy to Make: This recipe is straightforward and perfect for both beginners and experienced bakers alike!
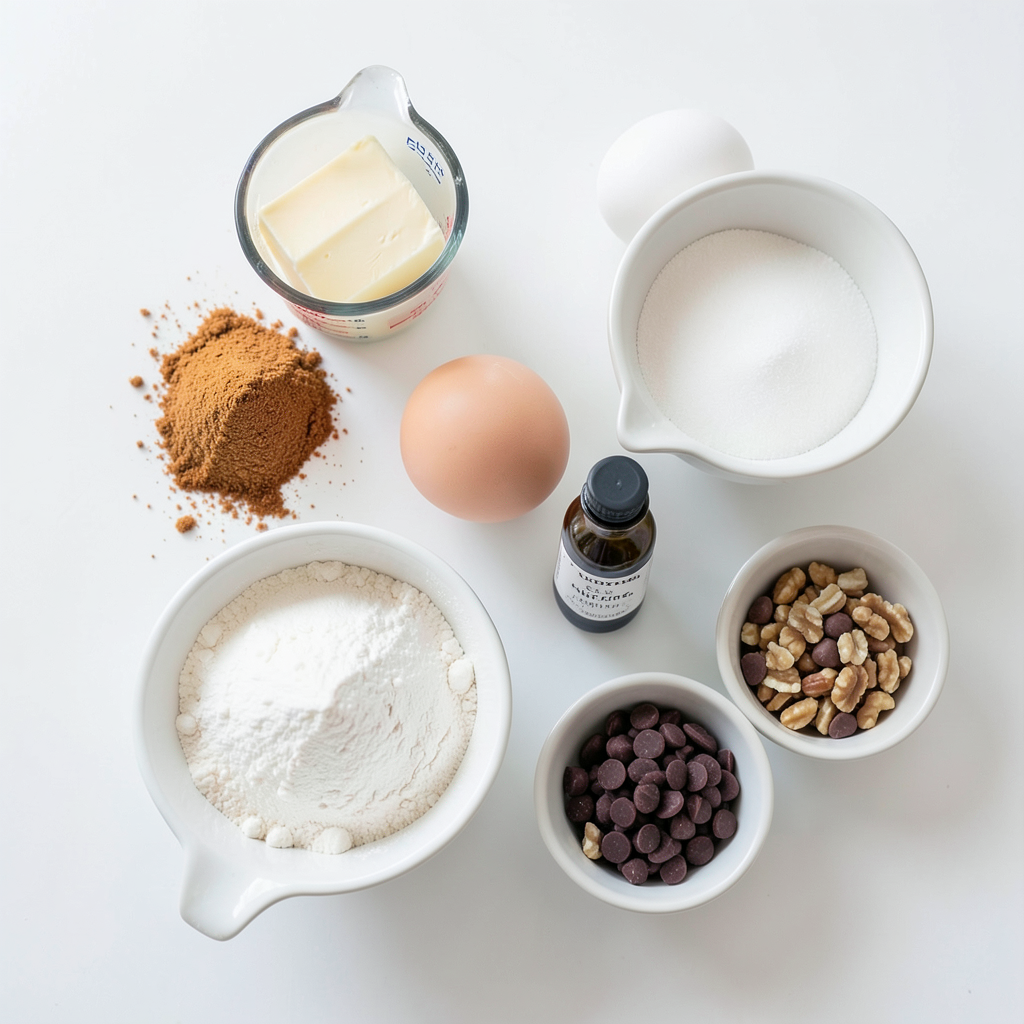
Ingredients
Main Ingredients
- 1 cup unsalted butter
- 1 cup brown sugar, packed
- 1/2 cup granulated sugar
- 2 large eggs
- 2 teaspoons vanilla extract
These main ingredients form the heart of the cookies. The unsalted butter gives rich flavor and helps with texture. Brown sugar adds moisture and a hint of caramel taste. Granulated sugar gives sweetness and a light crunch. Eggs bind everything together, while vanilla brings warmth and depth.
Dry Ingredients
- 2 1/4 cups all-purpose flour
- 1 teaspoon baking soda
- 1/2 teaspoon salt
The dry ingredients are key for structure. All-purpose flour gives the right balance of softness and chewiness. Baking soda helps the cookies rise, making them fluffy. Salt enhances all the flavors, making each bite pop.
Add-ins
- 2 cups semi-sweet chocolate chips
- 1/2 cup chopped nuts (optional, like pecans or walnuts)
Add-ins bring joy to each cookie. Semi-sweet chocolate chips melt beautifully and add rich flavor. Nuts like pecans or walnuts provide crunch and extra taste. Feel free to skip the nuts if you prefer a smoother texture.
Step-by-Step Instructions
Browning the Butter
To brown butter, melt it in a saucepan over medium heat. Stir it often. You will see it start to foam. Keep cooking until it turns a golden brown. This takes about 5 to 7 minutes. You will know it’s ready when it smells nutty. The color should be deep and rich. Remove it from the heat and let it cool slightly.
Mixing Ingredients
In a large bowl, combine the browned butter with brown sugar and granulated sugar. Beat them together until smooth. Next, add the eggs, one at a time. Mix well after each egg. This helps the dough become light and fluffy. Then, pour in the vanilla extract and mix until it's blended in.
Preparing the Dough
In another bowl, whisk together the flour, baking soda, and salt. This step is key for even mixing. Gradually add the dry mix to your wet ingredients. Stir until just combined; don't overmix. Now, it’s time to fold in the chocolate chips and nuts. Make sure they are spread evenly throughout the dough.
Chilling and Baking
Chilling the dough is very important. Cover the bowl with plastic wrap and put it in the fridge for at least 30 minutes. This helps the cookies hold their shape while baking. Preheat your oven to 350°F (175°C). Line a baking sheet with parchment paper. Scoop the dough onto the sheet, leaving space between each cookie. Bake for 10 to 12 minutes. The edges should be golden, and the centers should stay soft. Let them cool on the sheet for a few minutes before moving them to a wire rack.
Tips & Tricks
Perfecting Texture and Flavor
How to prevent flat cookies? To stop your cookies from spreading too much, chill the dough. This helps the butter firm up. Cold dough keeps the cookies thick and chewy. Also, avoid over-mixing the dough. It can add extra air, making them spread.
Importance of using room temperature eggs. Room temperature eggs mix better with the dough. They help create a smooth batter. Warm eggs also allow the dough to hold its shape while baking. If you forget, put eggs in warm water for 10 minutes.
Baking Techniques
Using parchment paper vs. silicone mats. Parchment paper is my go-to. It prevents sticking and makes cleanup easy. Silicone mats are great too, as they provide even heat. Choose what you like best for a perfect bake!
How to achieve a crispy edge and soft center. Bake your cookies until the edges are golden brown. The center should look a bit underbaked. This will give you a nice crisp outside and a soft inside. Let them cool on the tray for a few minutes for the best texture.
Presentation Tips
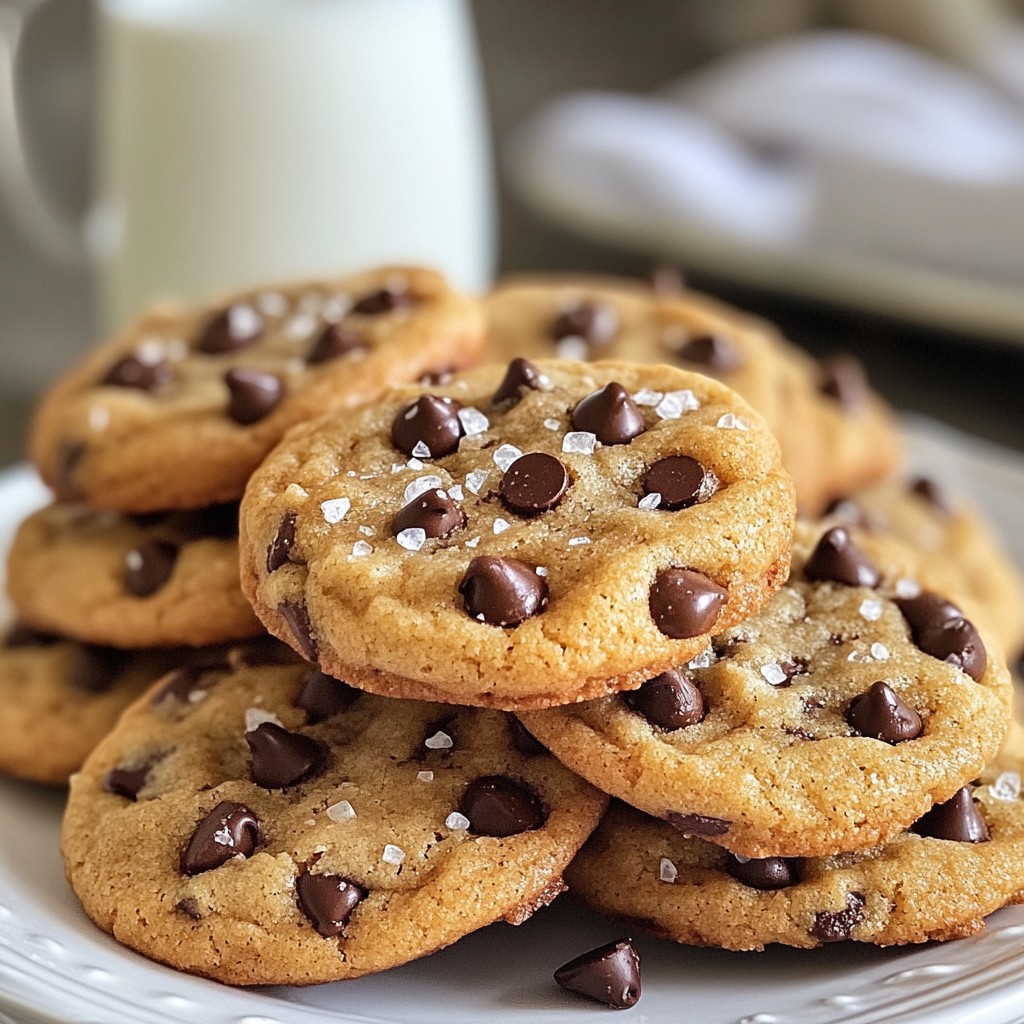
Serving suggestions. Serve warm cookies on a rustic platter. A glass of cold milk next to them makes it special. You can also stack them high for a fun look.
Enhancements such as sea salt or toppings. Sprinkle flaky sea salt on top before baking. It adds a nice contrast to the sweet flavors. You can also try adding nuts or extra chocolate chips on top for a fancy touch.
Pro Tips
- Chill the Dough: Chilling the dough for at least 30 minutes is crucial for achieving thicker cookies that maintain their shape during baking.
- Use Fresh Ingredients: Ensure your baking soda and flour are fresh to get the best rise and texture in your cookies.
- Experiment with Mix-ins: Feel free to add different types of chocolate or dried fruits for unique flavor combinations!
- Store Properly: Store baked cookies in an airtight container to keep them soft and chewy for longer.
Variations
Flavor Variations
You can change the flavor of your cookies. Try using dark chocolate chips instead of semi-sweet. Dark chocolate gives a rich taste. Milk chocolate also works for a sweeter treat. Adding a sprinkle of cinnamon can add warmth. You can also top with sea salt. This will enhance the sweet and salty mix.
Dietary Substitutions
If you need gluten-free cookies, use almond or oat flour. These flours work well and keep the cookies tasty. For a vegan version, swap out the butter for coconut oil. Use flaxseed meal mixed with water instead of eggs. These changes keep your cookies delicious and friendly for all diets.
Mix-ins
Want to add some crunch? Try mixing in chopped nuts. Almonds and macadamia nuts add a nice twist. You can also fold in dried fruits like raisins or cranberries. Toffee chips are a fun addition too. They give a sweet surprise in each bite.
Storage Info
Best Storage Practices
To keep your cookies fresh, store them at room temperature. Place the cookies in an airtight container. This will help them stay soft and chewy. Glass or plastic containers work well. You can also use a cookie jar with a tight lid. Avoid using paper bags, as they let air in.
Freezing Cookies
You can freeze cookie dough for later use. First, scoop the dough balls and place them on a baking sheet. Freeze them for about an hour until firm. Then, transfer the dough balls to a freezer bag. Make sure to remove as much air as possible from the bag. When you are ready to bake, there is no need to thaw them. Just bake them directly from frozen. You may need to add a minute or two to the baking time.
Shelf Life
Browned butter chocolate chip cookies stay fresh for about one week at room temperature. Store them in an airtight container to maintain their texture. If you see them becoming hard or dry, they are starting to go stale. Signs of stale cookies include a dry texture and loss of flavor. If you notice these signs, it’s best to enjoy them quickly!
FAQs
How do I know when my cookies are done baking?
Look for some visual signs. First, check the edges. They should turn a light golden brown. The centers may look soft and puffy. You want them to be slightly underbaked. This helps keep them chewy. If they are too dark, they may be dry. Trust your eyes; they will guide you.
Can I use salted butter instead of unsalted?
Yes, you can use salted butter. However, it will change the taste. Salted butter may make the cookies taste a bit saltier. This could overpower the sweet flavors. If you use it, cut back on added salt. The choice is yours, but unsalted butter gives a more balanced flavor.
What is the purpose of browning butter?
Browning butter adds a rich, nutty flavor to your cookies. It brings out a depth you won’t find in regular butter. The process changes the sugar in the butter, giving it complexity. This can make your cookies taste gourmet. It’s a simple step that makes a big difference.
Can I make the dough ahead of time?
Yes, you can make the dough ahead of time. After mixing, cover it tightly with plastic wrap. Store it in the fridge for up to three days. This allows the flavors to meld and improves the texture. When ready, scoop and bake. You’ll have fresh cookies in no time!
You now have the tools to create perfect cookies. We covered essential ingredients, step-by-step methods, and helpful tips. You learned about variations and how to store your cookies.
These basics will help you make cookies that impress every time. Remember, practice makes perfect. Enjoy baking and sharing delicious treats with friends and family!