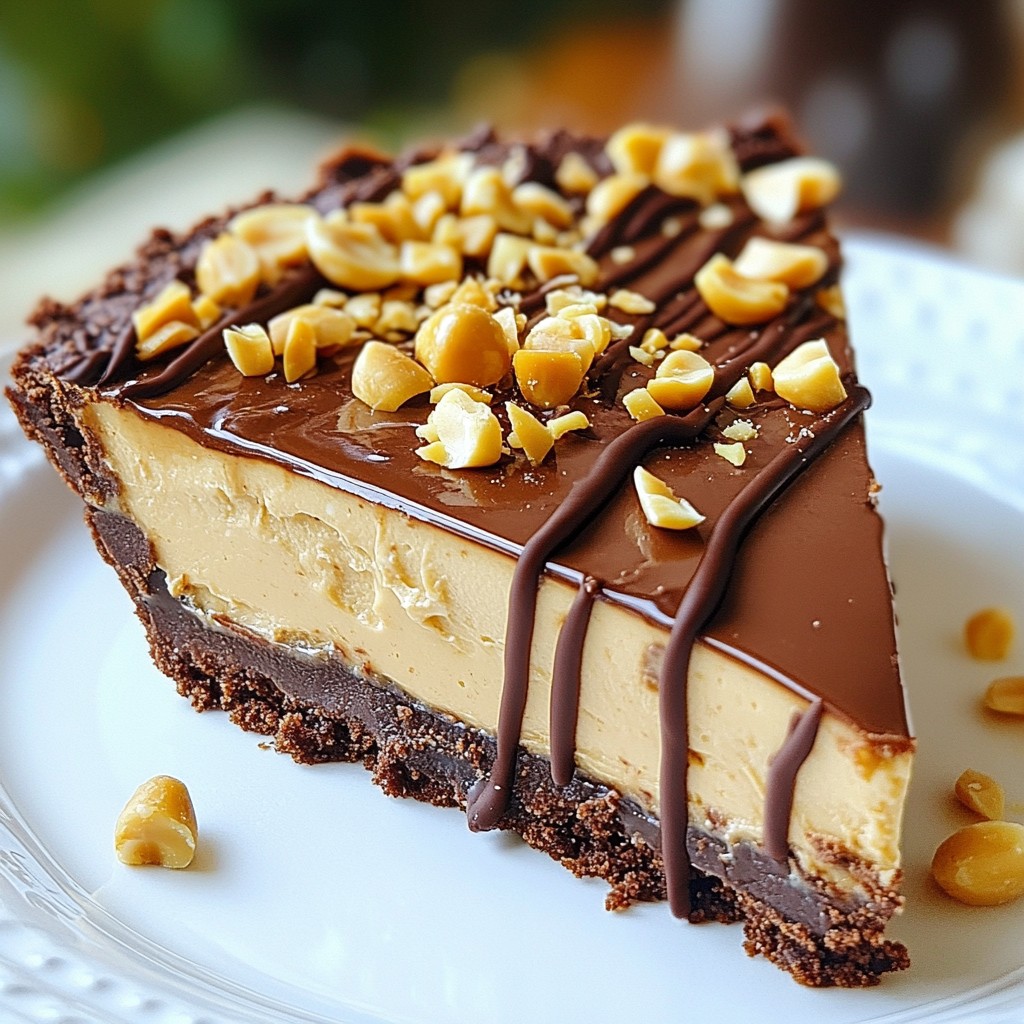
If you love chocolate and peanut butter, this no-bake pie is for you! With a rich cookie crust and a smooth, creamy filling, it’s easy to make and perfect for any occasion. You can whip it up in no time, and the best part? You don’t need to turn on the oven! Join me as we create this decadent dessert that’s sure to impress your friends and family. Let’s dive in!
Why I Love This Recipe
- Easy to Make: This no-bake pie comes together quickly without the need for an oven, making it perfect for hot days or last-minute gatherings.
- Decadent Flavor: The combination of creamy peanut butter and rich chocolate creates a deliciously indulgent dessert that satisfies any sweet tooth.
- Customizable: You can easily adjust this recipe by adding toppings or mixing in ingredients like crushed cookies or different types of chocolate.
- Perfect for Sharing: With 10 slices, this pie is great for gatherings, ensuring everyone gets a taste of this delightful treat!
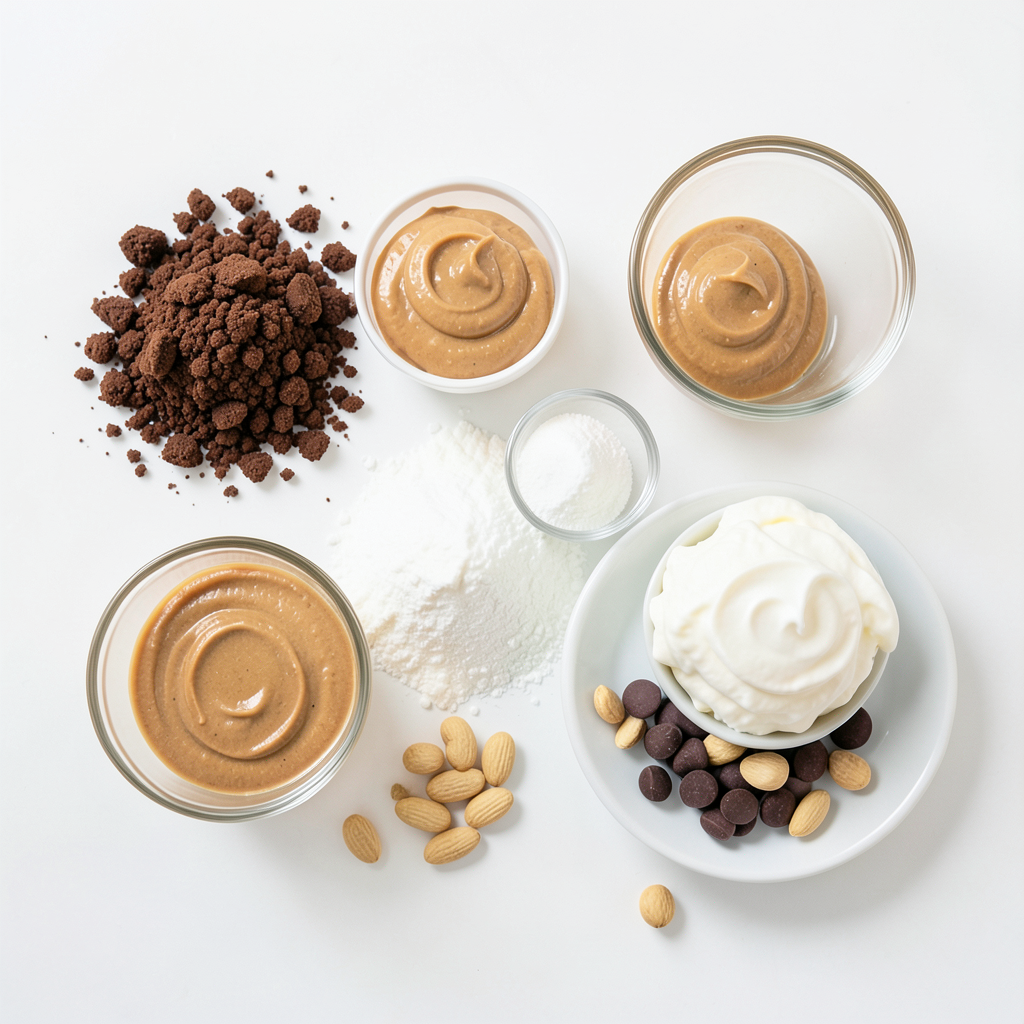
Ingredients
Chocolate Cookie Crust
- 1 ½ cups chocolate cookie crumbs (Oreo or graham cracker)
- ½ cup unsalted butter, melted
Peanut Butter Filling
- 1 cup creamy peanut butter
- 1 cup powdered sugar
- 8 oz cream cheese, softened
- 1 tsp vanilla extract
Toppings and Garnishes
- 1 cup whipped cream (or whipped topping)
- ½ cup chocolate chips (for drizzling)
- Chopped peanuts (for garnish)
To make this pie, gather all your ingredients first. For the crust, I use chocolate cookie crumbs. You can choose Oreos or graham crackers. Mix these crumbs with melted unsalted butter. This mixture forms a tasty base for our pie.
For the filling, creamy peanut butter is key. It gives the pie its rich flavor. You will also need powdered sugar, softened cream cheese, and vanilla extract. These ingredients create a smooth and sweet filling.
Finally, we need toppings. Whipped cream adds a light touch. We drizzle melted chocolate chips on top for a sweet finish. Chopped peanuts give a nice crunch and extra flavor.
With these ingredients, you can create a pie that everyone will love!
Step-by-Step Instructions
Prepare the Crust
- Combine 1 ½ cups of chocolate cookie crumbs and ½ cup of melted butter in a medium bowl.
- Mix until all crumbs are coated.
- Press this mixture into the bottom of a 9-inch pie pan. Use the back of a measuring cup to pack it tightly.
- Place the crust in the fridge while you make the filling.
Make the Filling
- In a large mixing bowl, beat 8 oz of softened cream cheese until it is smooth.
- Add 1 cup of creamy peanut butter, 1 cup of powdered sugar, and 1 tsp of vanilla extract.
- Mix until everything is creamy and well blended.
Combine and Assemble
- Gently fold in 1 cup of whipped cream into the peanut butter mixture.
- Make sure to leave no streaks, but be careful not to deflate the whipped cream too much.
- Pour the peanut butter filling into the chilled crust.
- Smooth the top with a spatula.
Refrigerate and Set
- Chill the pie in the fridge for at least 4 hours.
- While the pie sets, melt ½ cup of chocolate chips in a microwave-safe bowl.
- Heat in 30-second bursts, stirring in between, until smooth.
Final Touches
- Once the pie is set, drizzle the melted chocolate on top.
- Garnish with chopped peanuts for a nice crunch.
- Serve and enjoy this creamy, rich pie!
Tips & Tricks
Achieving the Perfect Crust
To make a great crust, you need it tightly packed. This keeps it from falling apart. Use the back of a measuring cup to press down hard. For fun, try different cookie bases. You can use graham crackers or other cookies. Each choice adds a twist to your pie.
Perfecting the Filling
For a smooth peanut butter and cream cheese mix, beat the cream cheese first. Make sure it’s soft. Then, add peanut butter, powdered sugar, and vanilla. Mix until creamy. To keep the whipped cream fluffy, fold it in gently. This helps keep the light texture we want.
Serving Suggestions
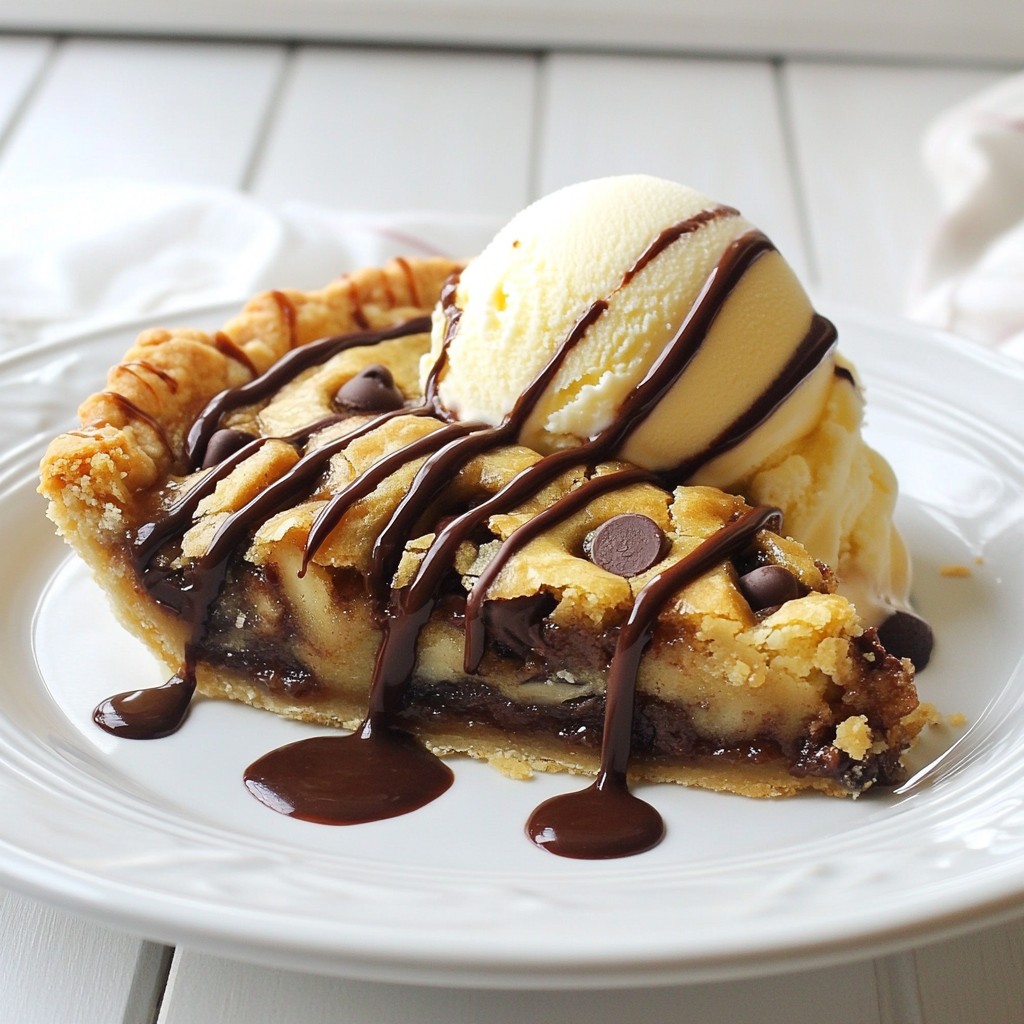
When it’s time to serve, cut the pie with a sharp knife. Warm the knife under hot water for clean slices. For a tasty pairing, serve it with fresh fruit or vanilla ice cream. This adds freshness and balances the rich flavors of the pie.
Pro Tips
- Choose the Right Cookies: For the crust, using chocolate sandwich cookies like Oreos will give you a rich flavor. If you prefer a less sweet option, graham crackers are a great alternative.
- Room Temperature Ingredients: Ensure your cream cheese is at room temperature before mixing to prevent lumps and achieve a smooth filling.
- Whipped Cream Folding Technique: When folding in the whipped cream, use a gentle hand to preserve its airiness, which keeps the filling light and fluffy.
- Drizzle Technique: For an even chocolate drizzle, use a fork or a squeeze bottle to create beautiful patterns over the pie.
Variations
Flavor Adjustments
You can make simple changes to enhance your pie's flavor.
- Use crunchy peanut butter for a fun texture. The extra crunch adds a nice surprise in every bite.
- Adding cocoa powder deepens the chocolate flavor. Just a tablespoon can make your pie even richer.
Dietary Alternatives
You can easily modify this pie to fit different diets.
- For a gluten-free option, use gluten-free cookies for the crust. Many brands offer great flavors that work well.
- If you're vegan, swap out cream cheese and whipped cream for plant-based versions. Look for coconut cream or cashew-based alternatives.
Additional Toppings
Toppings make this pie even more special.
- Try different nuts or colorful sprinkles for a fun garnish. This adds both flavor and a pop of color.
- For a fancy touch, use chocolate shavings or fresh fruit on top. Berries pair wonderfully with the chocolate and peanut butter flavors.
Storage Info
Refrigeration Guidelines
To store any leftover pie, cover it tightly with plastic wrap or foil. This keeps the pie fresh and prevents it from absorbing other odors in the fridge. The pie stays good for up to five days. However, the texture is best within the first two days after making it.
Freezing Options
If you want to keep the pie longer, you can freeze it. First, slice the pie into pieces. Wrap each slice in plastic wrap, then place them in an airtight container. This method helps preserve the pie's flavor and texture. You can freeze the pie for up to three months.
To thaw, move the pie to the fridge the night before you want to serve it. This way, it regains its creamy texture. Avoid thawing at room temperature, as it can make the filling too soft and lose its shape. Enjoy each bite of your delicious no-bake chocolate peanut butter pie!
FAQs
Can I make this pie ahead of time?
Yes, you can make this pie ahead of time. It keeps well in the fridge. To store, cover it with plastic wrap after it sets. This way, it stays fresh for up to three days. Making it ahead gives flavors more time to mix. This pie is perfect for parties or gatherings.
How long does it take to set?
This pie needs at least four hours to set properly. I recommend chilling it overnight for the best results. The longer it chills, the firmer it gets. If you are in a hurry, four hours will still yield a tasty pie. Just make sure it feels firm before serving.
What can I use instead of whipped cream?
If you want a different topping, try using Greek yogurt. It adds a tangy flavor and creamy texture. You can also use cool whip as a lighter option. For a richer topping, try chocolate ganache. Each option changes the taste a bit, so choose what you like best.
Can I use natural peanut butter?
You can use natural peanut butter, but it alters the pie's texture. Natural peanut butter is more oily, which can make the filling runny. It also has a stronger peanut flavor, so keep that in mind. If you prefer a creamier pie, stick with creamy peanut butter. It gives a smooth and rich taste.
This blog post covers how to make a delicious peanut butter pie. We discussed the key ingredients, like the chocolate cookie crust and creamy filling. You learned step-by-step instructions for perfecting your pie and tips for great results.
In my view, this pie is easy to make and fun to share. Feel free to try variations to suit your taste. Whether you enjoy it fresh or stored for later, this treat never disappoints. Enjoy your baking adventure!