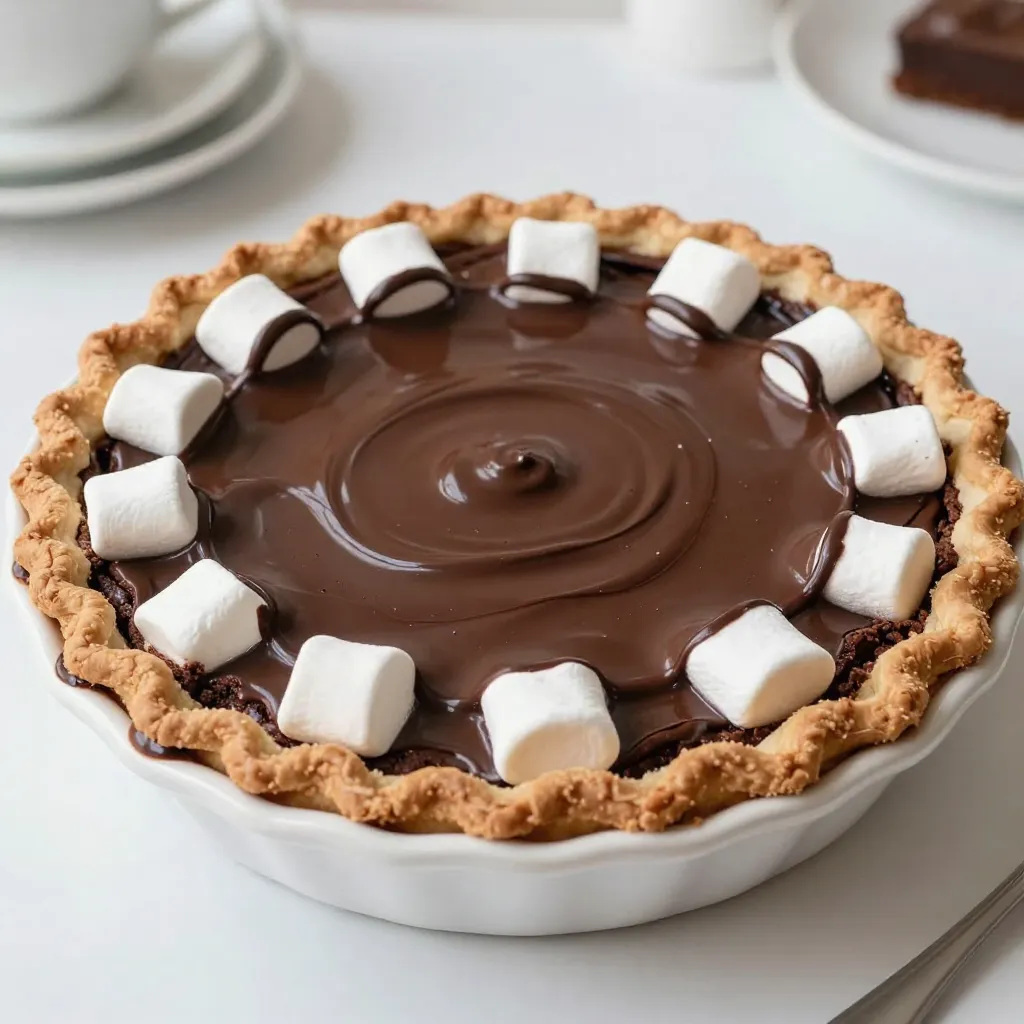
Are you ready to enjoy fall with a warm treat? This simple Pumpkin Chocolate Chip Scones recipe will be your new favorite. Packed with the cozy flavors of pumpkin and sweet chocolate, these scones are easy to make and perfect for any occasion. Whether you want a special breakfast or a delicious snack, I’ll guide you step-by-step to create these tasty bites. Let’s get started on this delightful baking adventure!
Ingredients
Essential Ingredients
For my Pumpkin Chocolate Chip Scones, you need both dry and wet ingredients. Here’s the list:
Dry Ingredients:
– 2 cups all-purpose flour
– 1/2 cup brown sugar, packed
– 1 tablespoon baking powder
– 1/2 teaspoon baking soda
– 1/2 teaspoon salt
– 1 teaspoon cinnamon
– 1/2 teaspoon nutmeg
– 1/4 teaspoon ginger
Wet Ingredients:
– 1/2 cup unsalted butter, cold and cubed
– 3/4 cup pumpkin puree
– 1/4 cup heavy cream
– 1 large egg
Optional Ingredients for Variations:
– 1 cup semi-sweet chocolate chips
The dry ingredients give the scones their structure. The wet ingredients add moisture and flavor. You can also try different chocolate types or add nuts for fun twists. Enjoy mixing and matching!
Step-by-Step Instructions
Preparation Overview
First, preheat your oven to 400°F (200°C). This helps the scones cook evenly. Next, line a baking sheet with parchment paper. This keeps the scones from sticking.
Now, let’s mix the dry ingredients. In a large bowl, sift together:
– 2 cups all-purpose flour
– 1/2 cup brown sugar, packed
– 1 tablespoon baking powder
– 1/2 teaspoon baking soda
– 1/2 teaspoon salt
– 1 teaspoon cinnamon
– 1/2 teaspoon nutmeg
– 1/4 teaspoon ginger
After that, it’s time to incorporate the wet ingredients. In a separate bowl, whisk together:
– 3/4 cup pumpkin puree
– 1/4 cup heavy cream
– 1 large egg
Make sure everything is well combined before moving on.
Dough Assembly
Now, mix the wet and dry ingredients. Pour the pumpkin mixture into the dry mix. Stir gently until just combined. It’s important not to overmix. Next, fold in the chocolate chips. Use 1 cup of semi-sweet chocolate chips for a sweet surprise in each bite.
Once your dough is ready, shape it. Turn the dough onto a floured surface. Pat it into a 1-inch thick circle.
Baking Process
Now, how do you cut scones? Cut the dough into wedges, about 8 pieces. Place each scone on your prepared baking sheet. Make sure to leave space between each piece.
For baking, place the scones in the oven. Bake for 18-20 minutes. They are ready when the edges are golden brown. A toothpick should come out clean when inserted into the center.
After baking, let the scones cool slightly on the baking sheet. Then, transfer them to a wire rack to cool completely. Enjoy your delicious pumpkin chocolate chip scones!
Tips & Tricks
Baking Tips
Importance of ingredient temperature
Using cold butter helps create flaky scones. When you add cold butter, it keeps its shape. This forms pockets of air during baking. The result? A light, tender scone. Also, use cold pumpkin puree and heavy cream for best results.
Avoiding overmixing
Mix your dough just enough. Overmixing can make your scones tough. Stir until the wet and dry ingredients are just combined. When you fold in the chocolate chips, be gentle. This keeps the texture soft and tender.
Serving Suggestions
Ideal pairings for scones
Pumpkin chocolate chip scones pair well with warm drinks. Try serving them with coffee, chai, or tea. A dollop of pumpkin butter or honey adds a sweet touch too. For a fun twist, add a scoop of vanilla ice cream on the side.
Presentation ideas
Serve the scones warm for the best taste. Dust them with powdered sugar for a nice look. You can drizzle melted chocolate on top for extra flair. Arrange them on a pretty plate or a wooden board for a rustic feel.
Storing Scones
Best practices for refrigerating and freezing
To store scones, let them cool first. Then, place them in an airtight container. They can stay fresh in the fridge for up to three days. If you want to freeze them, wrap each scone in plastic wrap. Place them in a freezer bag. They can last for up to three months. To enjoy, thaw overnight in the fridge and warm them in the oven.

Variations
Flavor Additions
You can change the flavor of your scones with a few easy swaps. Instead of cinnamon, try using cardamom or allspice. Both spices add warmth and depth. If you love a fruity twist, consider adding dried cranberries or chopped apples. You can also use dark chocolate chips for a richer taste.
Gluten-Free or Vegan Options
Making these scones gluten-free is simple. Substitute the all-purpose flour with a gluten-free flour blend. Make sure it has xanthan gum for the best texture. For a vegan version, replace the butter with coconut oil. Use almond milk instead of heavy cream and a flax egg in place of the egg. Mix one tablespoon of ground flaxseed with two and a half tablespoons of water, then let it sit for five minutes.
Seasonal Twists
Fall brings many flavors to explore. You can add maple syrup to the dough for a sweet twist. Or, mix in chopped pecans for extra crunch. If you want to be adventurous, add a teaspoon of vanilla extract or a splash of bourbon. Both will enhance the flavor and make your scones more unique.
Storage Info
How to Store
You can store your pumpkin chocolate chip scones at room temperature or in the fridge. If you plan to eat them within two days, keep them at room temperature in an airtight container. This keeps them soft and fresh. If you want to keep them longer, store them in the fridge. Just make sure to wrap them well to avoid drying out.
Freezing Instructions
Freezing is a great way to save scones for later. To freeze, place cooled scones in a single layer in a freezer bag. Remove as much air as possible before sealing. You can freeze them for up to three months. To thaw, take them out and let them sit at room temperature for a couple of hours. You can also warm them in the oven for five to ten minutes at 350°F (175°C) for a fresh-baked taste.
Shelf Life
These scones are best enjoyed fresh. At room temperature, they stay good for two days. In the fridge, they last for about a week. If frozen, they remain tasty for three months. Always check for signs of spoilage, like a strange smell or dry texture, before eating.
FAQs
Common Questions About Pumpkin Chocolate Chip Scones
Can I make these scones ahead of time?
Yes, you can make these scones ahead of time. You can prepare the dough and shape it into wedges. Wrap the dough tightly in plastic wrap and store it in the fridge for up to 24 hours. When you’re ready, bake them straight from the fridge. This will save you time and still give you warm, fresh scones.
How do I know when the scones are done baking?
You will know the scones are done when their edges turn golden brown. Insert a toothpick into the center of a scone. If it comes out clean, they are ready. If you see wet dough on the toothpick, bake them a little longer. Keep a close eye on them in the last few minutes of baking.
Can I use fresh pumpkin instead of canned?
Absolutely! You can use fresh pumpkin puree instead of canned. To make your own, steam or roast fresh pumpkin until it’s soft. Then, mash it until smooth. Just make sure it is not too watery. This will give your scones a fresh taste and great texture.
What are the nutritional values of these scones?
Each scone roughly contains around 200 calories. They have about 8 grams of fat, 30 grams of carbs, and 2 grams of protein. Keep in mind that these values may change based on the ingredients you choose. For a healthier twist, you can also opt for whole wheat flour or reduce the sugar.
In this blog post, we explored how to make delicious pumpkin chocolate chip scones. We covered the essential ingredients, preparation steps, and baking tips. I shared ways to customize your scones with different flavors and seasonal twists. You learned how to store them properly for freshness. Remember, baking is fun and can be easy with the right knowledge. Now, grab your ingredients and start baking! Enjoy your tasty scones with friends or family.


