Raspberry Swirl Yogurt Popsicles Fresh and Fruity Treat

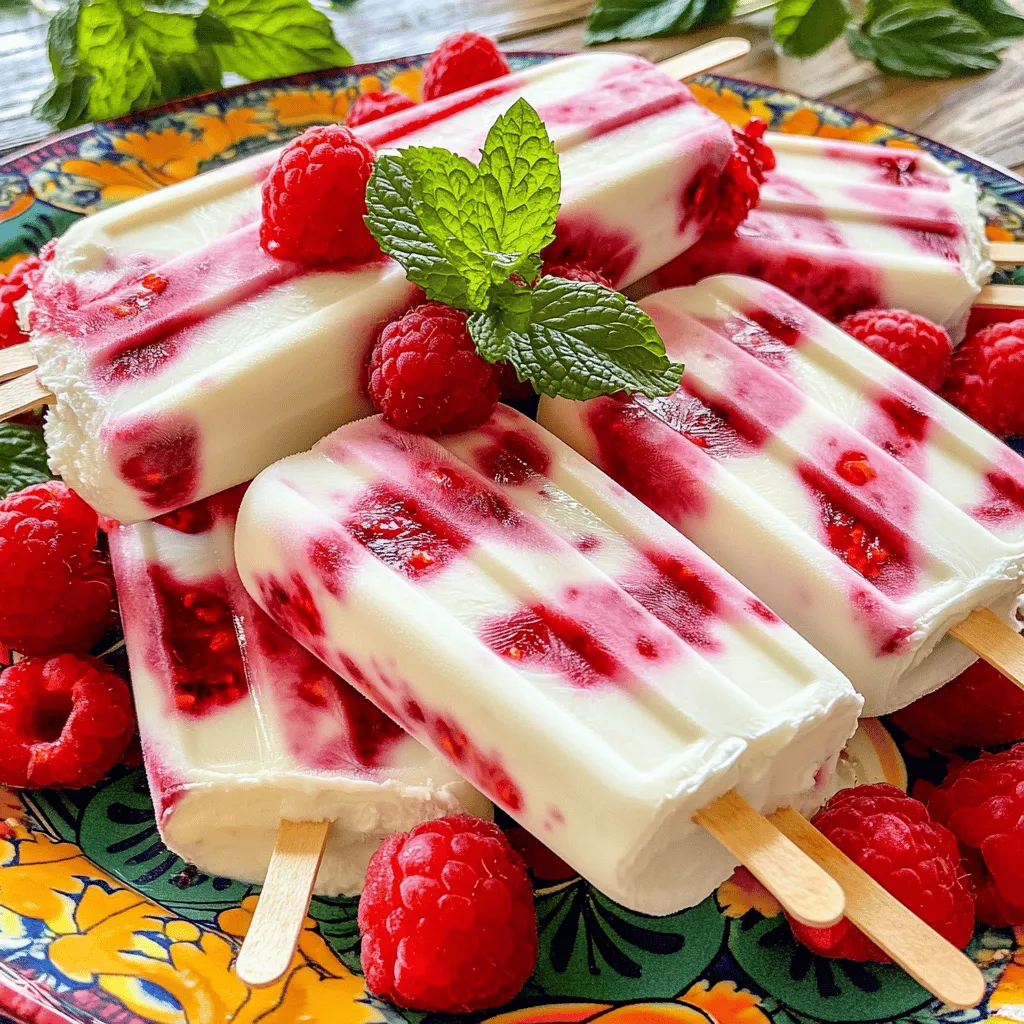
Looking for a cool treat that’s both fruity and fun? You’ll love these Raspberry Swirl Yogurt Popsicles! Packed with fresh raspberry flavor and creamy yogurt, they’re perfect for hot days or anytime you crave something sweet. This simple recipe lets you mix and swirl flavors easily. Plus, I’ll share tips, variations, and storage info to make these pops your go-to treat. Let’s dive into how to make your new favorite popsicles!

Ingredients

Full Recipe Overview

Making raspberry swirl yogurt popsicles is easy and fun! This recipe uses simple ingredients you can find at any store. It takes just 15 minutes to prep. You will freeze them to enjoy later.

Detailed List of Ingredients

Here’s what you need for this tasty treat:

– 2 cups Greek yogurt (plain or vanilla)

– 1 cup fresh raspberries (plus extra for swirling)

– 2 tablespoons honey or maple syrup

– 1 teaspoon vanilla extract

– A pinch of salt

– Optional: Fresh mint leaves for garnish

Nutritional Information per Serving

Each popsicle offers a burst of flavor and health. Here’s what you get per serving:

– Calories: 90

– Protein: 5g

– Carbohydrates: 12g

– Fat: 2g

– Sugars: 6g

– Fiber: 1g

These raspberry swirl yogurt popsicles are not just tasty; they are also a smart choice!

Step-by-Step Instructions

Preparation Process

To start, gather your ingredients. You need Greek yogurt, fresh raspberries, honey, vanilla extract, and a pinch of salt. I find using fresh raspberries gives the best flavor. First, place the raspberries in a blender. Add honey or maple syrup and a pinch of salt. Blend until smooth, but keep some raspberry chunks. This adds texture and makes the popsicles more fun.

Next, in a mixing bowl, combine the Greek yogurt and vanilla extract. Stir well until they mix completely. This yogurt base will be creamy and delicious.

Layering the Popsicles

Grab your popsicle molds. Pour a layer of the yogurt mixture into each mold, filling it about one-third full. This layer creates a nice base. Then, add a spoonful of the raspberry mixture on top. Use a skewer or a spoon to swirl it gently. It looks pretty and mixes the flavors well.

After that, pour another layer of yogurt over the raspberry mix. Repeat this process until the molds are full. You want to see swirls of raspberry throughout each popsicle. This layering adds to the fun when you take a bite.

Freezing Tips

Once your molds are full, insert popsicle sticks. Place the molds in the freezer for at least 4-6 hours. This ensures they freeze solid. If you want to speed up freezing, set your freezer to a colder setting.

When they’re ready, run warm water over the outside of the molds for a few seconds. This helps release the popsicles. Gently pull them out, and you’ll have beautiful raspberry swirl yogurt popsicles. Enjoy this fresh and fruity treat!

Tips & Tricks

Best Practices for Swirling

To create those beautiful raspberry swirls, use a gentle hand. After adding the raspberry mix, do not over-mix it with the yogurt. Just a few gentle swirls with a toothpick or chopstick will do. This keeps the bright raspberry color vibrant and fun. Aim for a mix that looks marbled, not blended.

How to Achieve the Perfect Texture

For creamy popsicles, use Greek yogurt. It gives a rich, smooth base. If you prefer a lighter texture, you can mix in a little milk. This helps thin out the yogurt while keeping it tasty. Blend your raspberries until they are mostly smooth, but leave some small chunks for that tasty bite.

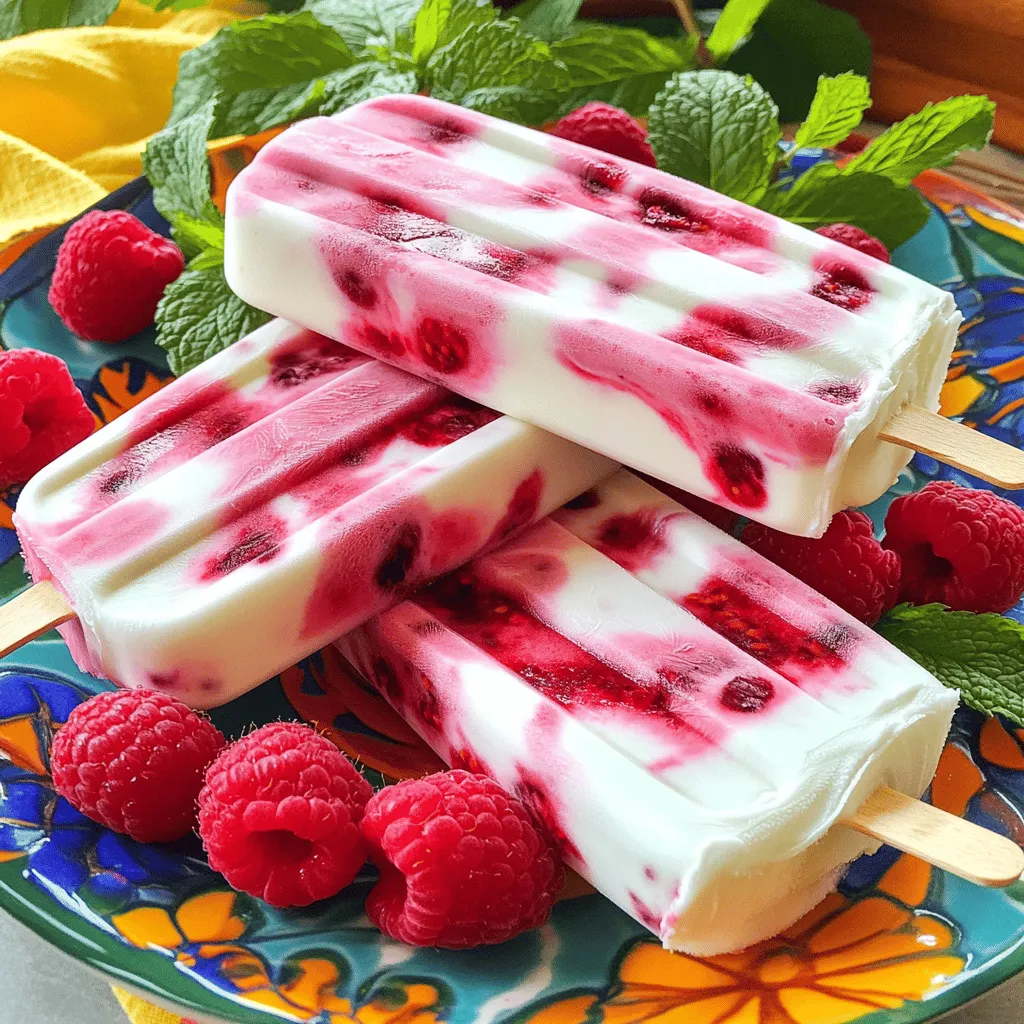
Suggestions for Serving

When ready to serve, dip the molds in warm water for a few seconds. This makes it easy to pull out your popsicles. You can serve them on a pretty plate, garnished with fresh mint and extra raspberries. For a fun twist, try drizzling some honey on top before serving. This adds a sweet touch and makes your popsicles look fancy!

Variations

Alternative Fruit Options

You can switch up the raspberries for other fruits. Strawberries, blueberries, or peaches work great. Each fruit brings its own taste. For a tropical twist, try mango or pineapple. Just blend the fruit the same way as raspberries. You can create fun colors and flavors!

Dairy-Free Options

If you want a dairy-free treat, use coconut yogurt or almond yogurt. These options still give a creamy texture. You can also try cashew yogurt, which adds a nice flavor. Just follow the same steps in the Full Recipe. You won’t miss the dairy!

Additional Flavor Add-ins

Add fun flavors to your popsicles! Consider mixing in a little lemon or lime juice for a zesty kick. You can also add a touch of cinnamon or nutmeg. Want something a bit sweeter? Try vanilla bean or chocolate syrup. Let your taste buds guide you to tasty combinations!

Storage Information

How to Store Leftover Popsicles

To keep your popsicles fresh, store them in an airtight container. This will prevent freezer burn. You can also wrap each popsicle in plastic wrap. This adds extra protection. Always label the container with the date. This way, you know when you made them.

Freezing Duration and Quality

These popsicles stay good for about two months in the freezer. After that, they may lose flavor and texture. If you freeze them longer, check for ice crystals. Ice crystals can affect the taste. It’s best to enjoy them within the first month for the best quality.

Reusing Popsicle Molds

You can reuse your popsicle molds for different flavors. Just wash them in warm, soapy water after each use. Rinse well to remove any soap. If you want to switch flavors, try to use neutral molds. If you make a strong flavor, let the mold soak for a bit to remove the taste. This keeps your new popsicles tasting fresh and fruity. For the full recipe, check the section above.

FAQs

Can I use frozen raspberries?

Yes, you can use frozen raspberries. They work well in this recipe. Just blend them straight from the freezer. This keeps the pops cool and refreshing. If you want more texture, let them thaw a bit before blending. You can still achieve that lovely swirl in your popsicles.

How long will the popsicles last in the freezer?

These popsicles can last up to two months in the freezer. Just make sure to wrap them tightly. This keeps ice crystals from forming. If they are well sealed, they will taste great even after a while.

What can I substitute for Greek yogurt?

If you want a substitute for Greek yogurt, try regular yogurt or coconut yogurt. Both options work nicely. They may change the flavor a bit, but they still taste great. You can also use a dairy-free yogurt if you prefer. Just pick one that is thick and creamy for the best results.

You learned how to make tasty popsicles with fresh ingredients. We covered what you need and how to prepare them step by step. I shared tips for the best texture and fun variations to try. Remember to store your popsicles right, so they stay fresh. If you have questions, like using frozen fruit or yogurt substitutes, I’ve got answers. Enjoy making and sharing these popsicles with friends and family. Your next treat will be a hit!

Making raspberry swirl yogurt popsicles is easy and fun! This recipe uses simple ingredients you can find at any store. It takes just 15 minutes to prep. You will freeze them to enjoy later. Here’s what you need for this tasty treat: - 2 cups Greek yogurt (plain or vanilla) - 1 cup fresh raspberries (plus extra for swirling) - 2 tablespoons honey or maple syrup - 1 teaspoon vanilla extract - A pinch of salt - Optional: Fresh mint leaves for garnish Each popsicle offers a burst of flavor and health. Here’s what you get per serving: - Calories: 90 - Protein: 5g - Carbohydrates: 12g - Fat: 2g - Sugars: 6g - Fiber: 1g These raspberry swirl yogurt popsicles are not just tasty; they are also a smart choice! To start, gather your ingredients. You need Greek yogurt, fresh raspberries, honey, vanilla extract, and a pinch of salt. I find using fresh raspberries gives the best flavor. First, place the raspberries in a blender. Add honey or maple syrup and a pinch of salt. Blend until smooth, but keep some raspberry chunks. This adds texture and makes the popsicles more fun. Next, in a mixing bowl, combine the Greek yogurt and vanilla extract. Stir well until they mix completely. This yogurt base will be creamy and delicious. Grab your popsicle molds. Pour a layer of the yogurt mixture into each mold, filling it about one-third full. This layer creates a nice base. Then, add a spoonful of the raspberry mixture on top. Use a skewer or a spoon to swirl it gently. It looks pretty and mixes the flavors well. After that, pour another layer of yogurt over the raspberry mix. Repeat this process until the molds are full. You want to see swirls of raspberry throughout each popsicle. This layering adds to the fun when you take a bite. Once your molds are full, insert popsicle sticks. Place the molds in the freezer for at least 4-6 hours. This ensures they freeze solid. If you want to speed up freezing, set your freezer to a colder setting. When they’re ready, run warm water over the outside of the molds for a few seconds. This helps release the popsicles. Gently pull them out, and you’ll have beautiful raspberry swirl yogurt popsicles. Enjoy this fresh and fruity treat! To create those beautiful raspberry swirls, use a gentle hand. After adding the raspberry mix, do not over-mix it with the yogurt. Just a few gentle swirls with a toothpick or chopstick will do. This keeps the bright raspberry color vibrant and fun. Aim for a mix that looks marbled, not blended. For creamy popsicles, use Greek yogurt. It gives a rich, smooth base. If you prefer a lighter texture, you can mix in a little milk. This helps thin out the yogurt while keeping it tasty. Blend your raspberries until they are mostly smooth, but leave some small chunks for that tasty bite. When ready to serve, dip the molds in warm water for a few seconds. This makes it easy to pull out your popsicles. You can serve them on a pretty plate, garnished with fresh mint and extra raspberries. For a fun twist, try drizzling some honey on top before serving. This adds a sweet touch and makes your popsicles look fancy! {{image_2}} You can switch up the raspberries for other fruits. Strawberries, blueberries, or peaches work great. Each fruit brings its own taste. For a tropical twist, try mango or pineapple. Just blend the fruit the same way as raspberries. You can create fun colors and flavors! If you want a dairy-free treat, use coconut yogurt or almond yogurt. These options still give a creamy texture. You can also try cashew yogurt, which adds a nice flavor. Just follow the same steps in the Full Recipe. You won’t miss the dairy! Add fun flavors to your popsicles! Consider mixing in a little lemon or lime juice for a zesty kick. You can also add a touch of cinnamon or nutmeg. Want something a bit sweeter? Try vanilla bean or chocolate syrup. Let your taste buds guide you to tasty combinations! To keep your popsicles fresh, store them in an airtight container. This will prevent freezer burn. You can also wrap each popsicle in plastic wrap. This adds extra protection. Always label the container with the date. This way, you know when you made them. These popsicles stay good for about two months in the freezer. After that, they may lose flavor and texture. If you freeze them longer, check for ice crystals. Ice crystals can affect the taste. It's best to enjoy them within the first month for the best quality. You can reuse your popsicle molds for different flavors. Just wash them in warm, soapy water after each use. Rinse well to remove any soap. If you want to switch flavors, try to use neutral molds. If you make a strong flavor, let the mold soak for a bit to remove the taste. This keeps your new popsicles tasting fresh and fruity. For the full recipe, check the section above. Yes, you can use frozen raspberries. They work well in this recipe. Just blend them straight from the freezer. This keeps the pops cool and refreshing. If you want more texture, let them thaw a bit before blending. You can still achieve that lovely swirl in your popsicles. These popsicles can last up to two months in the freezer. Just make sure to wrap them tightly. This keeps ice crystals from forming. If they are well sealed, they will taste great even after a while. If you want a substitute for Greek yogurt, try regular yogurt or coconut yogurt. Both options work nicely. They may change the flavor a bit, but they still taste great. You can also use a dairy-free yogurt if you prefer. Just pick one that is thick and creamy for the best results. You learned how to make tasty popsicles with fresh ingredients. We covered what you need and how to prepare them step by step. I shared tips for the best texture and fun variations to try. Remember to store your popsicles right, so they stay fresh. If you have questions, like using frozen fruit or yogurt substitutes, I’ve got answers. Enjoy making and sharing these popsicles with friends and family. Your next treat will be a hit!

Raspberry Swirl Yogurt Popsicles

Beat the heat with delicious Raspberry Swirl Yogurt Popsicles! Made with creamy Greek yogurt and fresh raspberries, these easy-to-make pops are a refreshing treat for warm days. Perfect for kids and adults alike, they combine wholesome ingredients for a delightful summer snack. Get the simple recipe and impress your family with these colorful and tasty popsicles. Click to explore the full recipe and make your summer even sweeter!

Ingredients
  

2 cups Greek yogurt (plain or vanilla)

1 cup fresh raspberries (plus extra for swirling)

2 tablespoons honey or maple syrup

1 teaspoon vanilla extract

A pinch of salt

Optional: Fresh mint leaves for garnish

Instructions
 

In a blender, combine the fresh raspberries, honey (or maple syrup), and a pinch of salt. Blend until smooth, but leave some chunks of raspberries for texture.

    In a mixing bowl, combine the Greek yogurt and vanilla extract. Stir until well mixed.

      Take a popsicle mold and start by pouring a layer of yogurt mixture into each mold, filling it about one-third of the way.

        Spoon a layer of the raspberry mixture on top of the yogurt, followed by another layer of yogurt.

          Repeat the process until the molds are filled, ensuring there are swirls of raspberry throughout.

            Insert popsicle sticks and freeze for at least 4-6 hours, or until fully frozen.

              To release the popsicles, run the mold under warm water for a few seconds, then gently pull out the popsicles.

                Prep Time: 15 minutes | Total Time: 6 hours | Servings: 6 popsicles

                  - Presentation Tips: Serve the popsicles on a platter garnished with fresh mint leaves and a few extra raspberries for a vibrant summer look.

                    Leave a Comment

                    Recipe Rating